Last updated on
Securing a kitchen island is crucial because it forms the foundation for safe food preparation and easy cooking navigation.
Securing a kitchen island is an important yet straightforward process involving a few crucial steps. This article offers an all-inclusive solution to enable you to affix your kitchen island safely and firmly. By following the explained steps meticulously, accidents due to wobbly islands will be a thing of the past.
Not only will the details guide you on anchoring the island to a variety of floor types like concrete, tile, or hardwood, but also equip you with knowledge on using the right tools and materials. Stay entranced, as every detailed process in this article is your passage to achieving a secure kitchen island, enhancing your kitchen’s safety and functionality.
Key takeaways:
- Properly determine the location and size of your kitchen island.
- Prepare the floor surface by leveling and repairing any imperfections.
- Measure and cut cleats to stabilize the island and ensure a proper fit.
- Use the right tools and materials, such as screws, anchors, and a power drill.
- Securely attach the island to the floor and cabinets for stability.
What's Inside
Determining the Kitchen Island’s Location

Before you rush ahead with fitting cleats and choosing hardware, it’s imperative to accurately determine where your kitchen island will be placed. Consider the working triangle of the refrigerator, stove, and sink, aiming to place the island with equal access for maximum efficiency.
Keep in mind doors, drawers, and appliances that will need clearance to open fully. Maintain a minimum of 36 inches of space for regular walkways and 42-48 inches around the island for comfortable workspace. If you have a shared dining-kitchen space, also consider sight lines from the sitting area.
Not forgetting to map out utility lines for any plumbed or wired elements. A thoughtful placement strategy will ensure your island coordinates seamlessly with the existing kitchen layout.
Choosing the Right Kitchen Island Based On Use and Space

Consider the purpose of your island. Will it primarily serve as an extra prep area, a breakfast bar, or perhaps a space for casual dining? Once decided, this will influence size, design, and features. For example, a food prep space might necessitate a butcher block top, while a dining area could require an overhang for comfortable legroom.
Next up, assess the available square footage in your kitchen. There is no ‘one size fits all’. Every kitchen is unique. As a rule of thumb, allow for at least 42-48 inches of clearance around the perimeter of the island. This ensures sufficient room for opening cabinets, maneuvering kitchen appliances and easy passage around the island. If a larger island is not feasible due to space limitations, a compact or movable island may suit your needs.
Lastly, don’t forget to factor in storage. An island can provide valuable additional storage space. Drawers, shelves, or cabinets can be incorporated into the design, making your kitchen even more versatile.
Remember, the best kitchen island for you is the one that fits your space, serves your needs, and enhances your kitchen’s style.
Creating a Location Template for Precise Placement
Positioning your island correctly is crucial. Start by defining the perimeter by using painter’s tape on the surface of your kitchen floor. Trace the island’s dimension, maintaining a minimum clearance of 42-48 inches from any surrounding cabinetry or appliances for easy maneuvering. Adjust the tape until you’re satisfied with the placement, keeping foot traffic, cabinet doors, and appliance access in mind.
Plotting the island outline first saves you the hassle and hard work of readjusting a full cabinet installation. Once satisfied, this blueprint serves as the guide for your installation process.
Preparing the Floor Surface for Installation
Once the kitchen island’s location is marked, the next vital step is the preparation of the floor surface. If the surface is not even, consider leveling it to avoid instability in the final setup. If you have a tiled floor, special care should be taken to avoid damages during installation.
For wooden floors, it’s best not to place islands over seams or joins. For concrete floors, any cracks or chips should be repaired before moving forward. Keep in mind the necessary clearance for doors, drawers, or any type of opening features in your island to ensure smooth traffic flow. It’s crucial to ensure the area is clean and clear of debris. Always remember, a well-prepared surface will make the installation process easier and your kitchen island more durable.
Measuring and Cutting Cleats for Proper Fit
Equipped with your measuring tape, measure the length and depth of your kitchen island base. Don’t forget to leave some room at the back to accommodate for baseboards if present.
The cleats you’ll be cutting from 2-by-4 wood lumber should be an inch or two shorter than these measurements. This is to ensure the cleats aren’t visible once your island is installed.
Once you have your measurements, transfer them onto your chosen 2-by-4, ensuring the lines are straight. Brace the lumber securely with a vice or clamps before taking a sharp hand saw or a powerful table saw to accurately cut along these lines. Remember, safety first – always wear protective eyewear when cutting wood.
Finally, diminish any sharp or uneven edges with the help of a file or sandpaper. Your smooth, precisely cut cleats will serve as the perfect anchors for your kitchen island. This simple yet important step brings you closer to an installed, stable kitchen island.
Materials and Tools Necessary for Kitchen Island Attachment
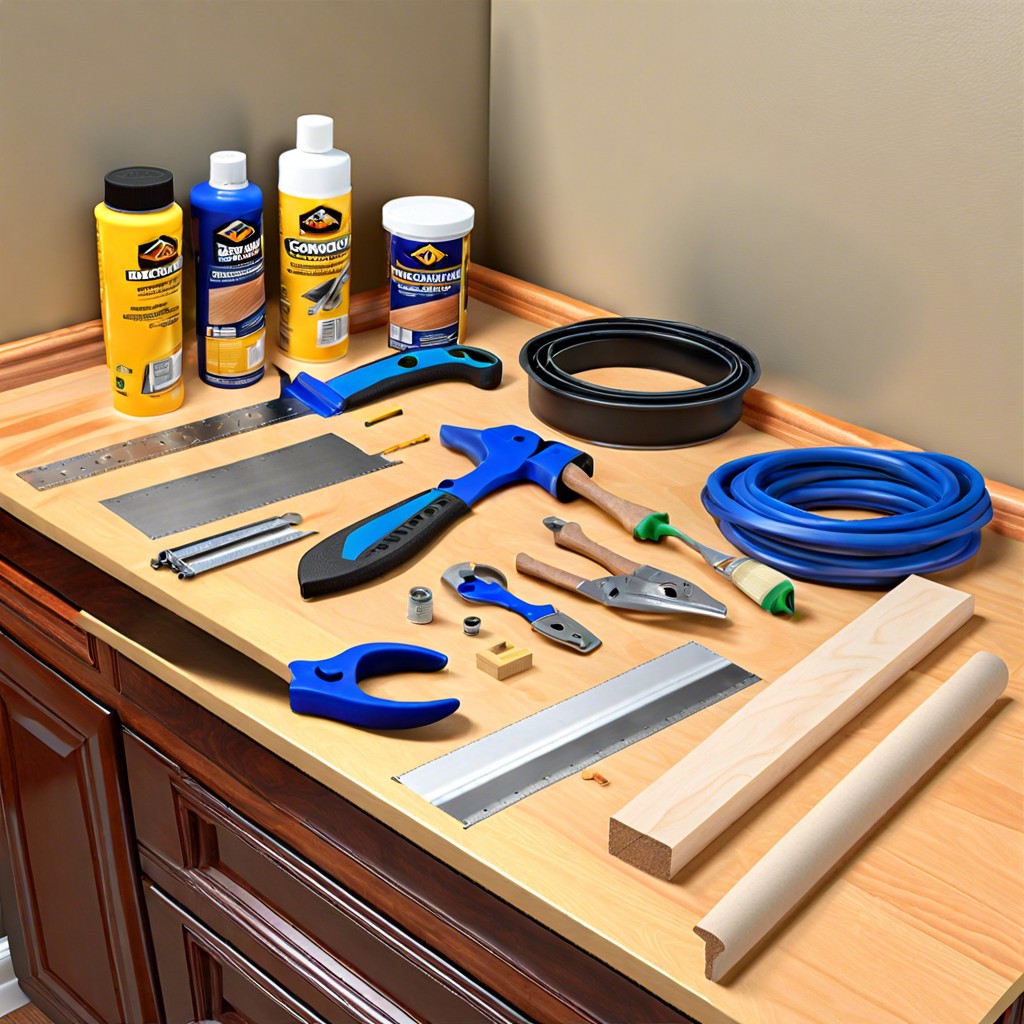
To ensure a flawless installation process, it’s crucial to have the right tools and materials at hand. High-quality wood cleats are essential for connecting the island to the floor. Always get a long-lasting, durable type of wood, as kitchen islands experience significant wear and tear.
Other critical tools include a power drill, a level, and a miter saw. The power drill is perfect for drilling precise holes where needed, while the miter saw helps cut the cleats to the correct size. A level ensures the island and cleat are horizontal, making the overall structure physically well-balanced.
Assorted screws and anchors also play a pivotal role, as these will keep the island fixed in place. For screws, aim for different sizes, as various parts of the installation will require specific lengths. Ideally, the screws and anchors should be stainless steel or brass to avoid rusting.
Pencil, measuring tape, and safety gear are small but essential components. These will help in marking the right spots accurately and ensuring safety during the installation. Bear in mind that safety glasses and gloves are non-negotiable items for protective measures.
In essence, assembling the proper tools and materials will smooth out the installation process, saving time and reducing potential mishaps. It’s always worth it to invest in quality materials that contribute to the longevity of your kitchen island.
Attaching the Base Cabinet to the Kitchen Island
Having already prepared a stable and level base, it is time to proceed with the secure attachment of the cabinet to the island.
It’s recommended to opt for heavy-duty screws about 1.5 inches in length. The screws should be inserted through the corner braces of the cabinet, affixing the unit firmly to your island base. Countersink the screws to ensure a flush fit. Remember, even distribution of screws around the base aids in overall stability.
If your cabinets come with pre-drilled holes, make sure the screws fit properly. However, in the absence of pre-drilled holes, take a drill and create them yourself. In this case, two pairs of hands are better than one. One person can hold the cabinet steady while the other drills.
Finally, measure the cabinet from all sides to ensure it’s centered on the kitchen island. If the measurements differ, adjust the cabinet until it’s equidistant from all edges. This will lend your kitchen island a clean and professional appearance.
Keep in mind, securely attaching the base ensures that the island remains stable, supporting the weight of the countertop and any items placed atop. Take the time to attach it properly; it’ll pay dividends in the form of a sturdy, long-lasting kitchen feature.
Line Up the Cleats On the Floor and Mark Installation Spots
With your cleats precisely cut and ready, lay them on the floor where you plan to position the island. Use your location template and outline to ensure accurate placement. Make sure the cleats align with the base of your kitchen island. This will keep the island steady and prevent unwanted movement.
Grab a pencil and trace around the cleats onto your floor. These markings will serve as guides for fixing the cleats into place. Remember, the cleats need to be attached exactly where your island will rest, so take your time during this step. Patience and attention to detail will ensure that the installation process goes smoothly and results in a secured, level kitchen island.
One more point to consider: check the cleats’ positioning relative to the floor seams. If possible, avoid placing them directly on a seam, as this could split your flooring material over time, which isn’t ideal. Adjust the placement slightly if needed. Practice makes perfect – so don’t feel stressed if this takes a couple of attempts.
A great little tip is to use a laser level across the floor if you have one. A laser level can highlight bumps or dips in the floor that might affect your island placement and stability. By finding the flattest, most level spot in your chosen area, you will streamline the securing process.
Securely Fastening the Cleat to the Floor
Begin the fastening process by aligning your cleats with the previously marked installation spots. Ensure that the cleat is sitting flat on the surface, as this is crucial for stability. Use a drill to make starter holes through the cleat into the floor, taking special care to guard against splitting the wood.
Next, use appropriate screws and fasten the cleat securely to the floor. Do remember to choose the right size, depending on the thickness and material of your floor. Heavy-weight floors like concrete may require specific industrial screws or anchors for secure fastening.
Always check the cleat for any movement before proceeding. It should be securely fastened and should not wiggle or shift when you apply force. This robust attachment will ensure your kitchen island will be well-supported and solidly anchored, ready to withstand even the busiest culinary explorations.
Use caution while handling power tools and always wear appropriate safety gear during the installation process to prevent accidents. If you come across any issue or uncertainty during fastening, don’t hesitate to consult a professional; safety is paramount in each step of kitchen island installation.
Joining the Cabinets Together for a Stable Base
To enhance stability, group cabinets together. Start by aligning them correctly, ensuring that all the front facings are flush. With the assistance of a clamp, hold the cabinets together. Before continuing, double-check your alignment to make certain that nothing has shifted.
Begin drilling pilot holes between the two cabinets. These should be made from the inside, ensuring you maintain an even distance from the edge. Then you’ll insert a screw into each of these holes, securely fastening the two units together. Repeat this process for every cabinet in the kitchen island set-up.
Make an effort not to overtighten the screws, as this could cause damage to the wood. This process helps form a solid base which increases the island’s overall stability. Utilizing this method effectively will ensure your kitchen island stands up to daily usage, even in a busy kitchen.
Securing the Kitchen Island to the Cleat
Begin by positioning your kitchen island structure over the cleat. Use clamps to hold the island in place while you ensure it aligns correctly with your marked layout. With your island and the cleat aligned, it’s time to start the attachment process.
Drill pilot holes through the bottom of your island cabinets and into the cleat. Be certain these holes line up; an error in measurement can lead to unnecessary damage. Now you’re ready to secure the island through these pilot holes using appropriate screws. Go slow, ensuring you don’t over-tighten and strip the screw holes. Over tightening can weaken the overall stability and potentially damage the cabinet.
As you proceed, continuously check to make sure the island remains correctly aligned with the cleat and in accordance with your floor markings. An occasional deviation check during the installation process saves time and avoids potential rework.
Checking Work for Level and Stability
Ensuring that your kitchen island is level is paramount. An unleveled island could lead to sliding utensils, uneasy prepping, and structural instability. Hence, grab a spirit level and place it atop the kitchen island – both lengthwise and width-wise.
If the bubble doesn’t center, no worries. Just adjust the island slightly until it does. For greater stability, some base cabinets have adjustable legs. These let you manipulate each leg’s height, to ensure your island remains level, even on an uneven floor.
Another critical aspect is the sturdiness. Give your island a gentle nudge from various sides to make sure it doesn’t rock, roll or move. This step is essential, especially if you have children who might lean or climb on the island. Your island needs to stay put, safeguarding everyone involved.
Options and Methods for Securing Mobile Kitchen Islands
While traditionally installed islands are fixed, mobile kitchen islands offer greater flexibility. For secure positioning, these can also be anchored temporarily. One widely used option is locking casters. They allow easy movement and secure lockdown.
Another practical method is using adjustable feet. With these, the island can be adjusted to sit flat on the floor, reducing any wobble while navigating uneven surfaces.
Lastly, consider employing Furniture Grippers. They increase friction between the island and floor, limiting accidental shifts. These non-permanent fixes prove ideal where flexibility remains a key need. Just remember that while these methods create stability, they aren’t as secure as permanent island anchoring.
When Professional Help Might Be Required for Installation
Installation of a kitchen island may seem straightforward, but it can present challenges that require professional help. Complications can arise due to a variety of factors.
One example is when working with specific floor types such as concrete or thick ceramic tile. These materials can be difficult to penetrate without specialised tools, making it difficult to secure the island correctly.
In addition, if you’re dealing with a complex island design or are incorporating utilities like electricity and plumbing, a professional can ensure these elements are handled safely. Incorrect installations can lead to severe consequences, including damaging your home or injuring yourself.
Professional help might also be beneficial if your cabinets aren’t standard size or if customization is required. Craftsmanship and precision are crucial when modifying cabinets to ensure they fit perfectly and are structurally sound.
Last but not least, if you lack the necessary tools or aren’t confident in your skills, it’s smarter to hire a professional. A botched job can lead to a significant waste of time, resources, and potentially more expensive repairs.
Always remember, installing a kitchen island is an investment in your home. Treat it as such, and don’t hesitate to call in a pro if you think it’s necessary.
How to Anchor a Kitchen Island to Different Floor Types: Concrete, Tile
Concrete floors, despite their sturdiness, might present some challenges when anchoring an island. You will need a concrete drill bit, concrete screws, and a hammer drill. Remember to pre-drill holes into the floor for the screws to avoid splitting or cracking the concrete.
When dealing with a tile floor, take note of the underlayment. If it’s concrete, proceed as the above method. However, if the underlay is wooden, use wood screws. If you’re concerned about cracking the tile, consider using a diamond-tipped drill bit to make holes. Remember, patience is key! Rushing might lead to tiles breaking.
In both cases, ensure that the screws are long enough to go through the cleat, the flooring, and sufficiently into the underlayment for a secure hold. The use of a level is also important to make sure your island is perfectly horizontal. Optionally, placing silicone or construction adhesive on the bottom of the cleat provides additional stability.
It’s also crucial to note that every project differs based on the specific conditions at hand. Each floor type might have certain peculiarities requiring unique solutions, thus consider consulting professionals if needed.
Choosing the Correct Anchor for Your Kitchen Island Installation
Anchors are fundamental to a sturdy kitchen island installation. They provide the grip that keeps the island firmly attached to the floor, preventing wobbles or movements. Your choice of anchors largely depends on the type of flooring and the weight of the island.
Two of the most widely used anchors are sleeve anchors and concrete screw anchors. Sleeve anchors are perfect for concrete floors due to their strong grip and versatility. They come in various sizes to suit different needs. On a tile floor, concrete screw anchors offer the needed grip and minimum disruption to the tile’s appearance.
Ensure you have a drill that matches your anchor’s size. This alignment provides a snug fit and strengthens the anchoring. For heavier islands, you may need to use multiple anchors distributed evenly under the base cabinet. It’s a good idea to have all your anchors in place before moving on to the next installation step.
The Role of Kitchen Island in Additional Storage
A well-designed island can create exceptional storage opportunities within your kitchen. Cooking tools, cutlery, or dinnerware – all can find a home here.
1. Cabinets: Include cabinets in your island’s design for items used less frequently. Specialty cooking devices, seasonal items, or large pots fit well.
2. Drawers: Smaller items like utensils, cloth napkins, or your collection of spatulas find a practical space in a series of drawers.
3. Shelves: Open shelves are perfect for aesthetic showcasing of cookbooks or fine china while keeping them easy to reach.
4. Wine Rack: A built-in wine rack keeps your favorite bottles handy and can add an elegant touch to any island.
5. Hidden Trash: A pull-out trash or recycling bin maintains a tidy look without sacrificing convenience.
By making the most of these options, you can declutter your main area, streamline cooking activities and add an appealing aesthetic to your kitchen.
Adding More Conveniences to Your Kitchen Island
Incorporating convenient features into your island’s design can maximize its functionality. Start by considering electricity. A few strategically placed power outlets can boost your island’s versatility significantly, providing power for small appliances or even charging stations for mobile devices.
Next, think about storage. Built-in shelves or drawers can hold pots, pans, utensils, or spice racks. This enables easier access to cooking essentials right where you need them.
Including seating options, like a bar or counter stools on one side of the island, can also serve as an informal dining or socializing area. In larger kitchens, consider adding a small sink or a dishwasher to your island for additional utility.
Remember, every convenience should complement your kitchen routine and the overall flow of your cooking space for optimal benefit.
FAQ
How do I keep my kitchen island from moving?
To prevent your kitchen island from moving, replace the existing non-marring plastic feet with rubber nail or screw on feet, or use rubber "caster cups" for added stability and floor protection.
Does a kitchen island need to be anchored?
Yes, a kitchen island needs to be anchored to the floor to ensure stability and prevent movement or toppling over.
Do kitchen islands need support?
Kitchen islands that have an overhang extending more than 15 inches require additional support.
What materials are best for anchoring a kitchen island?
For anchoring a kitchen island, the best materials are hardwood floors or concrete, which provide sufficient support and longevity.
Are there certain types of flooring that are more conducive to securing a kitchen island?
Yes, hardwood or tile flooring is more conducive for securing a kitchen island due to their sturdy and stable nature.
How can I make my kitchen island more stable while maintaining aesthetics?
To enhance the stability of your kitchen island while maintaining aesthetics, consider adding a solid base or anchoring it to the floor and using materials that match the existing decor.
Continue reading:
