Last updated on
Discover the essential steps to create a stunning and functional kitchen island with a sink, transforming your cooking space into an inviting hub for family and friends.
Are you tired of your cluttered and cramped kitchen? Do you dream of having more counter space to prepare meals and entertain guests? Look no further than a kitchen island with a sink! Not only does it provide additional workspace, but it also adds functionality and style to your home. In this article, we will guide you through the steps on how to build your own kitchen island with a sink.
So grab your tools and let’s get started on creating the perfect centerpiece for your kitchen!
What's Inside
Planning Your Kitchen Island
Consider the size and layout of your kitchen, as well as how you will use the island. Will it be primarily for food preparation or also serve as an eating area? Do you need additional storage space or seating options? These questions will help guide your design choices.
Take accurate measurements of your kitchen space to ensure that there is enough room for both the island and any necessary clearance around it. You don’t want to end up with a cramped cooking area! Sketch out different designs and layouts until you find one that fits both functionally and aesthetically.
Consider incorporating features such as drawers, cabinets, shelves, or even built-in appliances like a wine cooler or microwave into your design if they fit within budget constraints. Don’t forget about lighting; adding pendant lights above an island can create ambiance while providing task lighting for meal prep.
Measuring the Kitchen Space

This step is crucial as it will determine the size and shape of your island. You don’t want to end up with an oversized or undersized island that doesn’t fit well in your kitchen.
To get started, grab a measuring tape and take accurate measurements of the area where you plan to install the island. Measure both length and width dimensions, taking into account any obstacles such as cabinets or appliances that may affect placement.
Once you have these measurements, consider how much clearance space is needed around each side of the island for comfortable movement while cooking or entertaining guests. A good rule of thumb is at least 36 inches on all sides.
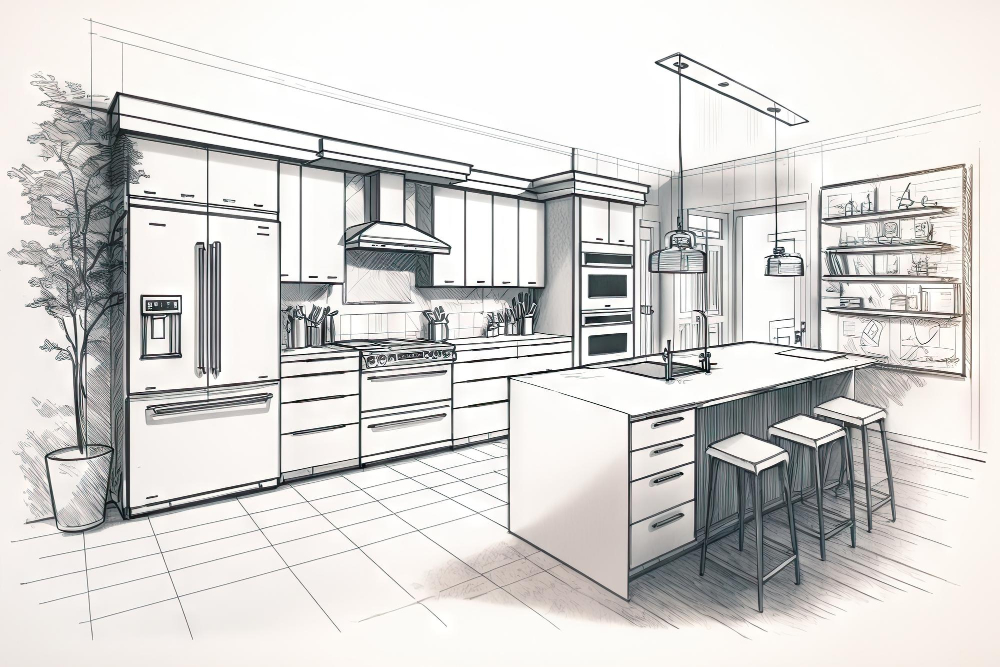
Designing the Island Base
The design of your island base will depend on several factors such as its purpose, style preference, and available materials. You can choose from a variety of options including open shelving for easy access to frequently used items or closed cabinets for concealed storage.
Consider incorporating drawers into the design for additional storage space or adding decorative panels to enhance its aesthetic appeal. If you plan on using bar stools with your island, ensure that there is enough legroom between them and any cabinetry below.
When selecting materials for the base construction, keep in mind durability and functionality while also considering how they complement other elements in your kitchen such as flooring or backsplash tiles. Wood is a popular choice due to its versatility but metal frames are also an option if you prefer an industrial look.
Designing a functional yet stylish kitchen island requires careful planning so take some time to consider all aspects before starting construction.
Storage and Seating Options
Not only do they add functionality, but they also enhance the overall look of your space. For storage options, you can choose from a variety of cabinets and drawers that fit your needs.
Consider adding open shelving for displaying decorative items or frequently used cookware.
Seating is another important aspect to think about when building a kitchen island with a sink. Determine how many seats you want based on the size of your family or if you plan on entertaining guests often.
You can opt for bar stools or chairs that complement the style of your home.
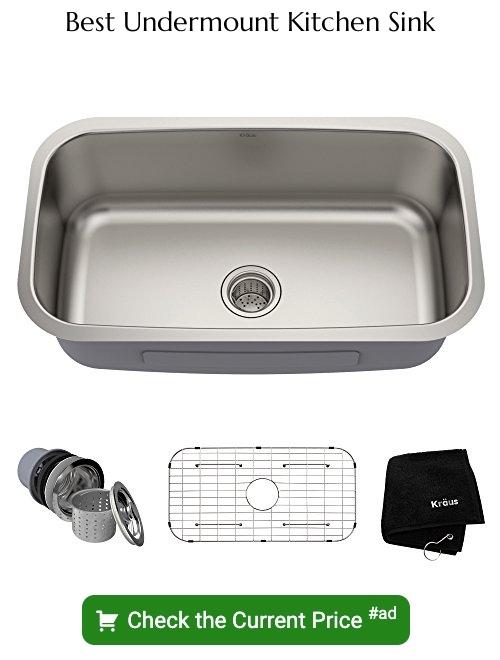
Choosing the Right Sink
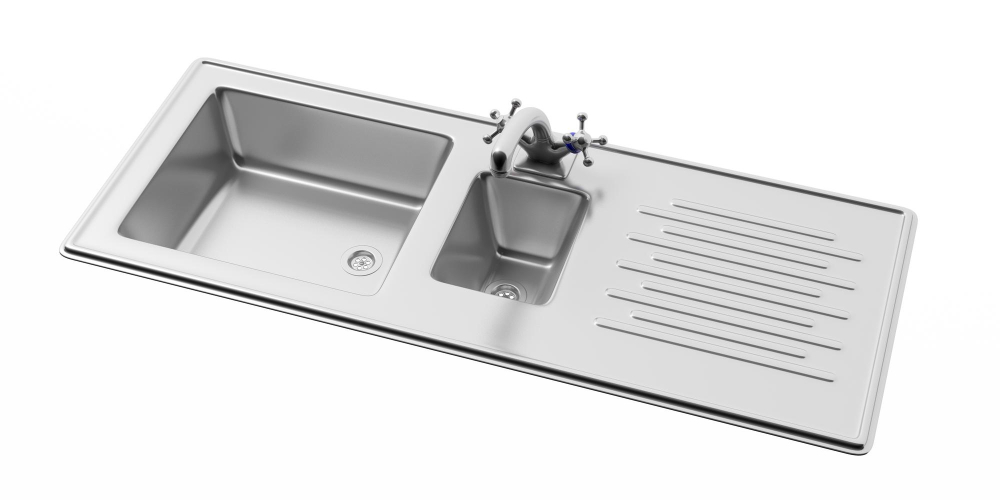
First and foremost, you need to decide on the size and shape of your sink. A single-bowl sink is a popular choice as it provides ample space for washing dishes or preparing food.
However, if you have a larger family or frequently entertain guests, a double-bowl sink may be more practical.
Another important consideration is the material of your sink. Stainless steel sinks are durable and easy to clean but can scratch easily over time.
Porcelain sinks offer an elegant look but require more maintenance than other materials.
You should also think about whether you want an undermount or top-mount installation for your sink in relation with countertop material selection.
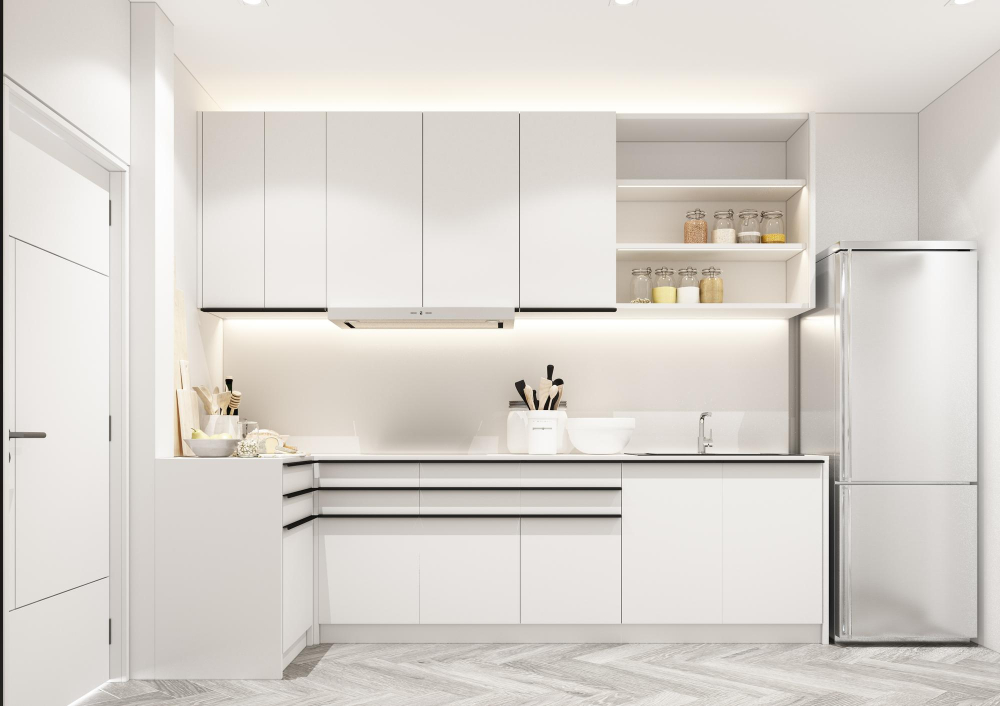
Selecting the Countertop Material
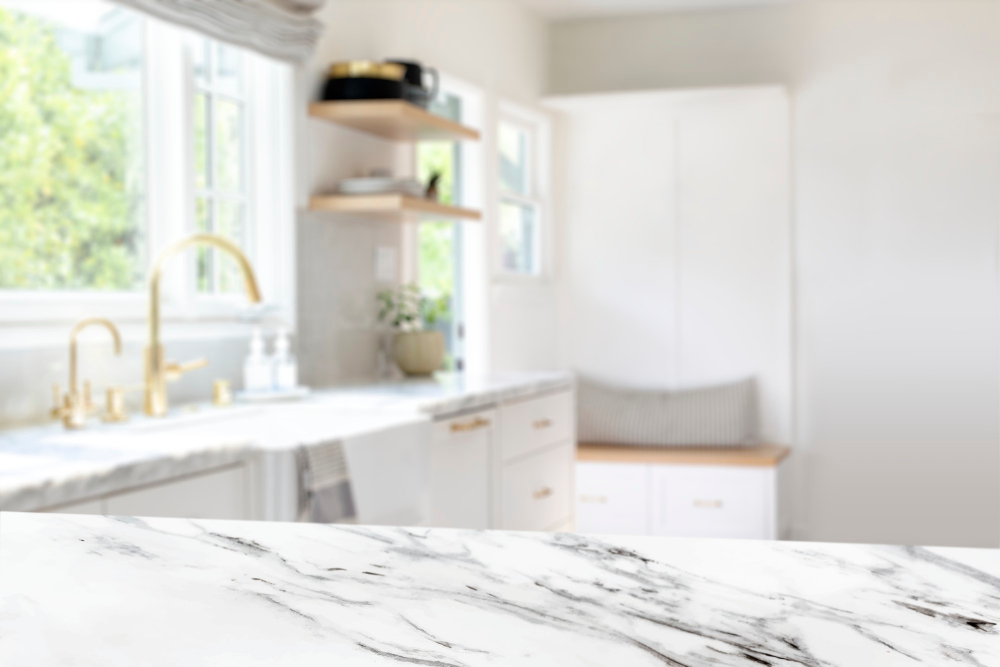
The most popular materials include granite, marble, quartz, and butcher block. Each has its own unique characteristics that make them suitable for different needs and preferences.
Granite is a durable natural stone that offers an elegant look to any kitchen space. It’s heat-resistant and easy to clean but requires regular sealing maintenance.
Marble provides a classic look with its veined patterns but is more porous than granite and can be easily stained or scratched if not properly maintained.
Quartz countertops are engineered from crushed quartz mixed with resin binders which makes them highly resistant to scratches, stains as well as bacteria growth making it ideal for food preparation areas like the kitchen island sink area.
Butcher block countertops offer warmth in appearance while being functional at the same time since they can be used directly as cutting boards without damaging knives’ edges; however they require frequent oiling maintenance.
Materials and Tools
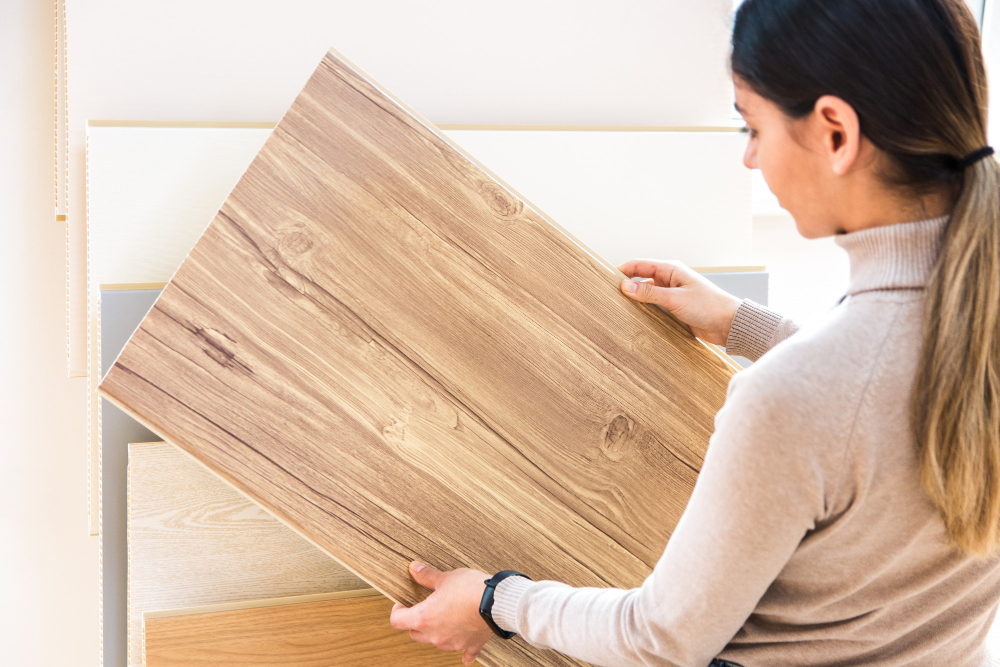
The type of materials you choose will depend on your personal style and budget. For the base of the island, you can use pre-made cabinets or build them from scratch using plywood or MDF boards.
You’ll also need screws, wood glue, clamps, and a drill to assemble everything together.
For the countertop material, popular options include granite or quartz for durability and easy maintenance. However, if you’re looking for something more affordable yet still stylish consider laminate countertops which come in various colors.
When it comes to selecting a sink for your kitchen island make sure that it fits well into space without taking up too much room while providing enough depth for washing dishes comfortably.
Other essential tools include saws (circular saws are great), sandpaper (for smoothing out rough edges), measuring tape (to ensure accurate measurements) as well as safety equipment such as gloves and goggles when working with power tools.
Preparing the Area
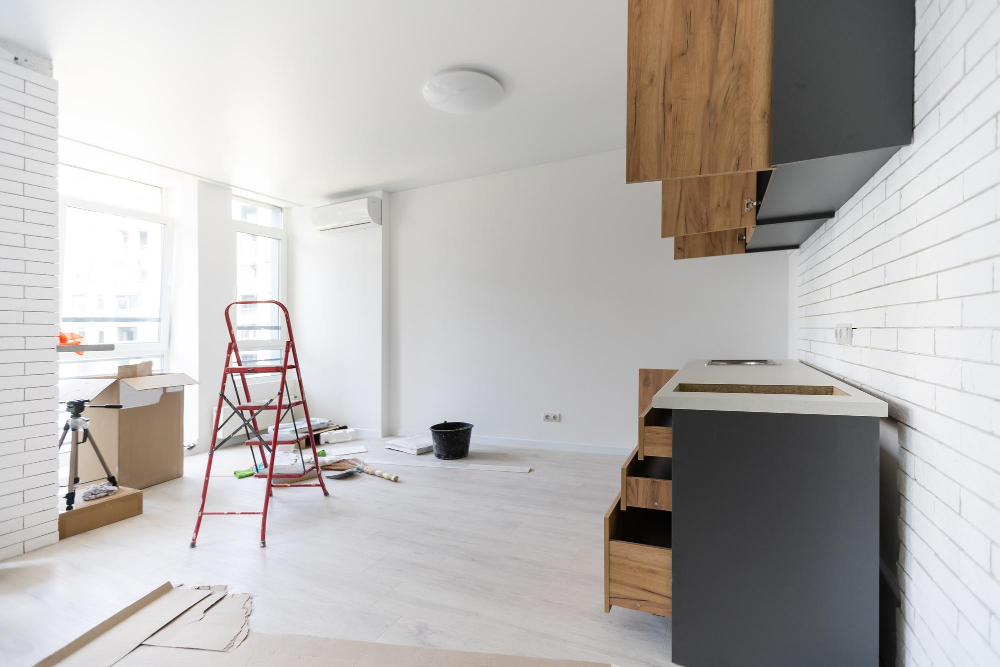
First, clear out any clutter or obstacles in the space to ensure that you have enough room to work comfortably. Next, measure and mark off the exact location of where your island will sit using painter’s tape or chalk lines on the floor.
It is also essential to check for any electrical wiring or plumbing that may run beneath your kitchen floor before proceeding with construction. If there are any obstructions present, such as pipes or wires, make sure they are relocated before beginning work on your new island.
Lastly, consider laying down a protective covering over surrounding floors and cabinets during construction.
Assembling the Cabinets
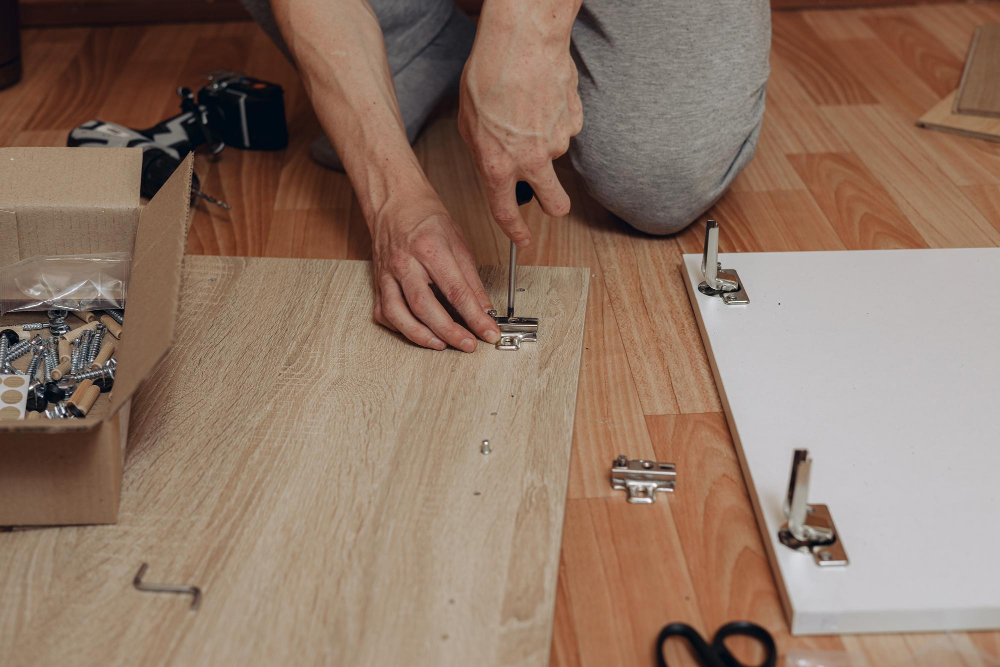
Begin by laying out all of the pieces and hardware needed for each cabinet. Follow the manufacturer’s instructions carefully, making sure to use only recommended tools and materials.
Start with building a sturdy base frame that will support all of your cabinets securely. Then attach side panels, shelves, drawers or doors as per design specifications.
Make sure that everything is levelled properly before moving on to attaching adjacent cabinets together using screws or dowels provided in assembly kits.
Building the Island Base
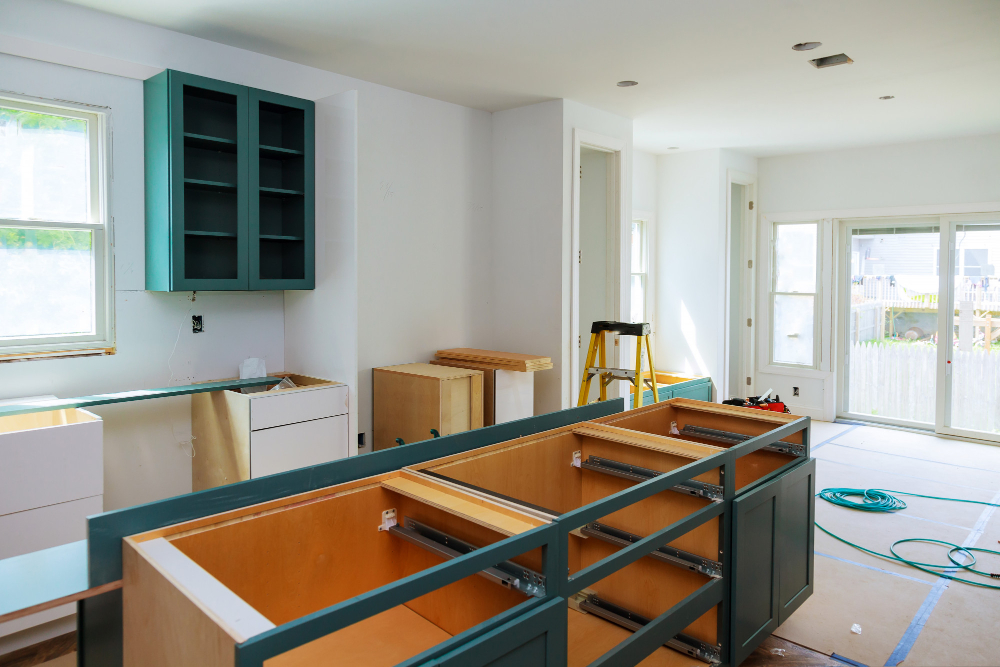
The first step is to gather all the necessary materials and tools. You will need a saw, drill, screws, wood glue, clamps or vice grips for holding pieces together while they dry.
Next up is designing the base of your island. This can be done by using pre-made cabinets or constructing custom ones from scratch with plywood sheets cut into appropriate sizes according to your design plan.
When assembling cabinets for an island base make sure that they are levelled properly before attaching them together with screws and wood glue. It’s important not only for aesthetic reasons but also because uneven surfaces can cause problems when installing countertops later on in this process.
After attaching all of the cabinet pieces together securely using screws and wood glue as needed; add end panels if desired (these will cover any exposed sides) then attach backer board behind each cabinet section so that there are no gaps between them once installed onto flooring surface below.
Attaching the Cabinets to the Floor and Each Other
This step is crucial in ensuring that your kitchen island is sturdy and secure. Begin by positioning the first cabinet in place, making sure it’s level with shims if necessary.
Then drill pilot holes through the back of the cabinet into studs or blocking on both sides of where two cabinets will meet.
Next, use wood screws to attach a 1×3 cleat along each side of every adjoining cabinet at their base. The cleats should be flush with one another so that they form a straight line when viewed from above.
Connect all adjacent cabinets together using metal L-brackets screwed into pre-drilled holes on either side of each joint for added stability.
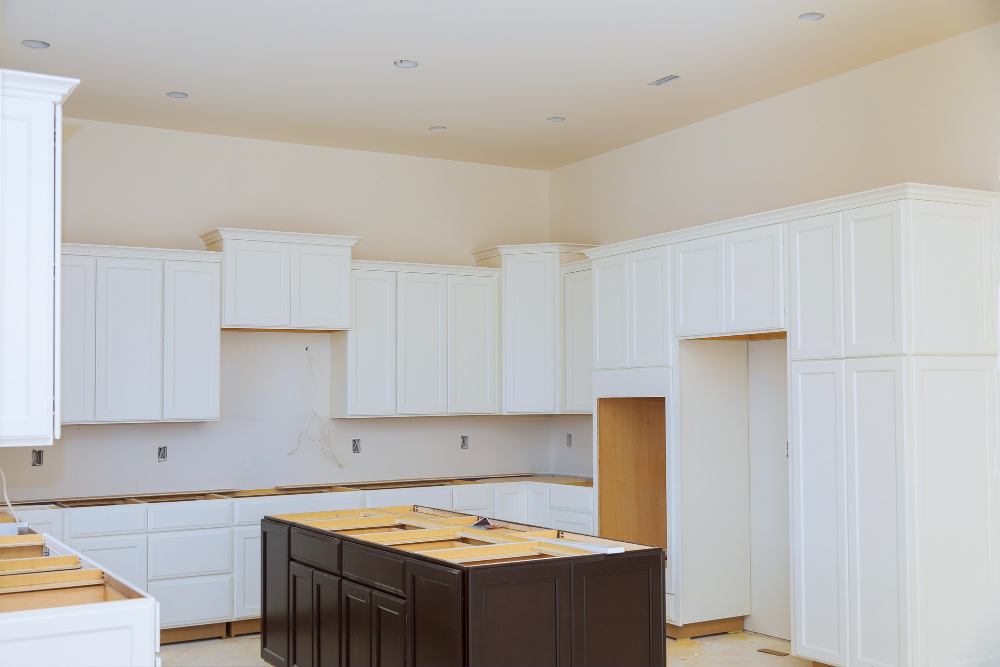
Installing End Panels and Backer
End panels are decorative pieces that cover exposed sides of cabinets, while a backer is a thin piece of material that covers the wall behind your island. These elements not only add visual appeal but also protect against moisture damage.
To install end panels, measure and cut them to fit precisely over each cabinet side using a saw or jigsaw. Then attach them with screws or adhesive according to manufacturer instructions.
For installing backer, first measure the area where it will be installed carefully. Cut it slightly larger than necessary so you can trim off any excess later on if needed.
Use construction adhesive or nails to secure it in place on top of drywall or other wall covering materials.
Adding Baseboard Molding
Not only does it provide an aesthetically pleasing finish, but it also helps to protect the island from water damage and wear and tear. To add baseboard molding, measure the length of each side of your island and cut pieces of trim accordingly.
Use wood glue or finishing nails to attach the trim to the bottom edge of each cabinet panel.
Once you have attached all four sides, fill any gaps or nail holes with wood filler before sanding down any rough edges for a smooth finish. You can then paint or stain your baseboard molding to match your cabinets for a cohesive look.
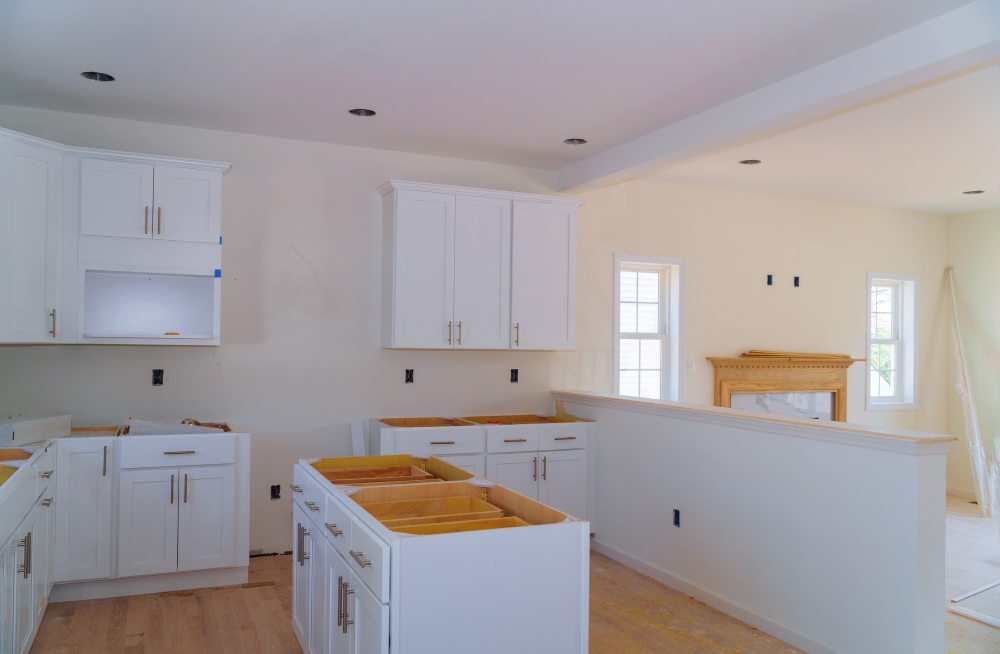
Installing the Countertop
The countertop is an essential element that ties everything together and provides a smooth surface for food preparation. Before installing, make sure that you have measured accurately to ensure a perfect fit.
To install the countertop, place it on top of your kitchen island base and secure it with screws from underneath. Make sure to use screws long enough to go through both layers without poking through the top surface.
If your chosen material requires seams or joints, be careful when cutting them as they need to be precise for a seamless finish. Use clamps or adhesive materials like silicone caulk or epoxy glue if necessary.
Check that all edges are levelled correctly before securing in place permanently by tightening all screws securely but not too tight as this may cause damage over time due to expansion/contraction caused by temperature changes in different seasons.
Mounting the Sink

Begin by placing the sink upside down on top of the countertop and tracing its outline with a pencil. Use a jigsaw or handsaw to cut along this line, making sure to leave enough space for any mounting clips or hardware.
Next, apply silicone caulk around the edge of the cutout and place your sink into position. Secure it in place using mounting clips provided with your sink kit.
Make sure that everything is level before tightening all screws securely but not too tight as they can crack porcelain sinks if overtightened.
Connect plumbing lines according to manufacturer instructions and test for leaks before proceeding further with installation steps.
Connecting Plumbing and Drainage

This step requires some basic knowledge of plumbing and may require a professional plumber if you are not confident in your abilities. First, install a P-trap under the sink drain to prevent sewer gases from entering your home.
Then, connect the water supply lines to both hot and cold valves on either side of the faucet base using flexible hoses or copper pipes with compression fittings.
Next, attach a shut-off valve for each line so that you can turn off water flow when needed without affecting other areas of your home’s plumbing system. Test all connections by turning on both hot and cold water supplies while checking for leaks around joints or connections.
Remember that proper installation is crucial for preventing future problems such as leaks or clogs in your kitchen island sink drainage system.
Electrical Requirements and Safety Considerations
You will need to ensure that there is an electrical outlet nearby for the sink’s garbage disposal and any other appliances you plan on using in your island. It’s also crucial to follow all local codes and regulations when installing wiring or outlets.
To avoid potential hazards, make sure that all wiring is properly grounded, insulated, and protected from moisture. If you’re not comfortable working with electricity yourself, it may be best to hire a licensed electrician for this part of the project.
Keep in mind any safety concerns related to water near electricity sources. Make sure that your plumbing connections are secure and leak-free before turning on power or using any appliances connected to your new kitchen island.
Installing Lighting and Ventilation

Proper lighting and ventilation are essential for creating a comfortable and functional cooking space. You can install pendant lights above the island to provide task lighting while adding an elegant touch to your kitchen decor.
For ventilation, consider installing an overhead range hood that vents outside or recirculates air through filters. This will help remove smoke, steam, grease, and odors from your cooking area.
Make sure you follow all electrical requirements when installing lighting fixtures or appliances in close proximity to water sources like sinks. It is always best practice to hire a licensed electrician for any wiring work required during installation.
Finishing Touches and Maintenance

You can paint or stain the base and cabinets to match your existing decor. Consider adding decorative hardware such as knobs or handles for a polished look.
Maintenance is also an important aspect of keeping your kitchen island in top condition. Regularly clean and sanitize the sink area to prevent bacteria buildup.
Wipe down countertops after each use and avoid placing hot pots directly on them, as this can cause damage.
If you notice any wear and tear on the countertop or base over time, make repairs promptly before they become bigger issues that require more extensive work.
By following these simple steps for finishing touches and maintenance, you’ll be able to enjoy your beautiful new kitchen island with a sink for years to come!
FAQ
Is it cheaper to buy or build a kitchen island?
It is often cheaper to build a kitchen island if you have basic DIY building experience.
Is it practical to have a sink in kitchen island?
Yes, having a sink in a kitchen island is practical if the island serves as the main food preparation area, as it provides a huge bonus and proves worthwhile despite a slightly more complex design.
How much does it cost to build your own kitchen island?
The cost to build your own kitchen island typically ranges between $100 and $10,000, with an average of $4,000 paid by homeowners nationally.
What materials are recommended for building a durable and functional kitchen island with a sink?
Recommended materials for building a durable and functional kitchen island with a sink include hardwood or plywood for the frame, stainless steel or quartz for the countertop, and ceramic or stainless steel for the sink.
Which factors should be taken into account while planning the plumbing for a sink in a kitchen island?
When planning the plumbing for a sink in a kitchen island, consider factors such as water supply, drainage system, venting requirements, electrical connections, sink type, and available space.
How can storage and seating be incorporated into the design of a kitchen island with a sink?
Incorporating storage and seating into a kitchen island with a sink can be achieved by designing cabinets and drawers below the sink for storage, and adding a built-in seating area to one side or end of the island.


