Last updated on
Because cherry cabinets can enhance your home’s aesthetics and value when painted properly, let’s dive into a comprehensive guide to get it done right.
Key takeaways:
- Evaluate the condition of cherry cabinets before painting.
- Painting cherry cabinets can revitalize the kitchen but may devalue the wood.
- Use oil or shellac-based primer and acrylic latex paint for cherry cabinets.
- Gather necessary tools and materials for painting cherry cabinets.
- Follow a step-by-step process for prepping and painting cherry cabinets.
What's Inside
Evaluating the Current Condition of Cherry Cabinets

Before diving into the painting process, closely inspect your cabinets for signs of wear or damage. Look for indications of structural integrity, such as sturdy doors and solid frames. Any signs of warping, cracking, or loose hinges require attention prior to painting.
Examine the wood’s surface for deep scratches, water damage, or discoloration that might affect the final outcome. A smooth, clean surface is essential for a quality paint job, so identifying these issues early helps you determine whether to proceed with sanding and priming, or if more extensive repairs are needed.
If your cabinets have a glossy finish or existing paint, assess its condition — paint adheres best when the previous finish is stable, not peeling, or flaking. Lastly, note the wood grain’s prominence; filling in the grain for a uniform texture is an option if you prefer a smooth look.
Addressing these factors ensures a successful transformation without surprises during the project.
Pros and Cons of Painting Cherry Cabinets
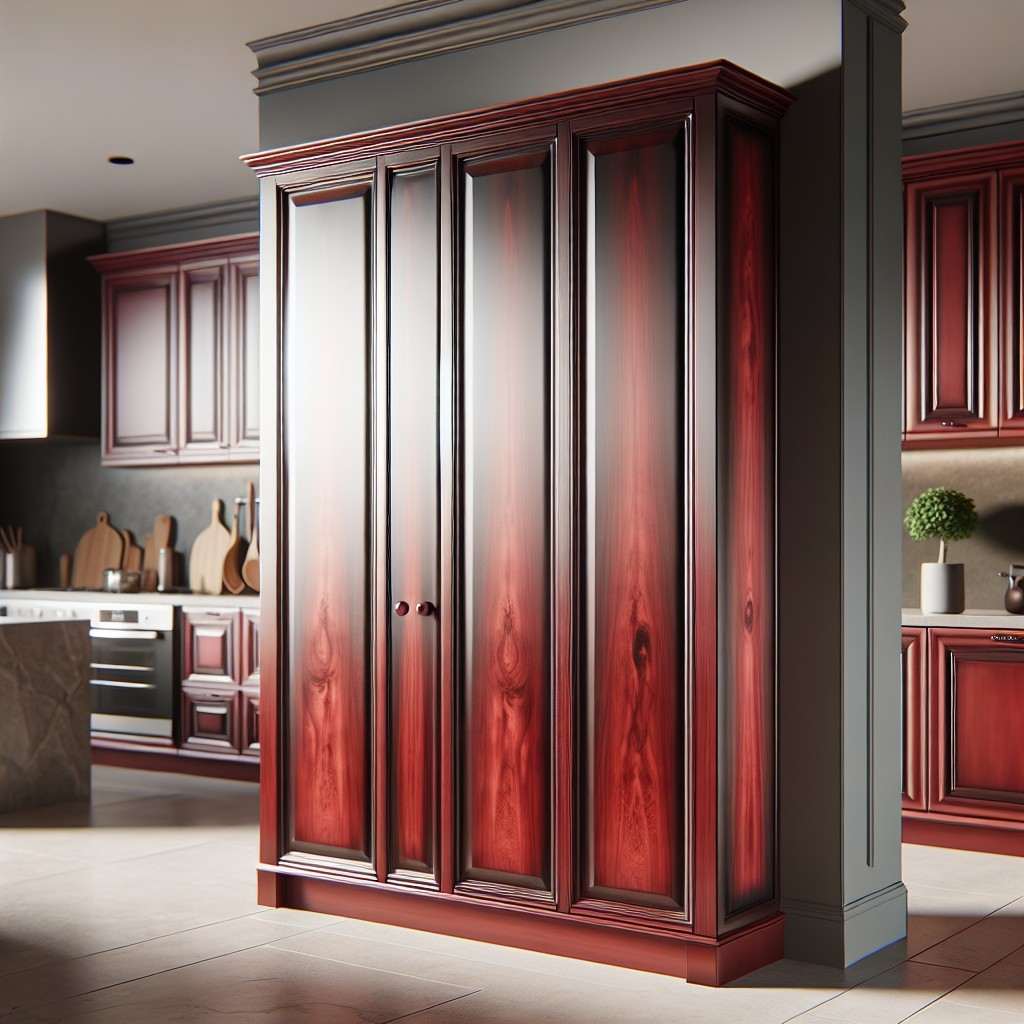
Cherry wood is known for its durability and timeless appeal, often darkening to a richer hue over time. Deciding to paint it involves weighing several factors.
On the plus side, a fresh coat of paint can completely revitalize an outdated kitchen, bring light to a dark space, and allow for a customized look that reflects your personal style. It’s a cost-effective way to modernize without the full expense of new cabinetry.
However, the unique grain pattern of cherry wood can be obscured by paint, potentially reducing the natural aesthetic and value that cherry wood brings. Additionally, painting high-quality wood cabinets is sometimes seen as devaluing the intrinsic worth of the original material.
Since cherry cabinets are typically associated with luxury, opting to paint may not align with the preferences of future homebuyers who prize natural wood finishes. Therefore, consider the impact on resale value, particularly if your cabinets are in excellent condition.
Lastly, cherry wood’s smooth finish requires meticulous prep work to ensure paint adherence. Skipping steps or rushing the process could lead to peeling or chipping later, necessitating further repair and refinishing.
Choosing the Right Primer and Paint for Cherry Wood
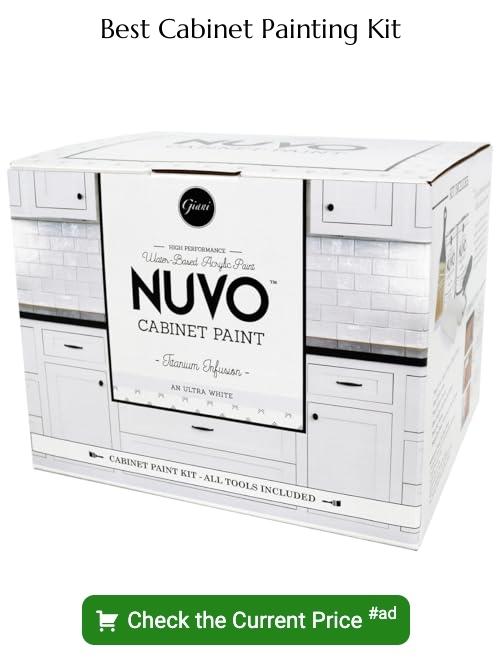
To ensure your cherry cabinets have the best possible finish, opt for an oil-based or shellac-based primer. These types of primers adhere more effectively to cherry wood’s smooth surface, offering a stable foundation for the topcoat. They also prevent any potential bleeding of the wood’s natural tannins.
When selecting paint, go for a high-quality acrylic latex paint. Its durability and ease of cleaning make it well-suited for kitchen environments where moisture and grease are common. Moreover, a semi-gloss or gloss finish is recommended as it not only adds a pleasing sheen but also stands up well to the wear and tear typical in kitchens. Remember to consider the paint’s drying time and potential color shifts when drying, especially crucial in maintaining the desired look over the long term.
Necessary Tools and Materials for Painting Cherry Cabinets
Before diving into the transformation of your cherry cabinets, gathering the right tools and materials is crucial. You’ll need a high-quality primer that’s designed to adhere to wood surfaces and block tannins—those pesky natural wood oils that can seep through paint over time. A satin or semi-gloss enamel paint is your best bet for a durable and cleanable finish.
Don’t forget about the tools for application. A fine-grit sanding sponge or sandpaper will help you rough up the surface to ensure the primer sticks. You’ll also need tack cloths or a damp rag to wipe away any dust. For the smoothest application, invest in a high-quality synthetic brush for the corners and a microfiber roller to cover the flat surfaces. To prevent paint from getting on your counters and floors, painter’s tape and drop cloths are essentials.
If you’re removing the doors and hardware – which is highly recommended for an even paint job – keep a screwdriver or drill handy. Finally, consider a paint tray, stir sticks, and a can opener for a well-rounded prep kit. Equipped with these tools, you’ll be ready to tackle your cabinet painting project like a pro.
Step-by-Step Process for Prepping and Painting Cherry Cabinets
Ensure your cabinets are thoroughly clean before starting the prep process. Use a degreaser to remove any residues that might impede the adherence of primer and paint.
Remove hardware such as handles and hinges. This step prevents paint from getting onto the metal parts and allows a smoother painting process.
Sanding is essential for creating a surface that the primer can easily bond to. Use a medium-grit sandpaper and always follow the grain of the wood to avoid scratches.
After sanding, wipe down the wood with a damp cloth to remove all the sanding dust, ensuring a clean surface for the primer.
Apply a high-quality primer designed for wood. Primers help to block wood tannins, preventing them from bleeding through the paint and provide a robust base for the topcoat.
Once the primer is dry, lightly sand the surface again using a fine-grit sandpaper. This step will ensure a smooth finish and remove any primer that has raised the grain of the wood.
Apply the first coat of paint using smooth, even strokes to avoid drips and brush marks. For a professional result, consider using a high-density foam roller or a paint sprayer.
Wait for the first coat to dry completely, then lightly sand the surface again before applying the second coat. This will help achieve a flawless finish.
Let the final coat dry thoroughly, and after ensuring the paint is fully cured, reattach the hardware, and admire your refreshed cherry cabinets.
Tips for Achieving a Professional Finish On Painted Cherry Cabinets
To ensure a smooth and professional-looking finish, sand the cabinets gently between each coat of primer and paint; this helps the next layer adhere better and eliminates imperfections.
When selecting brushes and rollers, opt for high-quality ones to avoid bristles or lint sticking to your cabinets.
For those hard-to-reach areas and detailed work, consider using a paint sprayer which can provide a smooth, even coat without brush marks.
Apply paint in thin, even layers, allowing ample drying time between each coat, which can prevent drips or tackiness.
Lastly, consider applying a final coat of sealer or topcoat to protect the paint from chips and wear, which will keep your cabinets looking fresh and new for longer.
Maintenance and Protection Tips for Painted Cherry Cabinets
Maintaining the pristine condition of your newly painted cabinets involves regular care to prevent wear and tear. Gentle cleaning is key; use a soft cloth and mild soap, avoiding harsh chemicals or abrasive materials. Immediately wipe up spills to prevent staining and protect the finish.
Touch-ups are normal; keep a small amount of your cabinet paint on hand to quickly address any chips or scratches. For an extra layer of durability, apply a clear topcoat that’s compatible with your paint. This seals the paint and adds a protective shield.
Minimizing direct sunlight exposure can help prevent fading and discoloration over time. Use window coverings or UV-protective film to safeguard your cabinets from the sun’s rays.
Lastly, consider the hardware. Frequent use can cause wear, so occasionally tighten handles and knobs to prevent damage to the cabinet fronts. Regular attention and simple care will extend the life and appearance of your cherry cabinets.
Impact of Paint Color On Kitchen Ambiance and Resale Value
Choosing the right paint color for your cherry cabinets can dramatically transform the ambiance of your kitchen. Light hues, such as soft whites or pastels, can create an airy and open feel, ideal for smaller or darker spaces. For a bold statement, deep colors like navy or charcoal add depth and sophistication. Warm tones, like creams or light grays, complement the natural warmth of cherry wood, providing a cozy and welcoming environment.
Moreover, the selected color can influence the resale value of your home. Neutral tones often appeal to a wider range of potential buyers, making them a safe choice for enhancing property value. They allow future owners to envision their personal touches more easily. However, if you know your market well and understand the latest trends, choosing a contemporary color can also appeal to style-conscious buyers, potentially increasing interest in your property.
Remember that while personal preference is important, considering these factors can ensure that your cabinet color choice enhances both the enjoyment and the financial investment of your home.
Cost Analysis of Painting Versus Replacing Cherry Cabinets
Considering the financial aspect is crucial before diving into a kitchen update. Opting to paint your cherry cabinets can be significantly more budget-friendly than a complete cabinet replacement. Here are key points to guide your decision:
- Material Savings: Painting only requires purchasing paint, primer, and supplies, whereas new cabinets involve costs for the units, hardware, and possibly new countertops if the cabinet dimensions change.
- Labor Costs: Installation of new cabinets can be labor-intensive and costly. Painting can often be a DIY project or, if hiring professionals, still comes at a lower price than installation.
- Time Investment: Replacing cabinets can lead to a longer time without a fully functional kitchen. Painting is a quicker turnaround, minimizing disruption to your daily life.
- Value Addition: Both options can increase home value, but painting provides a more cost-effective way to refresh the look without the hefty investment of new cabinetry.
- Hidden Expenses: Consider potential additional costs, such as repairing any damage after old cabinets are removed, which isn’t a concern with painting.
By analyzing these factors, homeowners can make an informed decision that aligns with their budget and desired outcomes for their space.
Longevity and Durability of Paint On Cherry Wood Cabinets
When it comes to the lifespan of your freshly painted cabinets, the type of paint you choose plays a crucial role. Opt for high-quality acrylic or oil-based paints designed specifically for cabinetry to ensure maximum durability.
Applying a topcoat, like a polyurethane sealer, can significantly extend the life of the paint job while also making the surface easier to clean. This protective layer guards against the wear and tear that kitchen cabinets commonly face.
Environmental factors in your kitchen, like humidity, temperature changes, and exposure to cooking fumes, can impact the paint’s durability. Ensure proper ventilation and climate control to mitigate these effects.
Proper preparation of the cherry wood surface before painting is essential. Sanding, cleaning, and priming create a solid foundation for the paint to adhere to, reducing the risk of chipping and peeling.
Regular maintenance, including gentle cleaning with non-abrasive materials, will help preserve the cabinet’s finish. Avoid harsh chemicals that can strip or damage the paint.
The Longevity of your paint job also depends on the general use and care of the cabinets. Gentle use without slamming doors or drawers and periodic touch-ups to any chips or dings can maintain their pristine appearance for years to come.
FAQ
Is it a good idea to paint cherry cabinets?
Indeed, painting cherry cabinets can effectively modernize and enhance their aesthetic appeal, provided they are primed properly before painting.
How do you make cherry cabinets look modern?
To modernize cherry cabinets, consider giving them a fresh coat of light-colored paint such as pastel, gray, or white, or if you prefer a natural look, stain them in a darker color like ebony or espresso.
Can you paint over cherry wood?
Yes, it is completely possible to paint over cherry wood to give it an updated look that suits your home and style.
How do you refresh cherry cabinets?
To refresh cherry cabinets, consider updating their color by painting them in a modern hue such as white, gray, or a soft pastel.
What type of paint works best on cherry cabinets?
Acrylic enamel paint works best on cherry cabinets due to its durability and smooth finish.
How can you preserve the integrity of cherry wood while painting it?
To preserve the integrity of cherry wood while painting it, one must properly clean, sand, and prime the wood before applying a high-quality paint.
What are some color recommendations for painting cherry cabinets?
For cherry cabinets, consider colors such as crisp white, soft gray, complementary blues, or earth-toned neutrals to enhance their warm and rich tones.
Read More
 How to Choose Kitchen Cabinets: Your Ultimate Buying Guide
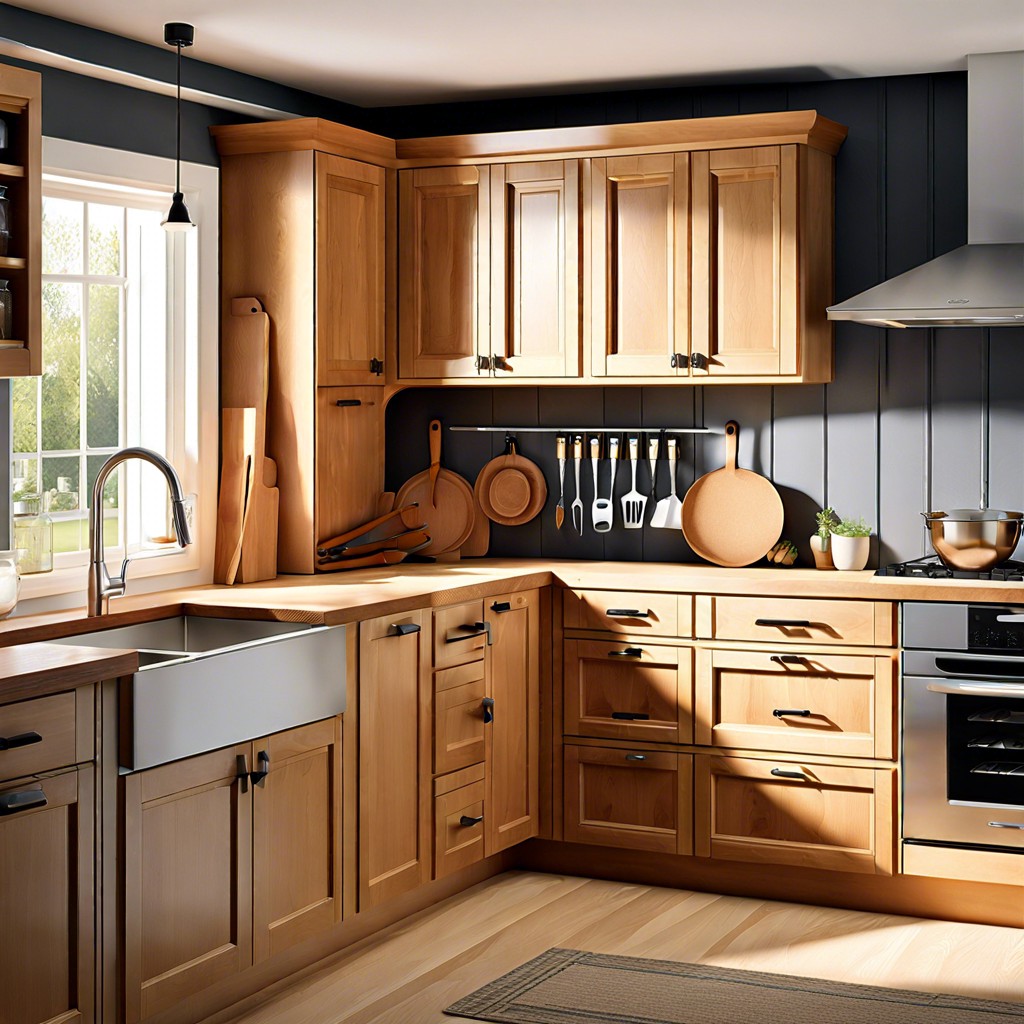 Staining Cabinets: A Step-by-Step Guide to a Fresh Look
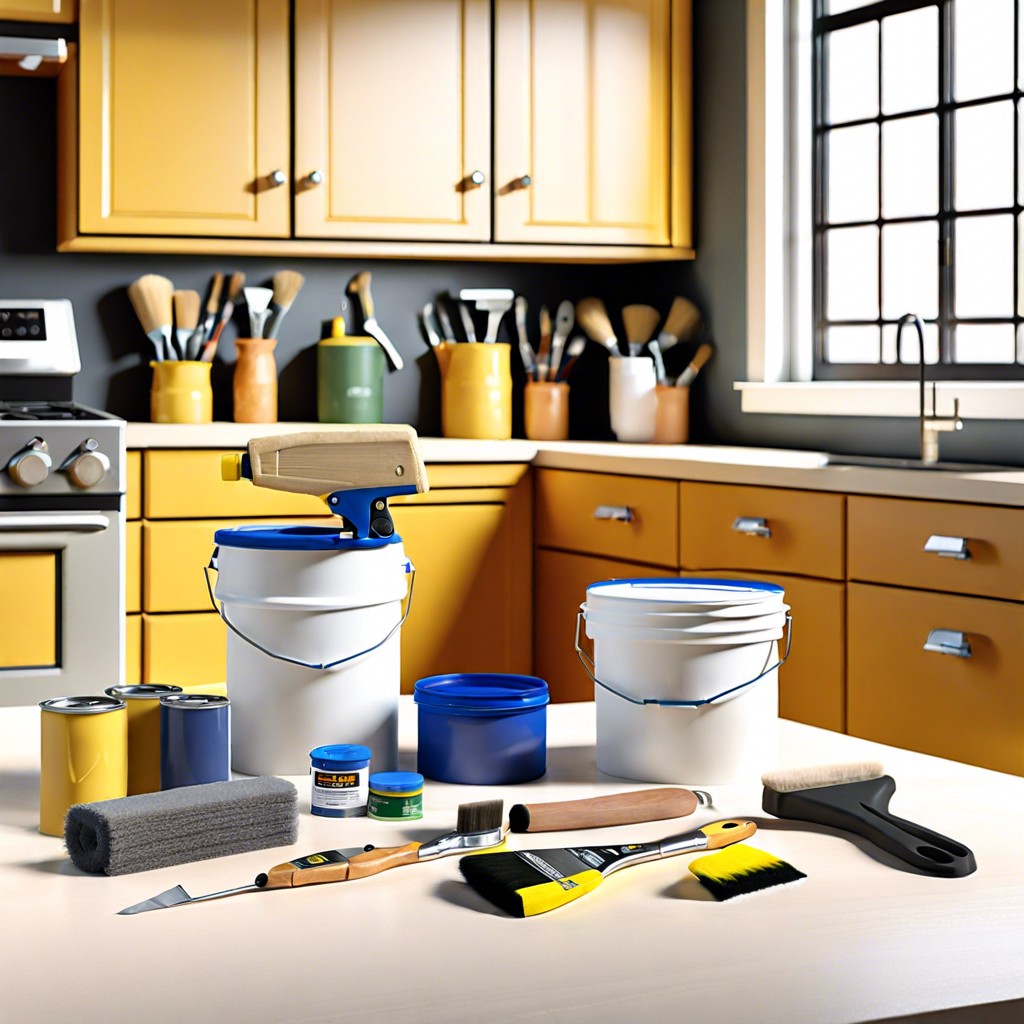 How Long Does It Take to Paint Kitchen Cabinets: A Time-Saving Guide
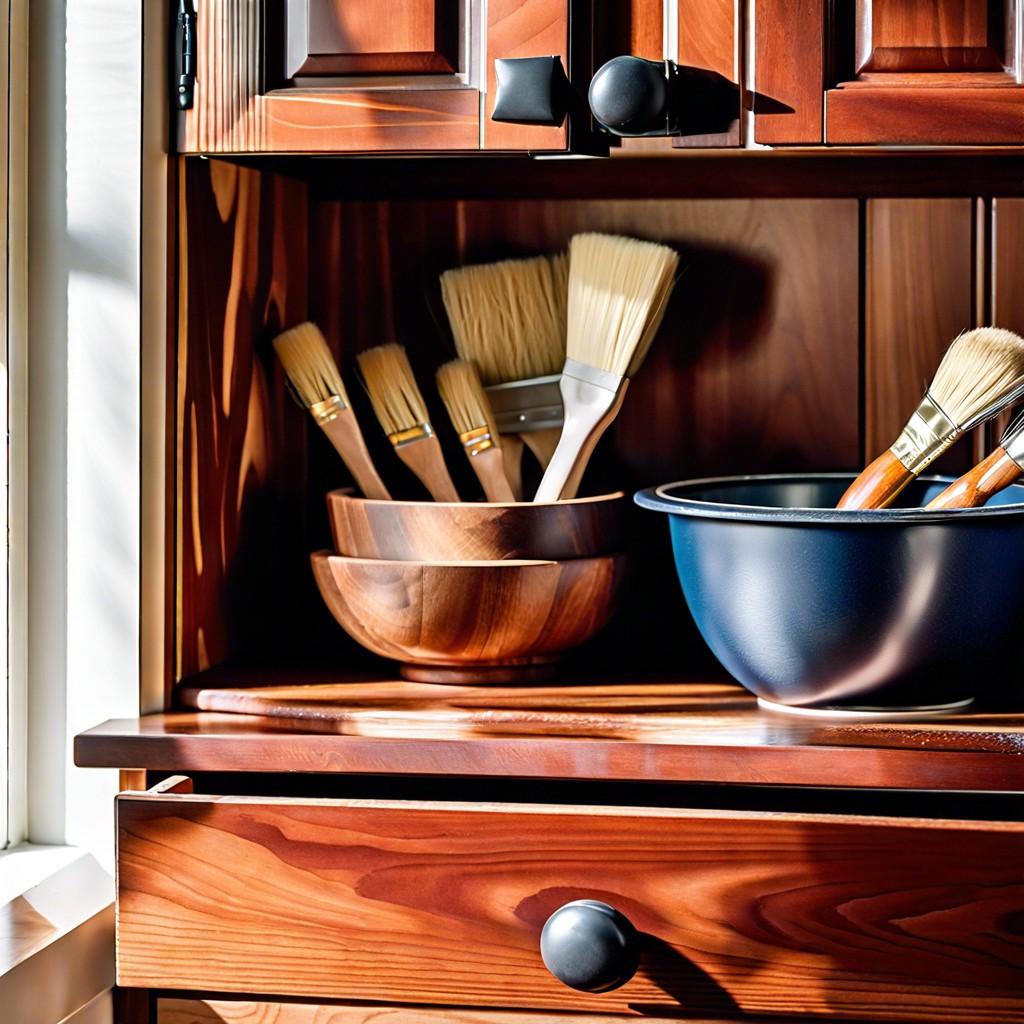 Cost to Refinish Cabinets: A Cheaper Revival
 How to Install Upper Cabinets: Tips for a Perfect Kitchen Makeover