Last updated on
Make clear ice cubes at home the easy way and without the expensive equipment. Here’s how to do it using the directional freezing method. Read on!
If you want crystal clear ice for cocktails like the classic Scotch and Soda, there are two ways of doing it. The first method involves using a special mold or ice maker, and the second method will allow you to make clear ice at home without special equipment but a simple cooler.
The process to make clear ice cubes in a nutshell:
- Pour water into a cooler.
- Put the cooler into a freezer (don’t cover it.)
- When the water freezes into one giant block of ice (up to 24 hours) take it out.
- Cut it into smaller ice cubes using a serrated knife.
- Store clear ice cubes in the freezer for future use.
Next, we’ll explain how and why this method works. We will also explore the alternatives of making clear ice cubes.
What's Inside
Clear Ice vs. Cloudy Ice
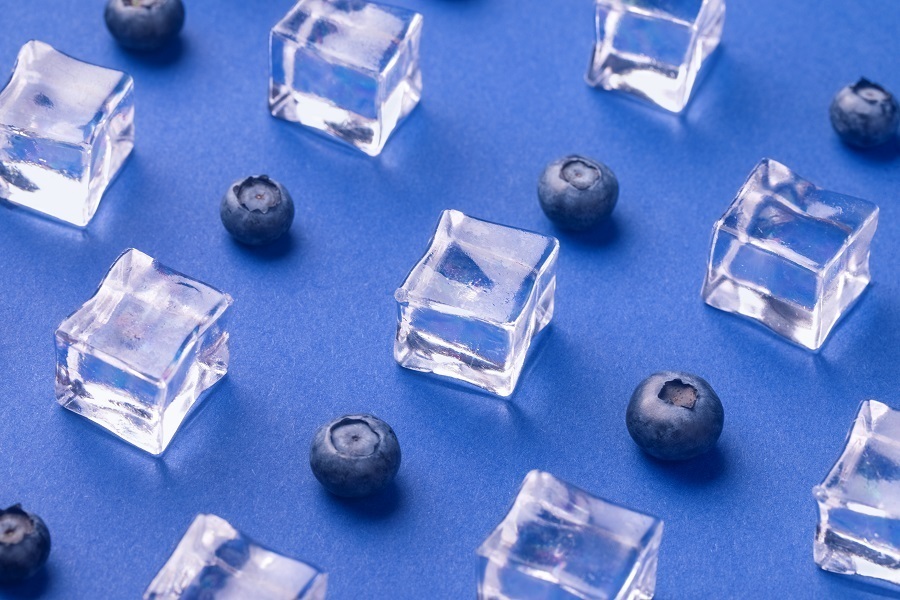
Clear ice is made with no impurities or air bubbles so that when light travels through clear ice, it can travel in a linear path, allowing you to see through and adding elegance. Ice made at home may have impurity, which scatters light; these air bubbles create many surfaces within the ice scatter light, making it clouded and less elegant.
Many commercially produced ice cubes are cloudy and impure because of their fast freezing process. Clear ice makers utilize the directional freezing method to freeze their ice, which imitates how lakes freeze from the top downwards.
The impurity of ice-making equipment leaves most ice contaminated at a low density in relation to their volume. In contrast, lakes cause most impurities to sink towards their bottom, leaving a thick layer of purer ice on top.
The amount of water used or what kind matters not. The only thing that affects the clarity of ice is if it’s directional frozen. Although you can get somewhat clear ice by freezing distilled water (with minimal impurities), you can only get real clear ice using a directional freezer.
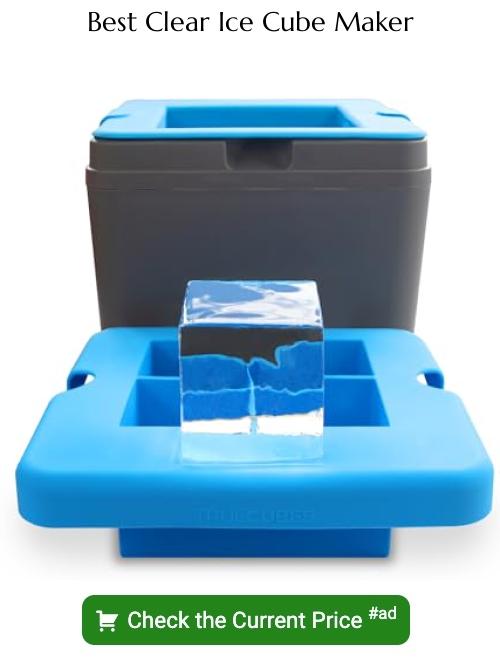
Using a Clear Ice Mold
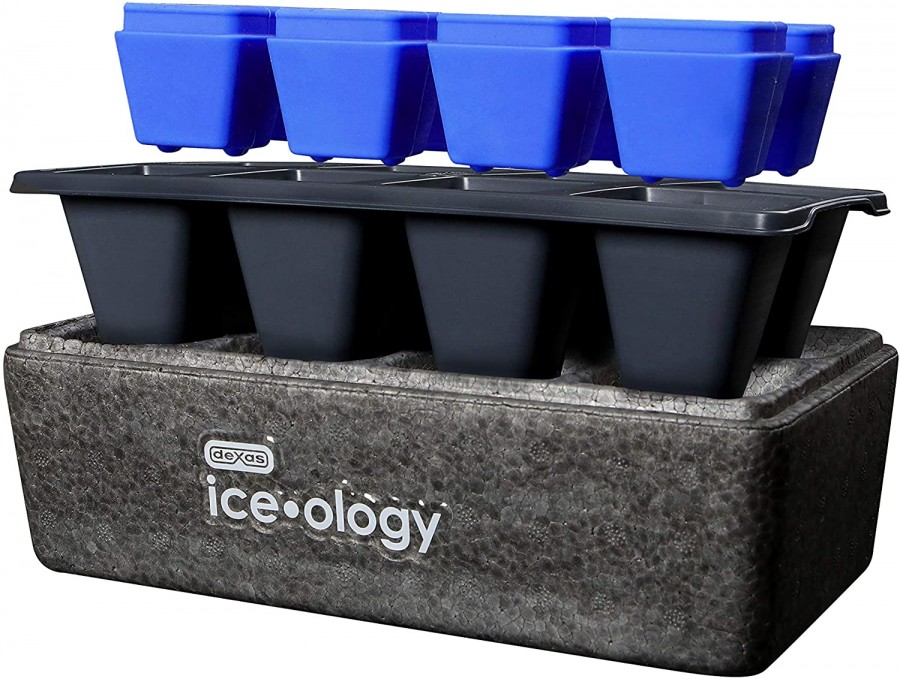
The easiest way to make clear ice at home is to get a clear ice mold. These molds are not expensive (though they will set you back more than regular molds), and they provide a simple way to make clear ice in your freezer.
The way a clear ice mold works is by forcing the directional freezing through its construction. It’s a simple insulated sleeve that forces top-down freezing and pushing the impurities out of the mold.
The problem with clear ice molds is that they are small, and you can only get small amounts of ice using them.
Making Clear Ice Using the Cooler Method
The cooler method is a technique to make clear ice at home that you then need to cut into serving-size cubes yourself. The upside over this versus buying a clear ice mold is that you’re typically able to get more ice out of it.
- First, start with an insulated cooler and fill it with water.
- Put the cooler inside the freezer without covering it with the lid.
- It will take up to 24 hours for the ice to freeze in the cooler.
- Ideally, you should leave some water at the bottom of the cooler — this is where all the impurities are left.
The method takes practice so you should check on the ice every few hours to see the progress. Eventually, you will know how long it takes for it to freeze.
How to Cut a Clear Ice Block
Using the above method, you will get a huge ice block of mostly clear ice. You have to cut it into ice cubes to be usable. Here’s how:
- Remove the ice block from the freezer and place it on a large cutting board.
- Measure the block and make identations with a serrated knife where you’ll meed to make cuts. Measure the columns of about 2 inches wide. Once all length is marked, place serrated blade in indentations and hit back side creating cubes with columns that are about 2 inches wide.
- Take columns ready for second round of cuts made through center one way – enough room for human grip to keep balance.
- Repeat steps 3-4 again, this leaves blocks which are 2×2″ cubes.
- Shape the clear ice. If you’d prefer, you can shape the ice pieces by using an ice pick. Simply poke holes through each piece of ice. If you’re feeling extra fancy, try making little swirls as well. We didn’t bother doing this step because we found that shaping the ice was unnecessary. But if you really love creating artful shapes, go ahead and add them now.
- Serve the clear ice cocktails. Once all of the ice has been harvested, it’s time to serve! You can use the ice directly in drinks, or transfer it to another container so it doesn’t melt too quickly. For our purposes here, we used plastic cups filled halfway with crushed ice and topped off with fresh fruit juice. This way, guests could easily grab their own cup of frozen goodness when they were ready to drink.
How to Make Clear Ice without a Cooler?
The simplest way to achieve directional freezing without a cooler is to let your ice cube sit in the freezer at the highest temperature overnight. The higher temperatures slow down the rate at which the water inside the ice cube freezes, allowing more time for the liquid to push away impurities. If you don’t have an extra night free, try placing the ice cube in the refrigerator for about 12 hours. It should work fine even if you only leave it for 8 hours.
The Takeaway
You can get somewhat clear ice by freezing distilled. But this poses a problem: you need to make distilled water first, and you will still not get the clear ice. The directional freezing method is involved and takes practice but gives you the ice you want without the need for expensive equipment.
FAQ
Distilled water will do the trick, though filtered tap water may also produce good results. But if you use directional freezing, any type of water will make clear ice.
Yes, but not always. Boiling water does help remove some minerals and chemicals that might cause cloudiness, but it won’t necessarily eliminate it. So while boiled water will definitely give clearer ice than regular tap water, it isn’t guaranteed to be crystal clear.
Absolutely! Just keep in mind that once you’ve removed the ice from its mold, it’ll no longer hold together like normal ice cubes.
You need two things: A mold and something to fill them with. We recommend using plastic or silicone ice cube trays since these materials allow you to pop out individual cubes without worrying about breaking them apart. You can find many different sizes available online, including ones designed specifically for making clear ice cubes. Once you’ve got your mold, pour your double-boiled distilled water into each section until it reaches half full.
No, this doesn’t actually change anything about how the ice forms. Salt just causes the water molecules to stick closer together, resulting in a denser block of frozen water. In fact, most people who add salt to their ice cubes report cloudy ice instead of clear.
It depends on what kind of ice maker you have. Some models require anywhere between 15 and 60 minutes to complete the process. However, we found that our average model takes around 20 minutes.
Read More
 Are Smart Homes Actually Better for the Environment? The Benefits, Tradeoffs, and Hidden Costs of Connected Living
 Understanding Your Septic System: Complete Guide for Rural and Suburban Homes
 Why Annual AC Maintenance Matters: The Real Cost of Skipping Tuneups
 Foundation and Crawlspace Design: Preventing Moisture Damage and Pest Entry
 Your First Steps in an Older Home (What to Inspect and Maintain)