Last updated on
Cleaning your Delta faucet aerator boosts its efficiency because, over time, mineral deposits can cause water to spray irregularly or block its flow altogether.
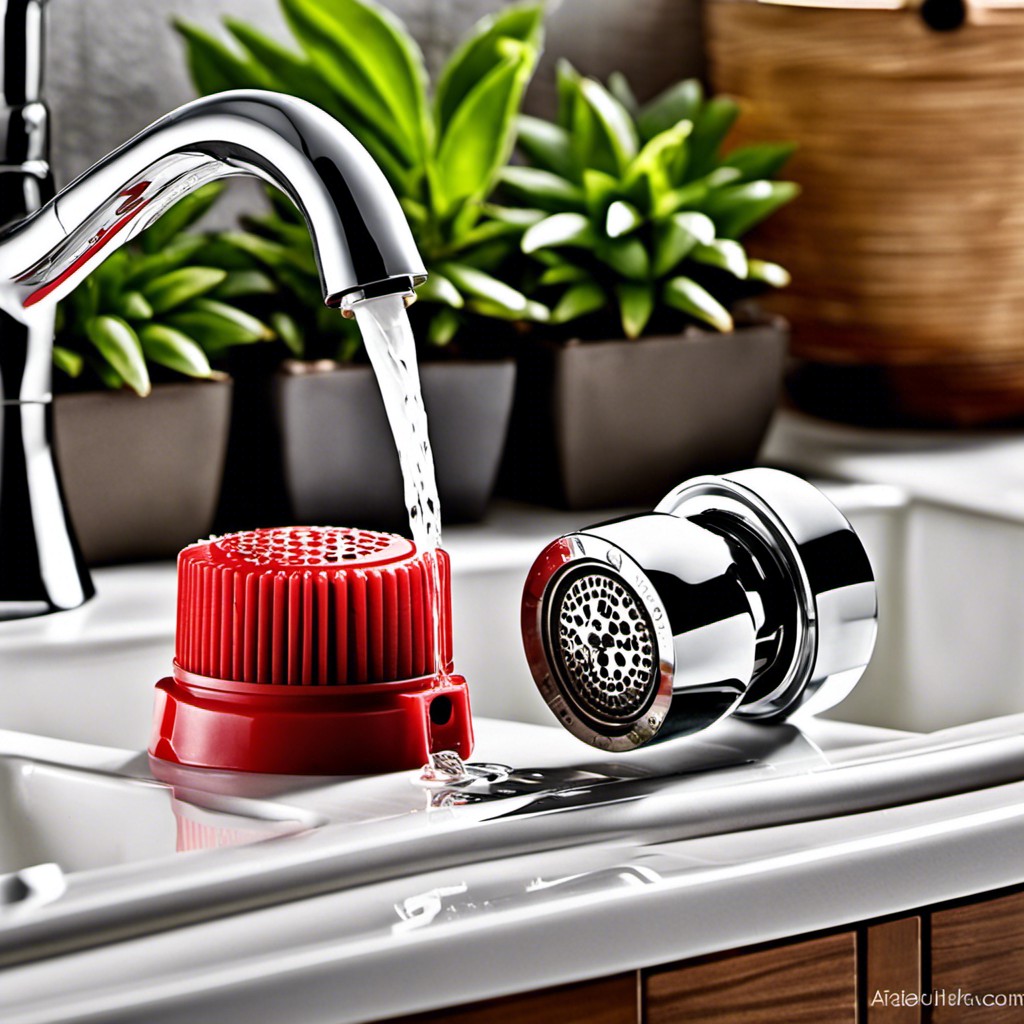
These are my unique design concepts made using design tools. I hope you find them inspiring!
Diving straight into the subject at hand – the often overlooked but essential task of delta faucet aerator cleaning.
This feature in your home requires proper maintenance to guarantee optimum performance, and here, newer, more efficient methods of ensuring this will be shared.
Many familiar techniques are found all over the internet, and trust that readers will find links to some of the best already-known methods towards the end for reference.
However, the primary focus here is on introducing fresh, unique ideas you might not have considered.
Thus unveiling innovative perspectives that can swiftly turn this seemingly mundane task into an effective routine, hopefully making this guide an invaluable tool in your home maintenance arsenal.
Let’s uncover these unique delta faucet aerator cleaning ideas together!
What's Inside
Understanding the Importance of Cleaning Delta Faucet Aerators
Keeping Delta faucet aerators clean is a key aspect of maintaining optimum functionality and ensuring a consistent water flow. When neglected, these components may become clogged with sediment or mineral deposits prevalent especially in hard water, leading to inconsistent water pressure, irregular stream, or even drips when the faucet is off.
Over time, these disturbances can escalate into a significant home maintenance issue. Regular cleaning, therefore, enhances the durability of your Delta faucet, helps conserve water by maintaining water flow efficiency, and improves the overall condition of your plumbing system. Furthermore, it helps avoid costly replacements or repairs that come with serious clogs or damage.
In brief, committing to maintaining clean aerators is an inexpensive, yet effective practice for fostering a more functional and efficient home.
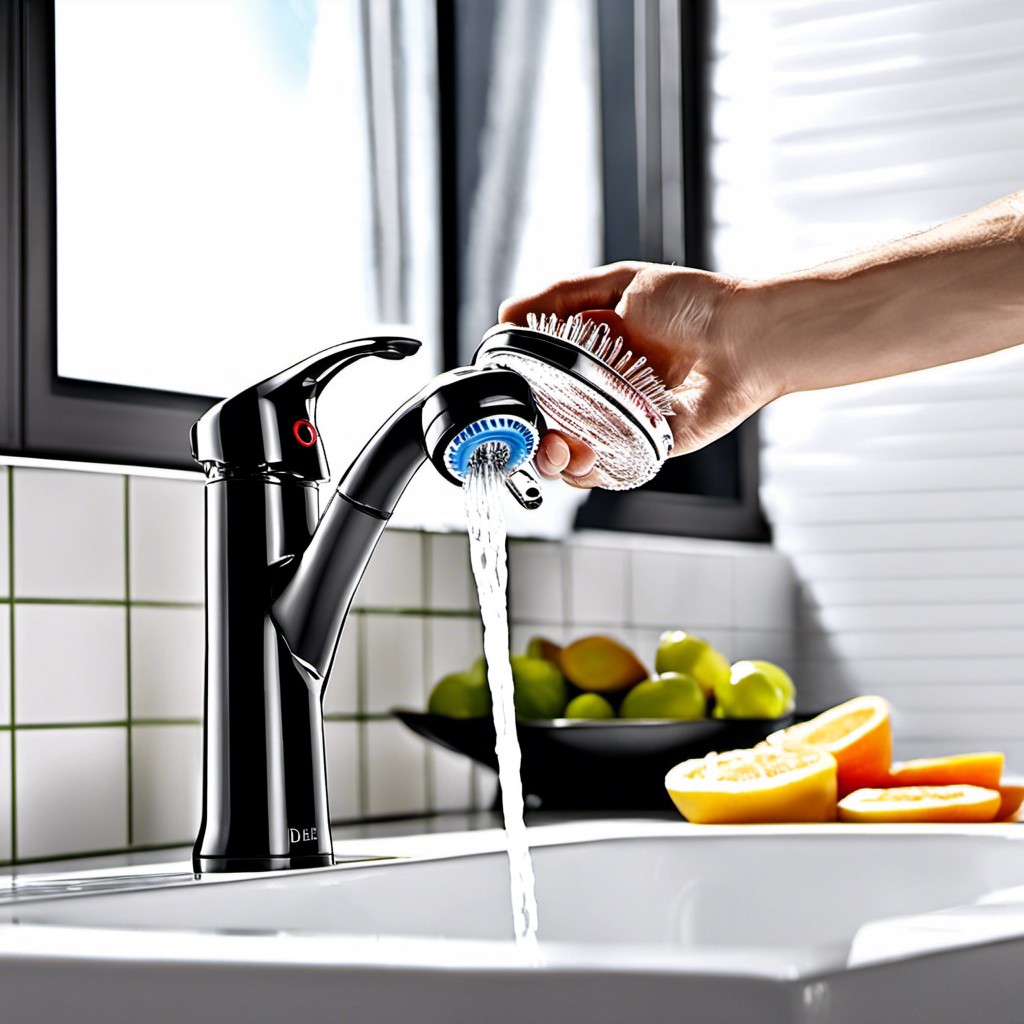
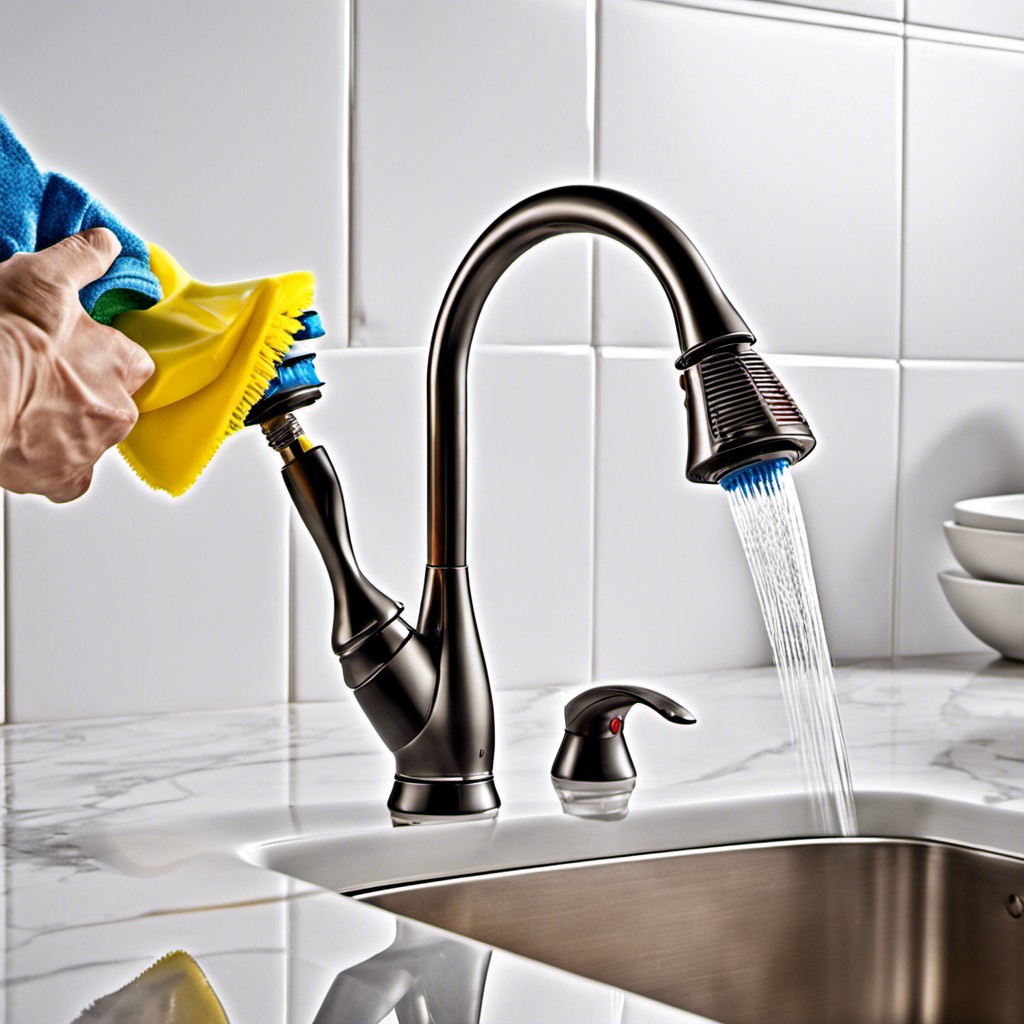
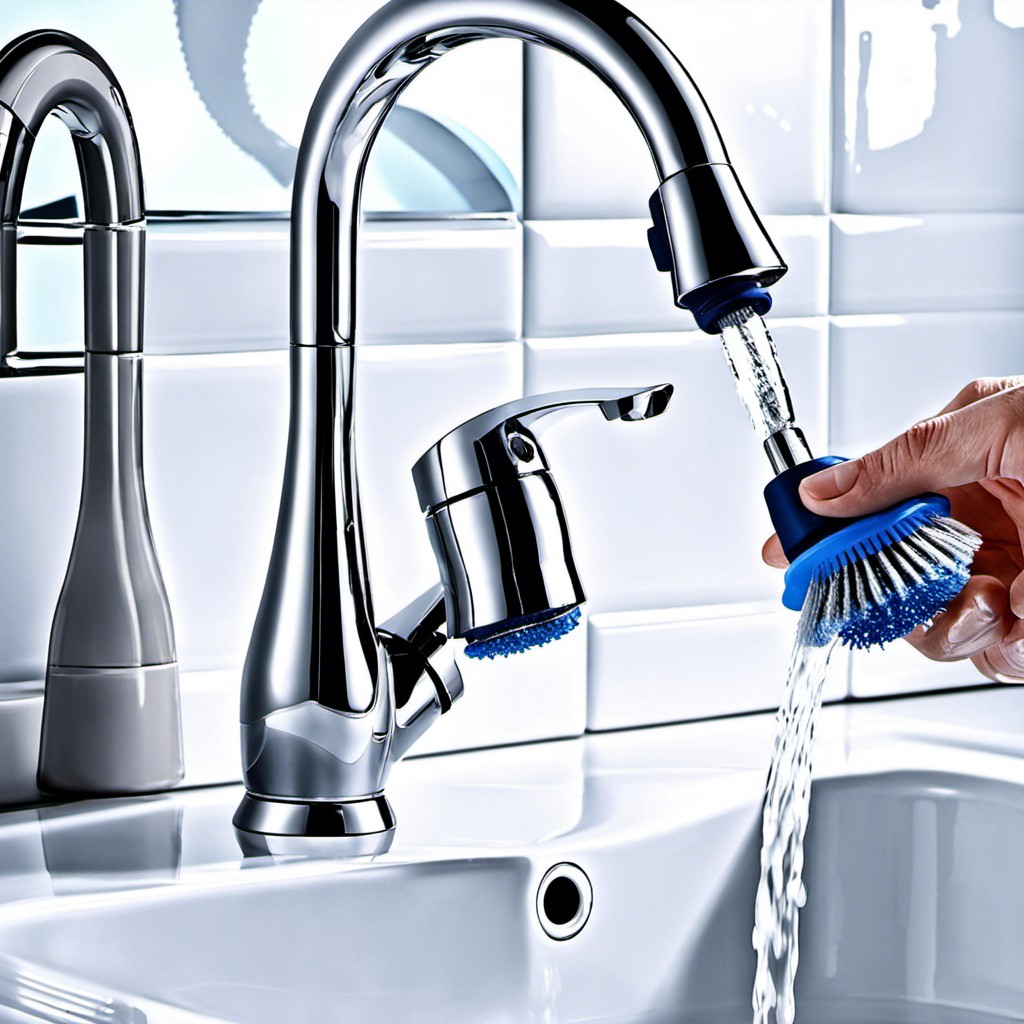
The Easy Way: Cleaning Delta Faucet Aerators Without Wrench
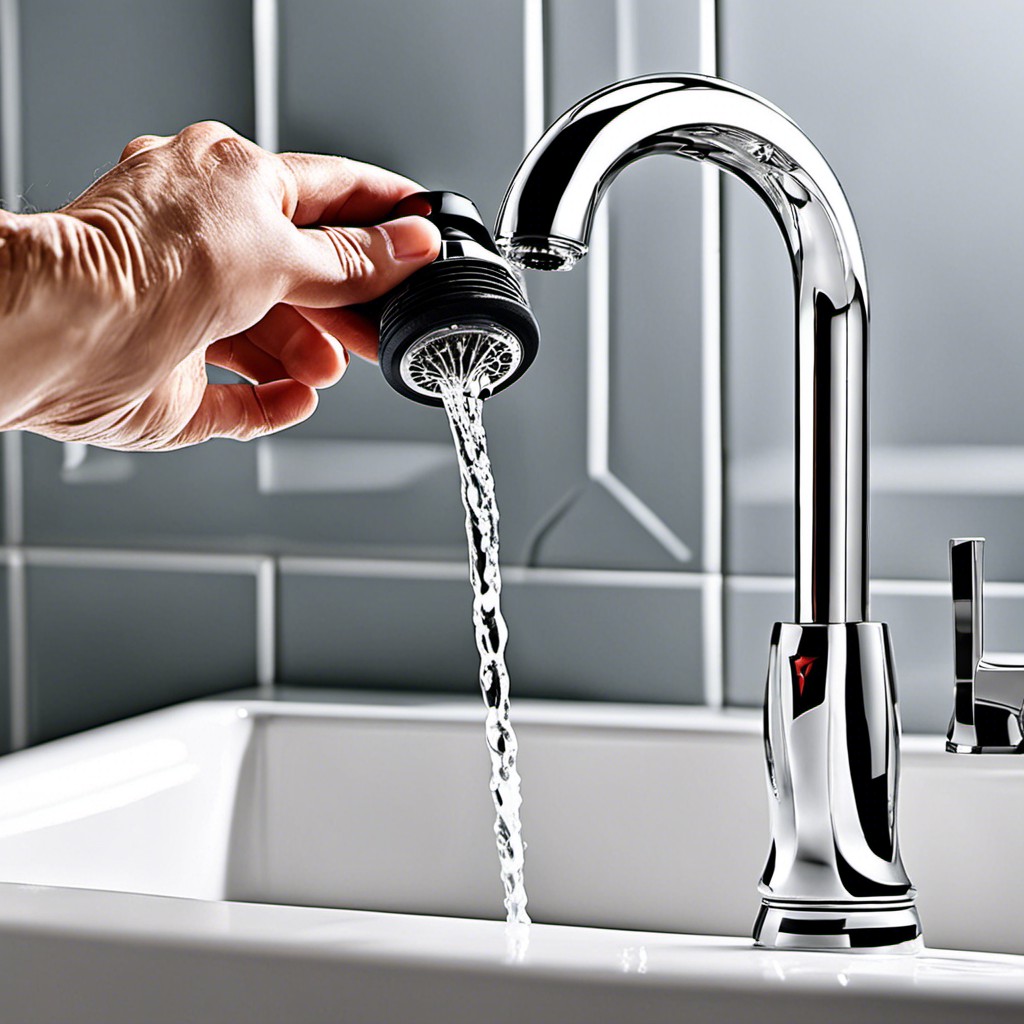
In some cases, you might find yourself without a wrench to remove the aerator for cleaning. Fear not! Many Delta faucets come with easily detachable aerators designed for hassle-free maintenance. Here’s how to clean your faucet aerator without a wrench:
1. Prepare a soft cloth: This cloth will protect the faucet’s finish while applying force to remove the aerator.
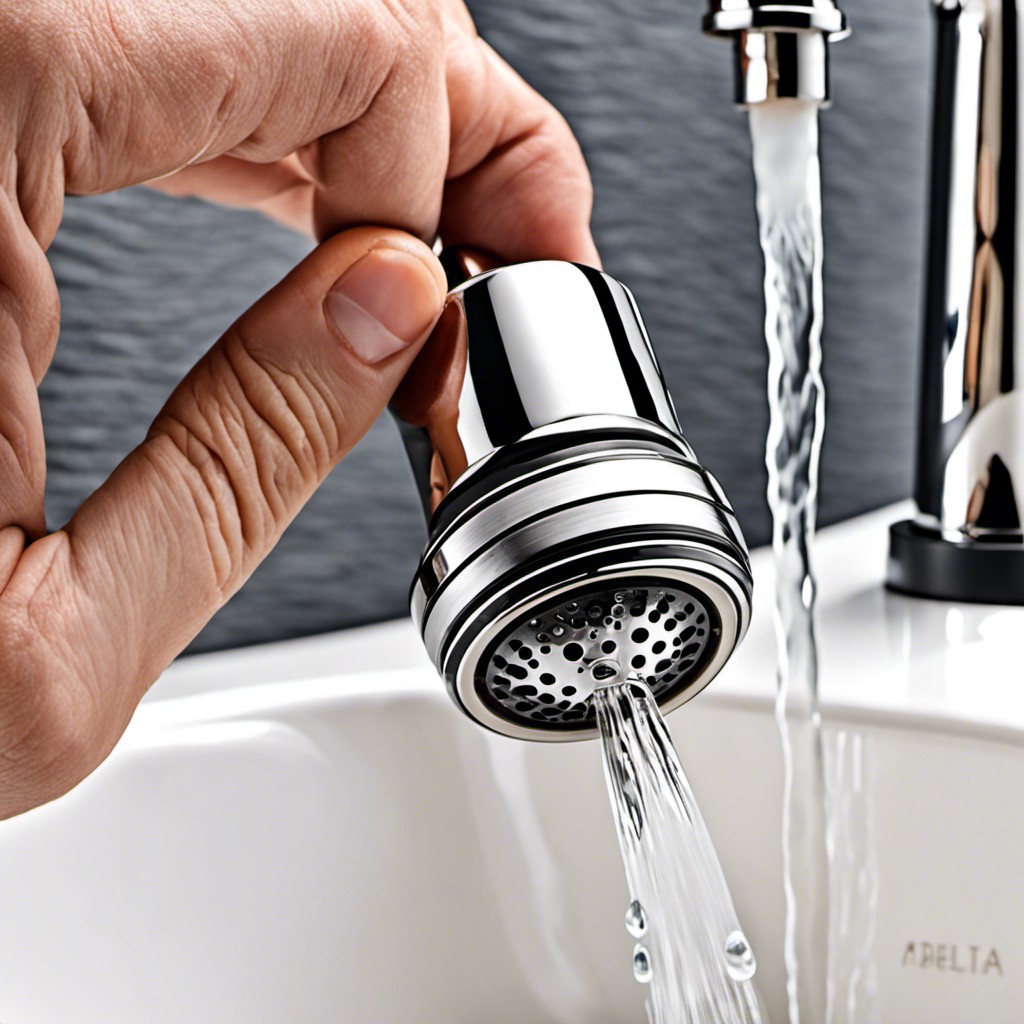
2. Grip the aerator: Place the cloth over the aerator and hold it firmly with your hand.
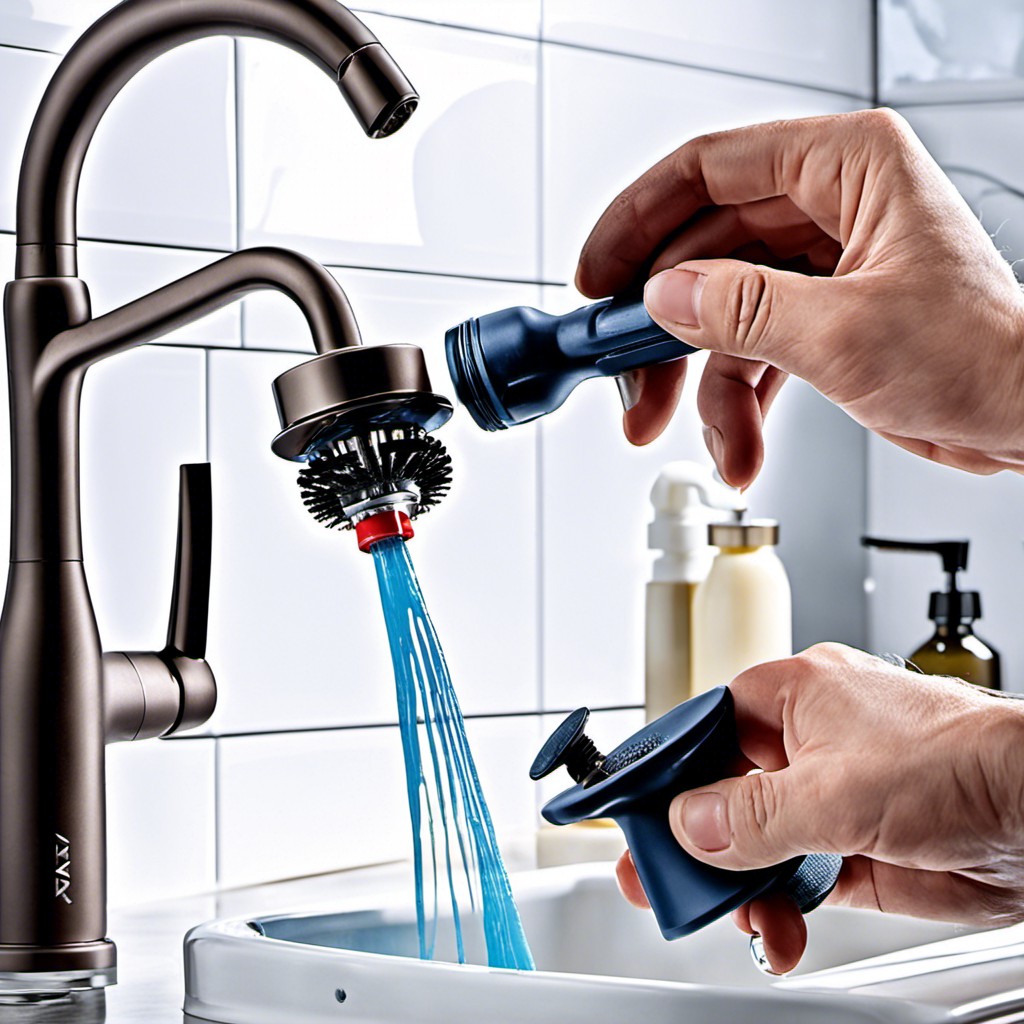
3. Twist counterclockwise: Turn the faucet aerator in a counter-clockwise direction. Apply steady pressure, but avoid gripping so hard that you risk damaging the aerator or faucet finish.
4. Soak in vinegar: Upon successful removal, place the aerator in a small cup of vinegar for an hour. The mild acidic properties of vinegar will help break down any mineral deposits or debris.
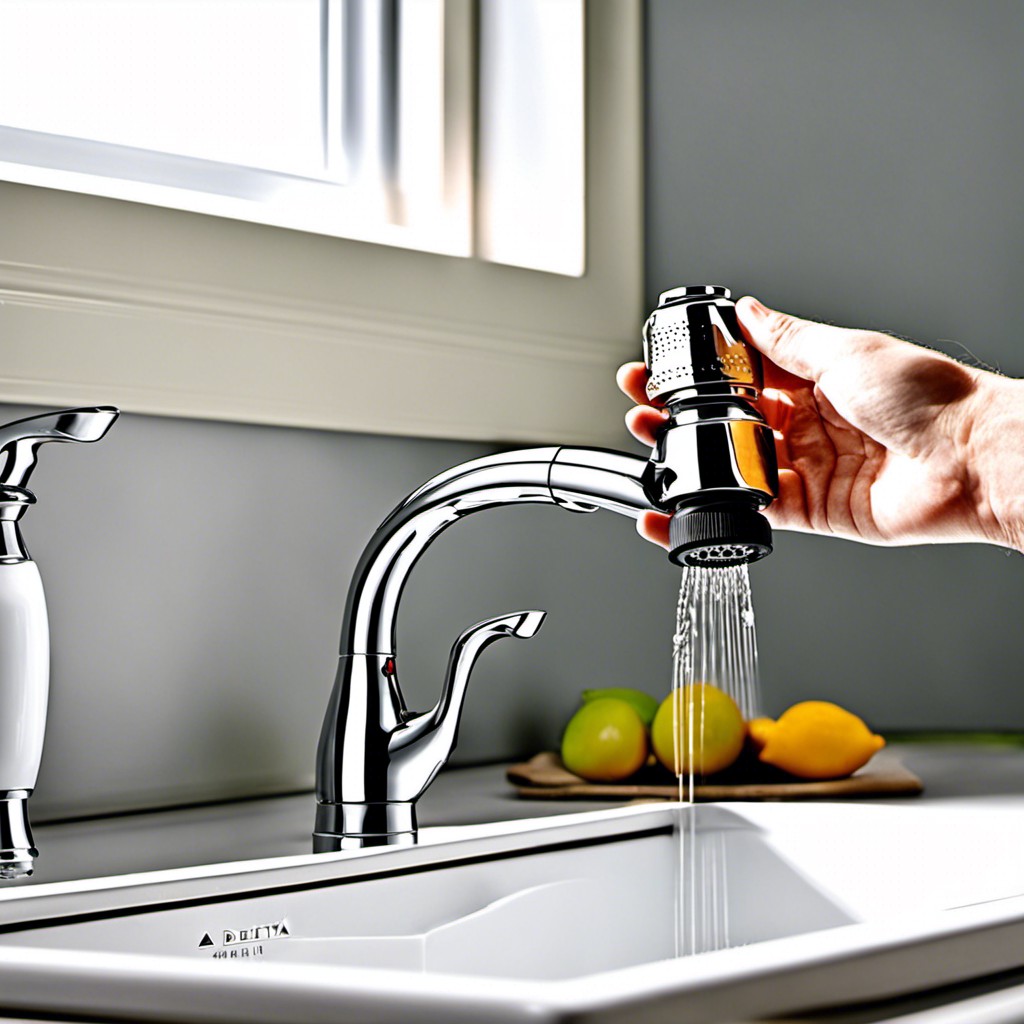
5. Rinse and reattach: Rinse the aerator under warm water, make sure all the vinegar and loosened particles are washed away. Then, simply screw it back onto the faucet by turning it in a clockwise direction.
6. Check for smooth flow: Lastly, open the faucet and let the water run to check for an evenly dispersed flow.
Light grime or loosened particles may easily be cleared through this process. However, for neglected aerators or those in hard water areas, a deep cleaning may be necessary. Make this simple cleaning process part of your regular home maintenance tasks, and you’ll find your fixtures lasting longer with better overall performance.
Troubleshooting Key Issues: When Cleaning Delta Faucet Aerators Isn’t Enough
Even the most meticulous cleaning procedures might not resolve some persistent issues. Therefore, it becomes crucial to identify the root causes.
1. Low Water Pressure: If water pressure remains low after cleaning, the problem might lie elsewhere, such as in the overall plumbing system. A professional plumber might be needed in this case.
2. Water Leaks: Persistent dripping post-cleaning could indicate an internal seal or valve issue. Don’t hesitate to consult an expert.
3. Changing Water Temperature: If the water does not maintain a steady temperature, the issue could be with the faucet valve or mixing chamber, not the aerator.
4. Rust Formation: If you notice rusted or corroded parts during cleaning, this may necessitate replacement of parts or the entire faucet, as it could affect water quality.
Remember, while home maintenance can be rewarding, don’t be afraid to seek expert advice when issues persist. Knowledge of common issues allows homeowners to make more informed decisions about their faucets’ health.
The Deep Clean Method: Thoroughly Cleaning Delta Faucet Aerators
To perform a deep clean, first, it’s necessary to dismantle the aerator. Begin by closing the water supply. Unscrew the aerator carefully to avoid dropping any parts. The use of a wrench may be required; however, remember to protect the finish of the faucet to prevent any scratches.
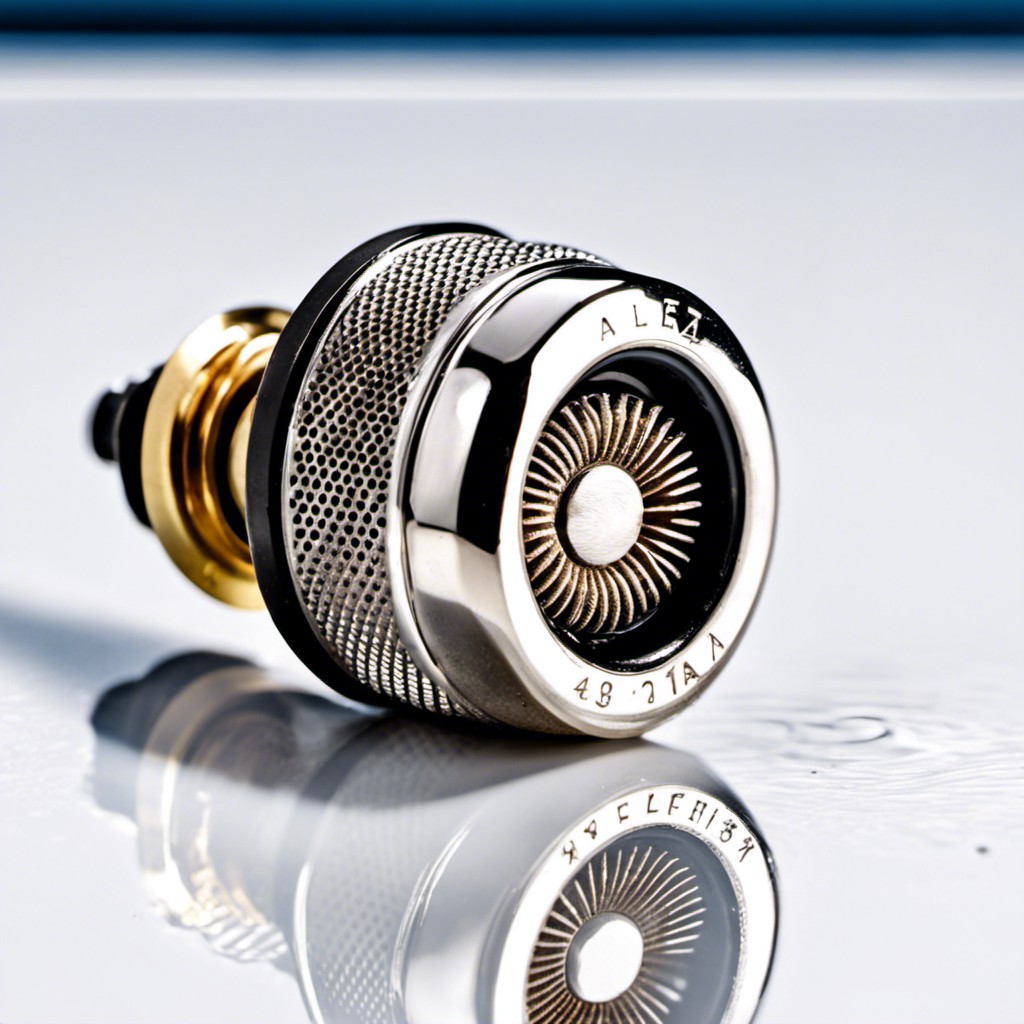
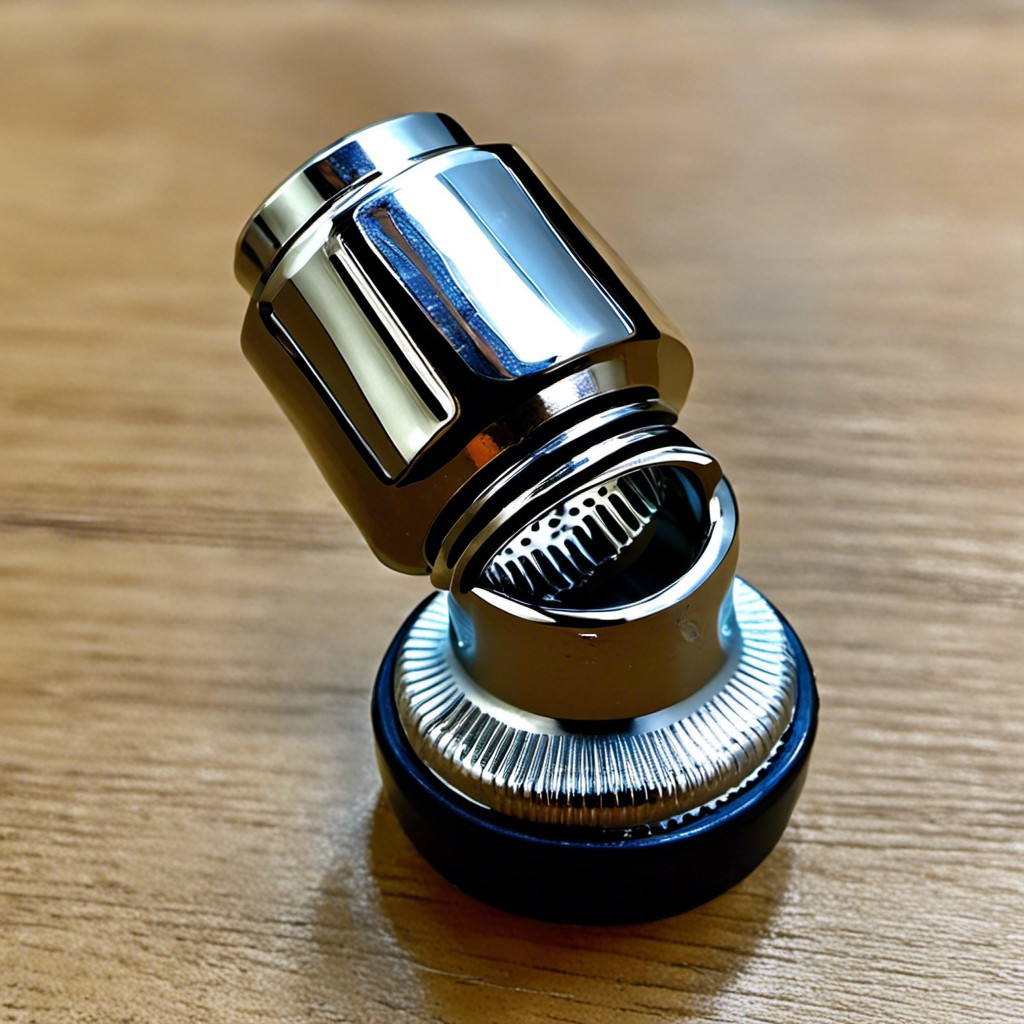
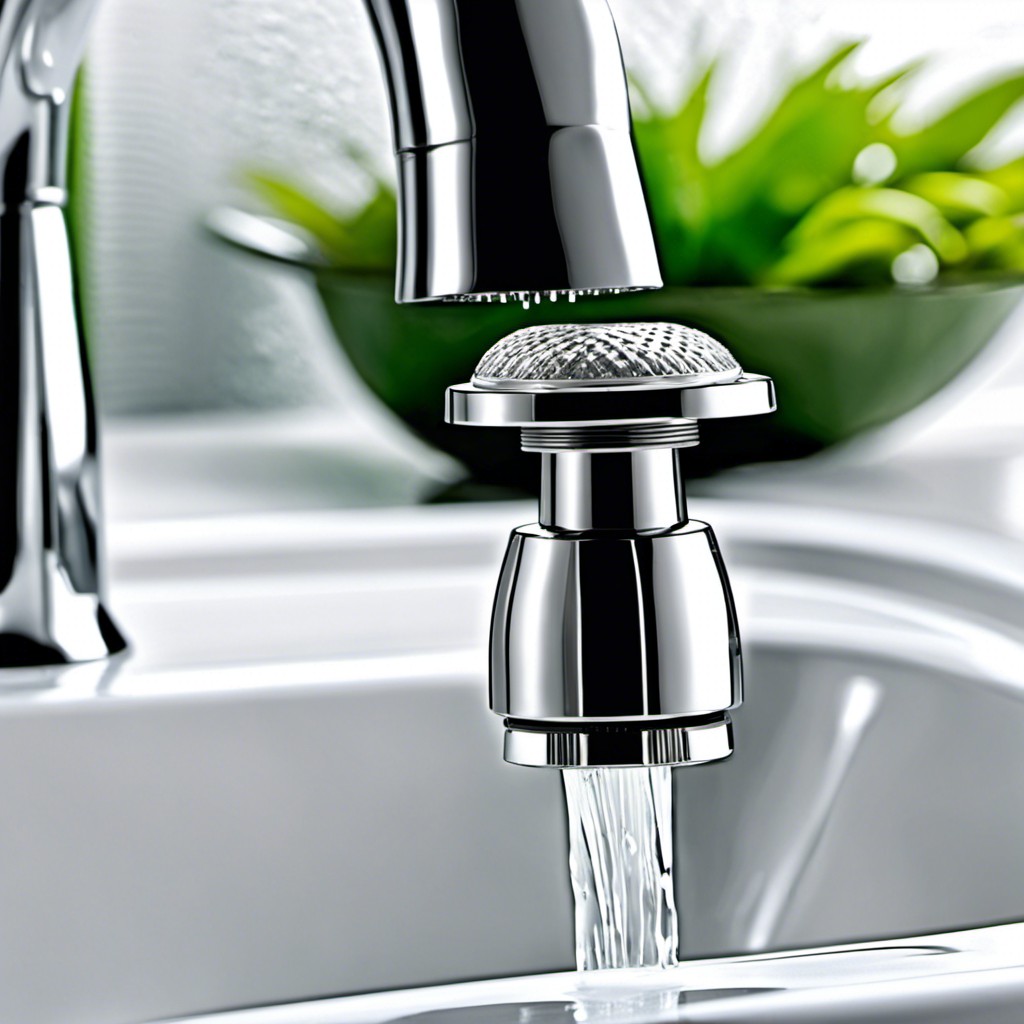
Once the aerator is detached, you’ll observe several components – the outer housing, a washer, a mixer, a bushing, and a screen. Lay them out in order of removal, it’s crucial for easy reassembly.
Now, it’s time for the actual cleaning. Soak all parts in a solution of white vinegar and water (1:1 ratio) for several hours to remove hard water deposits and other buildup. Alternatively, if you’re short on time, a quick boil in the vinegar-water solution for 15 minutes can serve the purpose too.
Subsequently, gently scrub the components using an old toothbrush, paying keen attention to the screen, which usually harbors the bulk of the debris. For any stubborn deposits, a pin or needle can come to the rescue.
Finally, rinse the components under warm running water, making sure all the vinegar and dissolved deposits are removed. Dry the components completely before reassembling to avoid water spots and potential bacteria growth.
It’s worth noting that this method should be reserved for monthly cleanings or when a regular cleaning hasn’t been able to restore water flow. Regular cleanings can prolong the need for a deep clean, ensuring an efficient and fuss-free faucet operation.
Common Misconceptions About Cleaning Delta Faucet Aerators

It’s often thought that aerators don’t need cleaning unless water flow is noticeably decreased. However, routine maintenance optimizes performance and water quality even if there isn’t an apparent issue.
Some believe that hard water doesn’t affect aerators, when in reality, it tends to leave more deposits behind, requiring more frequent cleanings.
Another misconception is that specialized or abrasive chemicals are needed for an efficient clean. In truth, household products like vinegar can be just as effective without causing potential damage.
Contrary to popular belief, cleaning an aerator isn’t a complicated task requiring professional help. Most homeowners can complete this task themselves with relative ease.
Finally, it’s often wrongly assumed that all aerators are the same and one size fits all. In reality, different faucets have different size aerators, and it’s essential to know your particular model.
How to Clean and Maintain Delta Faucet Aerators Effectively
Begin the cleansing process by disassembling the aerator. Turn off the faucet, then twist the aerator counterclockwise until removed. Proceed with care to avoid damaging the threading.
Once off, carefully examine the components. Among these are the housing, a washer, a mixer, and a screen. It’s crucial to remember the order in which these parts assemble as they each play unique but pivotal roles in water distribution.
Dirt, grime, and mineral deposits frequently nestle themselves within these components. A good soak in a vinegar-water solution (one part vinegar to three parts water) will loosen up the grit. Allow this to sit uninterrupted for roughly 3 hours.
Post-soaking, use a small brush (an old toothbrush will suffice) to gently scrub away any remaining residue. For stubborn spots, consider using a toothpick or safety pin. Always proceed with a gentle hand to avoid scratching or damaging the component.
Now, rinse each part in clean water. Once thoroughly cleaned, you can begin to reassemble and reattach your aerator, turning it clockwise until snug.
For maintenance, repeat this process occasionally based on the hardness of your water. A monthly check-up can help identify early stage build-up and prevent costly damage in the long run. A consistently clean aerator is the key to a steady, splash-free stream and improved water efficiency. Remember, maintaining the quality of the fixture isn’t a one-time chore, but rather a series of routine checks and cleanses. The difference in water quality will be well worth the effort.
Weekly Cleaning Routine for Delta Faucet Aerators
Start by powering off the water supply to prevent any accidents. Detach the aerator using a masking tape-covered wrench if it’s too tight. Remember, counter-clockwise rotation aids in the removal.
Next, disassemble the inner parts of the aerator, keeping a note of their order for reassembly. Rinse each part under a strong water flow to flush out loose debris. For stubborn dirt or mineral deposits, apply white vinegar using an old toothbrush, and let it sit for about 15-30 minutes till it’s easy to wipe away.
Once clean, reassemble the aerator, double-checking the order of the parts. Screw the aerator back on the faucet, remembering it turns clockwise to tighten. Lastly, turn the water back on, inspecting for any leaks immediately.
This routine may seem a bit detailed, but over time, regular cleaning will extend the life of your faucet, maintain water pressure, and reduce the likelihood of serious clogs. It’s all about creating good maintenance habits! The best part? It should take no more than ten minutes out of your week. So you have more time to enjoy your squeaky clean faucets!
Recognizing the Right Time to Clean Your Delta Faucet Aerator
Awareness is key in maintaining an efficient faucet aerator. Here are some telling signs:
- Reduced Water Flow: One of the first signs is decreased water pressure. If you notice a significant drop, it’s time to check your aerator.
- Erratic Spray: An inconsistent or odd-patterned water spray can be a clear indication of a clogged aerator.
- Visible Debris: Spotting particles in the water after opening the faucet is another red flag warranting a thorough cleaning.
- Noise: Unusual sounds during water flow might be caused by blockages in the aerator.
Keeping an eye on these indicators will help you optimize your aerator’s performance and lifespan. Remember, regular checks and timely cleaning can save you a lot of trouble down the line.
How to Deal With Stubborn Deposits On Your Delta Faucet Aerator
Moving on, stubborn deposits can be particularly challenging. They are usually caused by hard water and can compromise the functionality of your aerator over time. Don’t worry, these can easily be dealt with.
1. Vinegar Soak: Submerge the aerator in vinegar for 15 to 30 minutes. It’s a natural descaler that loosens mineral deposits. A mild scrub afterwards will take care of the residual gunk.
2. Baking Soda and Water: Make a paste of baking soda and water and apply it to the stubborn deposits. Let it sit for 15 minutes, then rinse and scrub gently.
3. Pro Cleaning Solution: For extremely tough deposits, consider a professional plumbing cleaning solution. But remember, they are potent chemicals. Follow all safety instructions and precautions.
4. Toothbrush Scrubbing: A soft toothbrush is your friend when it comes to scrubbing deposits. It is great for accessing hard-to-reach areas without causing any damage.
5. Regular Maintenance: Remember, preventing stubborn deposits is easier than removing them. Regular maintenance enables a clean, efficient, and long-lasting aerator.
6. Know When to Replace: If cleaning doesn’t restore your aerator’s functionality, it might be telling you that it’s time for a replacement.
Avoid excessive vigorous scrubbing to prevent inadvertent damage to your aerator. Handle it gently, yet firmly, while cleaning. Persistence is key in ensuring successful removal of these bothersome deposits.
Preventative Measures: How to Avoid Buildup in Delta Faucet Aerators
To keep your faucet aerators as hygienic and efficient as possible, routine maintenance is key. Here are a few strategies to help avoid nasty buildup:
1. Use a screen: Fitting your faucets with a small mesh screen can catch large particles before they come into contact with your aerator.
2. Soften your water: Hard water is a common culprit in aerator clogging. Looking into water softening solutions can make a difference.
3. Regular checks: Simply removing and inspecting your aerator at least once a month will help you catch any buildup early.
4. Rinse frequently: Each time you use your faucet, let it run for a few seconds extra to clear out any lingering particles.
5. Professional cleaning products: Using a good cleaner designed for faucets and their components can prevent deposits from forming.
By following these preventative measures, you’re setting up your faucet for a long, clean, and effective life which is ultimately a time and cost saver. Remember, it’s easier to prevent buildup than to remove it!
Eco-friendly Tips for Cleaning Delta Faucet Aerators
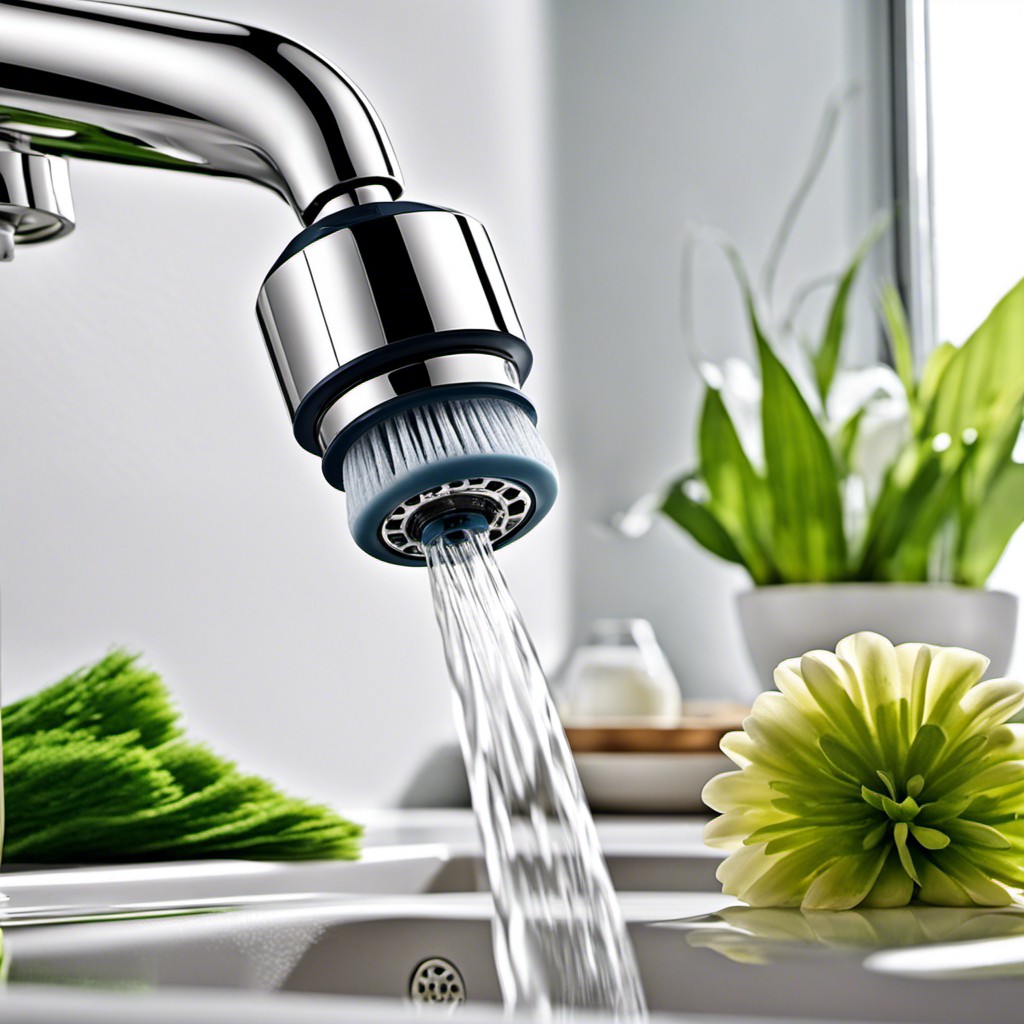
Switching to environmentally friendly methods not only ensures the longevity of your aerators but also contributes to a sustainable planet.
1. Baking Soda and Vinegar Solution: Mix equal parts of vinegar and baking soda to create a potent yet non-harmful cleaning solution.
2. Lemon Juice: Acidic nature of lemon juice can effectively tackle hard water stains, and it leaves a pleasant aromatic scent.
3. Avoid Harsh Chemicals: Cleaning products with strong chemicals may damage the aerator and pollute the water system. Opt for biodegradable alternatives, if needed.
4. Recycle the Old: If you are replacing an old or severely blocked aerator, consider recycling the metal parts instead of simply disposing of them.
5. Cold Water Rinse: After using any type of cleaner, rinse with cold water as it consumes less energy in comparison to hot water.
6. Cloth Instead of Paper Towels: After rinsing, utilize a reusable cloth for drying rather than paper towels, reducing unnecessary waste.
By consciously incorporating these green practices, cleaning delta faucet aerators becomes a more environmentally-responsible chore.
A Simple Checklist for Cleaning Delta Faucet Aerators
Let’s get straight to business. Here’s a quick and efficient checklist you can follow for taking care of your aerator:
- Turn off the water supply: It’s always the first step to avoid unintended sprays or leaks.
- Twist and Remove: Gently, turn the aerator counter-clockwise to unscrew it from the faucet.
- Observation: Examine the aerator carefully for deposits or particles causing flow restriction.
- Warm Water Soak: Place it in a bowl of warm white vinegar for about 30 min to dissolve scale build-up.
- Scrub Time: Use a soft toothbrush for mild scrubbing to remove any residues.
- Rinse and Repeat: After scrubbing, rinse the aerator thoroughly under running water. If debris is still visible, repeat the soaking and cleaning process.
- Dry and Replace: Dry the aerator completely before screwing it back onto the faucet.
By adhering to this simple checklist regularly, you can ensure the longevity and optimum performance of your Delta faucet aerator. Just remember, consistency is the key to prevention. It’s not about tackling an issue once it’s become a problem, but avoiding the problem in the first place by keeping your aerator clean.
Safety Measures to Consider While Cleaning Delta Faucet Aerators
Before proceeding with the cleaning process, always disconnect the water supply to avoid unnecessary mess and potential injuries. Use a wrench very carefully for removing the aerator, as forceful movements can damage the faucet.
When soaking the aerator in vinegar or other cleaning solutions, ensure you’re in a well-ventilated area as some individuals might find the odour overpowering. Wearing gloves is advisable to avoid irritations or burns if using stronger cleaning agents.
Once the parts are separated, lay them out on a clean towel. This helps you keep track of small components avoiding loss or accidental swallowing by children or pets. Thus, it’s better to do the cleaning where they can’t access.
In case your faucet model includes a screening system within the aerator, make sure not to distort the screens during cleaning. Keeping the original arrangement of screens is crucial for the effective water flow rate.
Lastly, ensure your hands are dry when reinstalling the aerator to avoid slipping. Following these safety measures will ensure a safe and effective aerator cleaning process.
Expert Advice On Cleaning Delta Faucet Aerators
Gleaning from years of experience, professionals in the field utilize some specific strategies to ensure their Delta faucet aerators are clean and function at the optimal level. Here are some insightful tips:
1. Vinegar Solution: Soak the aerator in a mixture of warm water and vinegar (1:1 ratio) for a few hours to dissolve mineral deposits.
2. Use the Right Tools: Avoid damaging the aerator by using a cloth to cushion the grip of your pliers or wrench.
3. Keep Everything in Order: When disassembling the aerator, remember the order of the parts. This makes reassembling easier – a small tip with a big impact.
4. Regularity is key: Rather than waiting for problems to arise, incorporate aerator cleaning into your regular faucet maintenance.
5. Prevention Over Cure: Install a faucet water filter to reduce the buildup of grit and sediment in the aerator.
6. Don’t Force it: If the aerator is stuck, avoid forcing it off. This could damage your faucet. Instead, use a lubricant or the vinegar soak method.
7. Gently Brush: Use a small brush, like an old toothbrush to gently scrub away any stubborn deposits.
8. Check for Damages: Always inspect the components for any signs of wear and tear during cleaning. This can help to avoid potential issues down the line.
The Art of Reinstalling Delta Faucet Aerators After Cleaning
To start the process, make sure you have all the parts including the aerator, the seal, and the housing. Each part should be properly dry and clean. Begin by placing the seal onto the aerator. Make sure it fits snugly to avoid any leakage.
Next, move on to the housing. It’ll house the aerator and seal. It’s crucial for you to align the grooves correctly to ensure that the aerator sits flat. Misalignment can cause water to flow unevenly or leak.
Then, manually twist the housing and aerator assembly onto the faucet. Do this gently to avoid cross-threading. The trick is to always twist counter-clockwise initially to set the threads, and then twist clockwise to tighten.
In case of resistance, do not force it. Over tightening can damage the threads or housing. Most aerators are designed to be installed hand-tight. So if it doesn’t tighten smoothly, you may need to re-check the alignment and seating.
Finally, after assembly, run the water to check for leaks. A proper install should result in a smooth and consistent water flow. If you notice leaks or inconsistent flow, you might need to readjust the aerator placement.
Remember, the goal isn’t just cleaning, but also ensuring optimal performance after reinstallation.
Why DIY? A Case for Self-cleaning Delta Faucet Aerators
A DIY approach to dealing with the aerators offers many notable benefits. Firstly, convenience. No need to plan around a plumber’s schedule when you’ve got the necessary know-how. It’s an easy task that can be done anytime, in about 15 minutes.
Secondly, cost-effectiveness is a significant appeal. Avoiding professional service fees for such a straightforward task can save a tidy sum, especially in the long run. All it requires is a wrench (or even a piece of cloth in some instances), and a mild cleaning agent, both commonly found at home.
Furthermore, understanding and taking control over this process can lead to better maintenance habits. Regular cleaning becomes less daunting and more sustainable over time.
Lastly, there’s the confidence that comes from proficiently handling home repairs and improvements. The competence you acquire through this simple procedure might inspire you to tackle other DIY projects, setting you on a path of self-sufficiency and resourcefulness.
Rest assured, your faucet maintenance is well within your capabilities. So why not give it a try? With a bit of patience and some elbow grease, you’ll be the master of your own faucet aerator cleaning in no time.
How to Use House-Hold Products for Cleaning Delta Faucet Aerators
Taking advantage of common household items for this task can save your time and money.
1. White Vinegar: Immersing the aerator in white vinegar for a few hours or overnight can help dissolve calcium and other mineral deposits.
2. Old Toothbrush: Once soaked, use an old toothbrush to gently scrub off any lingering sediment. The bristles can also get into the crevices of the aerator for thorough cleaning.
3. Baking Soda: If vinegar isn’t enough, try creating a mixture of baking soda and water to create a paste. Apply to the aerator and let it sit for 15 minutes. Rinse with warm water.
4. Soft Cloth: After rinsing, use a soft cloth to dry and polish the aerator. This can prevent water spots and keep the aerator looking new.
Remember, cleaning with these products should always be followed by a complete rinse to remove any residue that might affect the aerator’s performance.
Pro Tips: Cleaning Delta Faucet Aerators in Hard Water Areas
Dealing with hard water can be tricky as it leads to the rapid buildup of mineral deposits in your aerator. Here’s how you must confront this issue:
1. Vinegar Soak: Distilled white vinegar is both cheap and effective against hard water deposits. Soak the aerator parts in a vinegar solution for a few hours to dissolve the buildup.
2. Brush Off: Use an old toothbrush for mild scrubbing. It removes the loose deposits without damaging the aerator part.
3. Frequent Cleaning: Areas with hard water require more frequent cleaning, perhaps every two weeks, to keep the aerator in optimum condition.
4. Protective Coating: Apply a layer of plumber’s grease on the aerator components. It minimizes the buildup of hard water deposits.
5. Monitor Water Quality: Check with your local water department about the hardness of your water supply. The harder the water, the more vigilant you must be about cleaning your aerator.
Remember, frequent maintenance will not only keep your aerator clean but also ensure a consistent water flow and extend the life of your faucet.
Emergency Solutions: Quick Fixes for Clogged Delta Faucet Aerators
If the water flow from your faucet unexpectedly declines, or the spray is uneven, it could be an emergency situation indicating a clogged aerator. Don’t stress; here are some quick and easy fixes.
1. Vinegar Soak: A simple yet highly effective method to dissolve light to medium mineral deposit buildup. Just soak the aerator in a vinegar-water solution for about 15-30 minutes, then scrub gently.
2. Use A Toothpick: To dislodge particles, gently insert a toothpick into the aerator holes. Care should be taken not to apply excessive force as this may result in damage.
3. Compressed Air: Blowing through the aerator using a can of compressed air force out any loose debris. Always place a cloth underneath, as the force will potentially eject small parts.
4. Brush and Baking Soda: Scrubbing the aerator with an old toothbrush coated in baking soda paste can remove stubborn clogs. Be cautious to not scratch the surface.
Remember, in an urgent situation, quick fixes can buy time, but are usually temporary. It’s critical to conduct a thorough cleaning when the situation allows, to ensure the longevity and optimal performance of your Delta Faucet aerator.
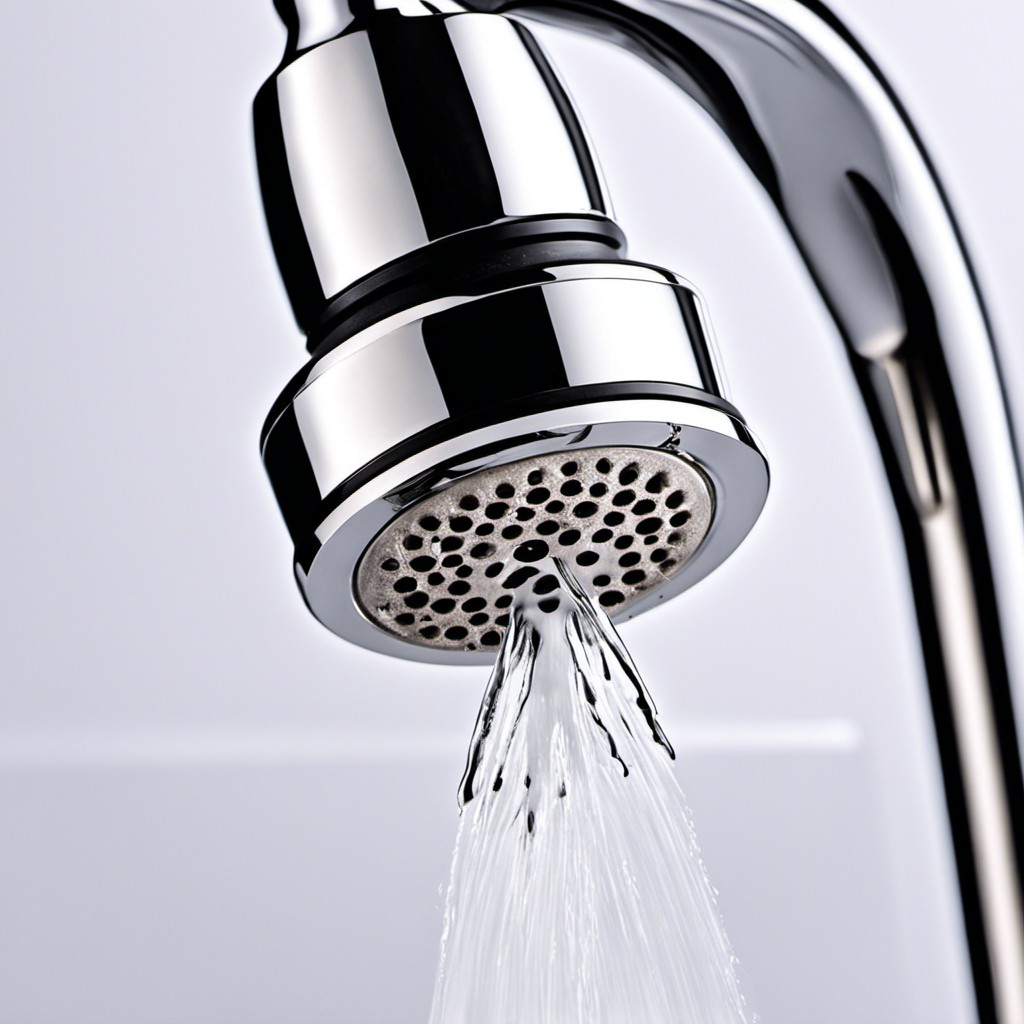
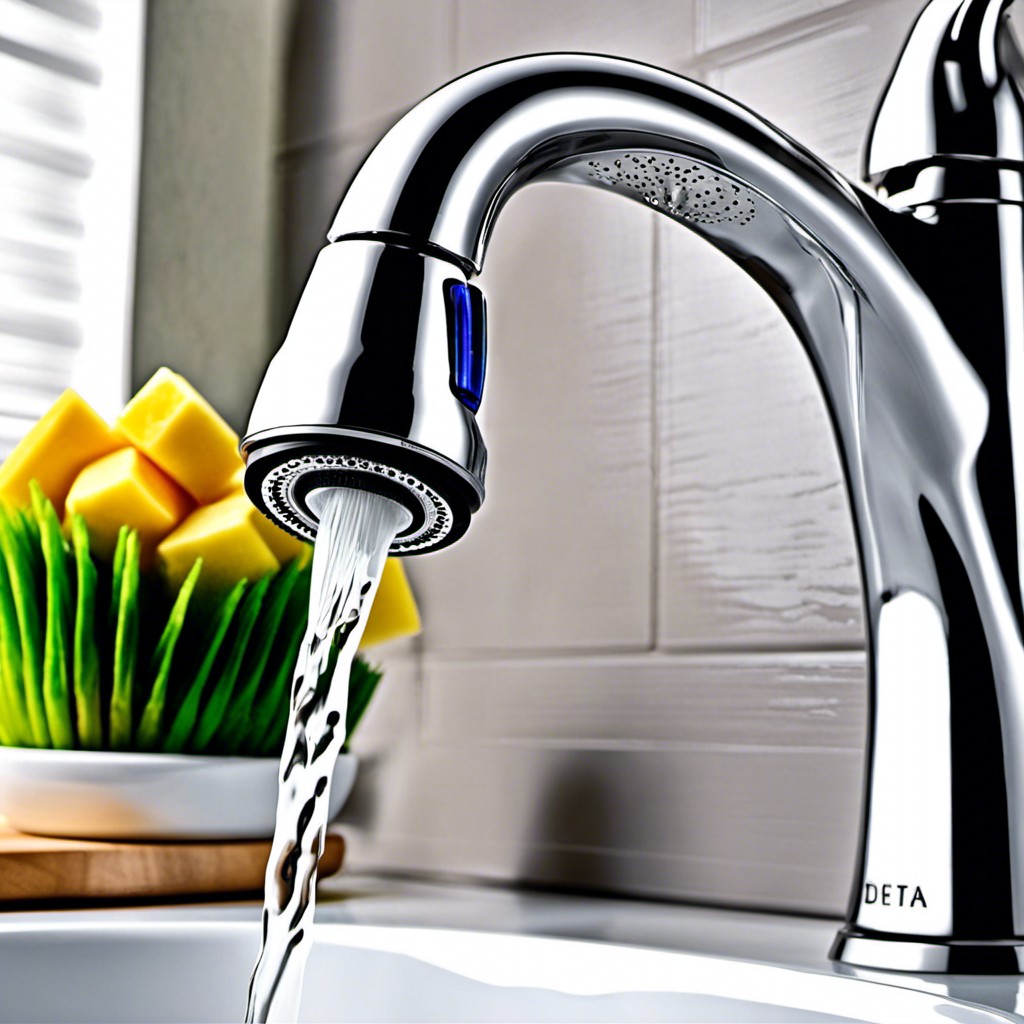
The Impact of Regular Aerator Cleaning On Faucet’s Water Flow
Regular maintenance of your aerator directly affects your faucet’s water flow. If left unattended, minerals and sediment in the water can accumulate over time, restricting the flow and increasing the water pressure.
Firstly, this can lead to water inefficiency. With a plugged aerator, water is restricted, making ordinary tasks like washing hands or dishes more time-consuming.
Secondly, a clogged aerator may affect water temperature regulation. This could result in fluctuations between hot and cold water, making for an unreliable faucet.
Lastly, it not only limits the water flow but also affects the spray pattern, potentially causing splashing, instead of a smooth, streamlined flow.
Therefore, keeping your aerator clean can help ensure a consistent and ideal water flow. Regular cleaning eliminates the problems caused by deposits, providing you with efficient and reliable water access.


