Last updated on
Discover the essential steps to constructing a functional and stylish kitchen island, complete with a sink and dishwasher, by following our comprehensive guide.
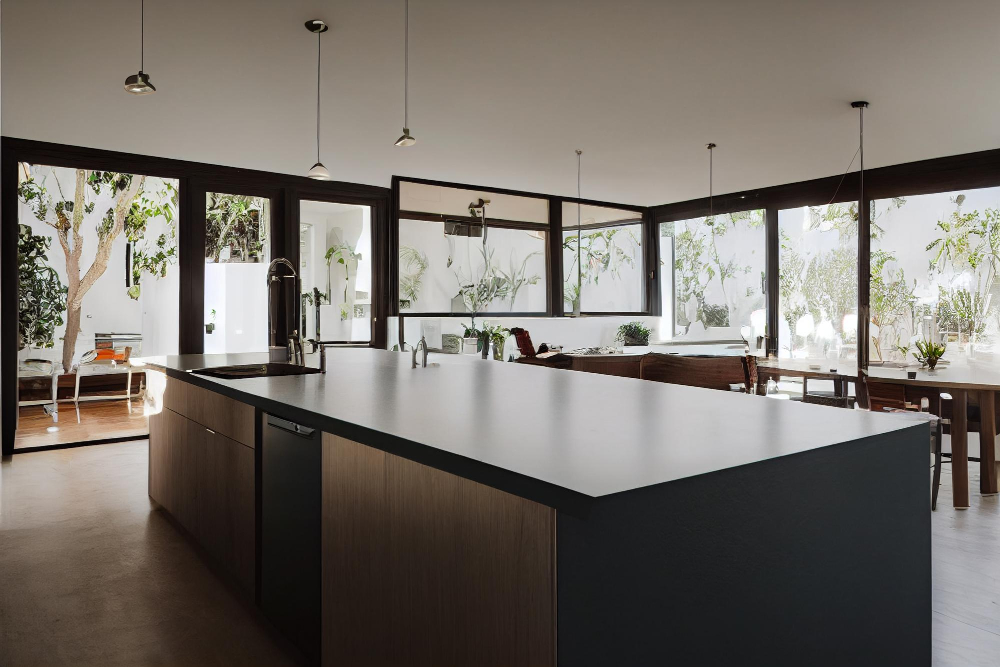
Are you tired of a cluttered and cramped kitchen? Do you dream of having more counter space and a convenient sink and dishwasher within arm’s reach? Look no further than building your own kitchen island! Not only will it add functionality to your kitchen, but it can also serve as a stylish centerpiece. In this article, we’ll guide you through the process of building a custom kitchen island with a sink and dishwasher.
So roll up your sleeves, grab your tools, and let’s get started!
What's Inside
Planning the Kitchen Island

Begin by assessing your needs and determining what features you want in your island. Consider factors such as the size of your family, how often you cook and entertain guests, and what type of storage space would be most useful for you.
Next, assess the available space in your kitchen to determine where the island will fit best. Take measurements carefully so that there is enough room for people to move around comfortably while cooking or socializing.
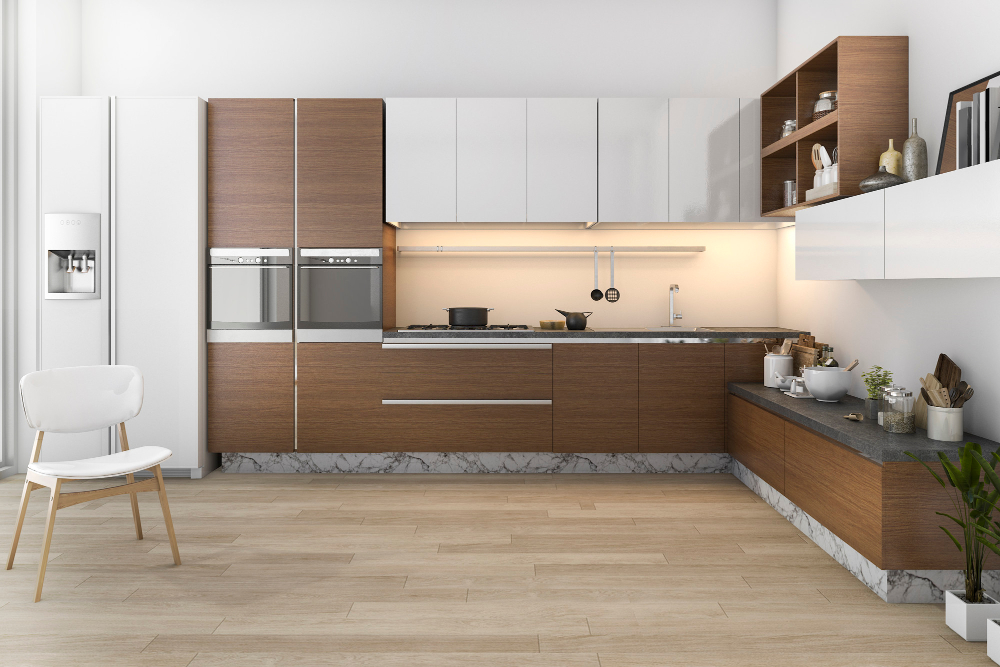
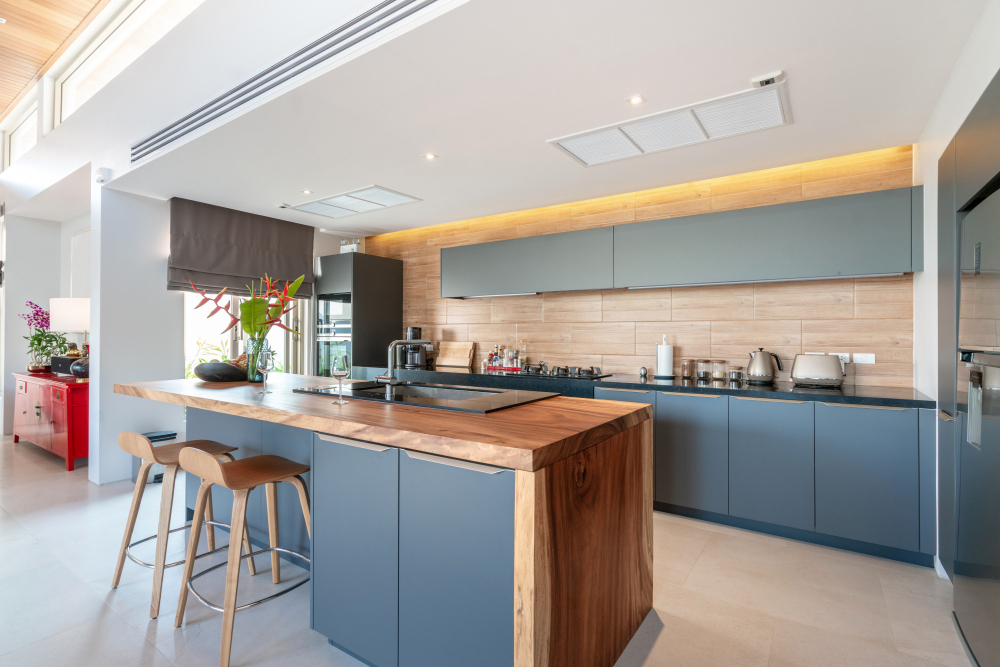
Once these initial steps are complete, it’s time to choose a design that fits both functionally and aesthetically with the rest of your kitchen decor. There are many different styles of islands available on today’s market – from traditional farmhouse designs with rustic wood finishes to sleek modern options made from stainless steel or concrete.
Assessing Space Requirements

Consider the size of your kitchen and how much room you have available for an island. You don’t want to build a massive island that takes up too much space or a tiny one that doesn’t provide enough counter area.
Take measurements of your kitchen and determine where the best location for an island would be. Keep in mind that there should be enough clearance around all sides of the island so people can move freely while cooking or entertaining.
Also, consider any existing features in your kitchen such as appliances, cabinets, windowsills or doorways which may affect placement options for an Island with sink and dishwasher.
Choosing the Right Design
First and foremost, you’ll want the design of your island to complement the overall style of your kitchen. If you have a modern or minimalist aesthetic, for example, you may opt for clean lines and simple shapes in your island’s design.
Another important factor is functionality. Think about how you plan on using the space – will it be primarily used for food prep? Do you need additional storage or seating options? These considerations will help determine what type of layout and features would work best.
Don’t forget about practicality! While an intricate design may look impressive at first glance, it could end up being difficult to maintain over time. Consider factors such as ease of cleaning and durability when choosing materials and finishes.
Island Dimensions and Layout
The size of your island will depend on the available space in your kitchen and how you plan to use it. A good rule of thumb is that an island should be at least 2 feet wide and 4 feet long, but this can vary depending on individual needs.
Consider how much clearance you need around the island for comfortable movement while cooking or entertaining guests. You’ll want to make sure there is enough room for people to walk around without feeling cramped or obstructed.
The height of your island should also be taken into account when planning its dimensions. Standard countertop height is typically between 36-42 inches, but if you plan on using bar stools or chairs as seating options, a higher counter may be necessary.
When deciding where to place your sink and dishwasher within the layout of the island, consider their proximity to other appliances such as stovetops or refrigerators for ease-of-use during meal preparation.
Obtaining Required Permits

Depending on where you live, there may be specific regulations regarding plumbing and electrical work that need to be followed. Failure to obtain the required permits can result in fines or even having to tear down the structure altogether.
To avoid any legal issues, contact your city or county’s building department for information on what types of permits are needed for a project like this. They will also provide guidance on how much time is needed before starting construction after obtaining a permit.
Once you have obtained all necessary paperwork from the authorities, keep them in an easily accessible location throughout the entire process as they may need inspection at various stages of construction.
Choosing a Sink and Dishwasher

First, think about the size of your family and how often you cook or entertain guests. This will help determine the appropriate size of both appliances.
Next, consider the style and material of each appliance. Stainless steel is a popular choice for its durability and sleek look, but other materials such as porcelain or granite composite can also add an elegant touch.
It’s also important to choose appliances that match in terms of design aesthetic so that they complement each other well within your kitchen island setup.
Don’t forget about functionality – make sure both appliances have features that suit your needs such as noise level reduction technology or energy-efficient settings.
Selecting Sink and Dishwasher Models

First, think about the size of your island and how much counter space you have available. You’ll want to choose appliances that fit comfortably within this space without overcrowding or making it difficult to move around.
Next, consider the style of sink and dishwasher that will best suit your needs. There are many different types available on the market today, from traditional stainless steel models with double basins to sleek modern designs with touchless controls.
You should also take into account any special features or functions you may need in a sink or dishwasher. For example, if you frequently wash large pots and pans by hand, a deep basin may be necessary; if you’re concerned about water conservation or energy efficiency, look for appliances with high ratings in these areas.
Planning Plumbing and Electrical

This step is crucial as it ensures that your island functions properly without any issues. You will need to determine where the water supply lines, drain pipes, and electrical outlets will be located in relation to your island’s design.
For plumbing needs, consider hiring a professional plumber who can help you with this task. They can advise on how best to connect the sink drain line with existing drainage systems or install new ones if necessary.
When planning for electricity needs, ensure that there are enough outlets available for all appliances on your kitchen island. It is also important to follow local building codes when installing wiring or adding circuits.
Assembling Necessary Tools

This will save time and prevent frustration during the construction process. Some of the essential tools required for this project include a circular saw, jigsaw, drill with various bits, hammer and nails or nail gun with nails/staples (depending on preference), measuring tape or ruler, leveler tool for ensuring straight lines/angles when cutting wood pieces together; screwdriver set including Phillips head screws as well as flathead ones if needed; sandpaper in different grits depending upon what type of finish is desired at completion stage – coarse grits are used initially while finer ones are employed later to achieve a smooth surface.
Having these items readily available will make assembling your kitchen island much easier and efficient. It’s also important to wear protective gear such as gloves and safety glasses when using power tools or handling sharp objects like nails/screws so that accidents can be avoided.
Selecting Building Materials

The choice of materials will depend on several factors such as budget, style preference, durability, and maintenance requirements.
For instance, if you prefer a rustic or natural look for your kitchen island with sink and dishwasher installation project then wood may be an ideal option. However, if you want something more modern or industrial-looking then metal might be better suited.
Other popular options include granite or marble countertops which are durable but require regular sealing to prevent staining. Alternatively, quartz is another great option that offers similar durability without requiring much maintenance.
When selecting building materials for your kitchen island with sink and dishwasher installation project make sure to consider all these factors before making any final decisions.
Preparing the Site
Start by clearing out any clutter or debris in the area where you plan to install your island. Make sure there is enough space for both construction and movement around the finished product.
Next, measure and mark off the dimensions of your kitchen island on the floor using painter’s tape or chalk. This will give you a clear idea of how much space it will take up in your kitchen and help ensure that everything fits correctly.
If necessary, remove any baseboards or trim from around where you’ll be installing your new island. You may also need to adjust electrical outlets or plumbing lines if they’re located within this area.
Make sure that all tools are easily accessible before beginning construction so that everything runs smoothly during assembly.
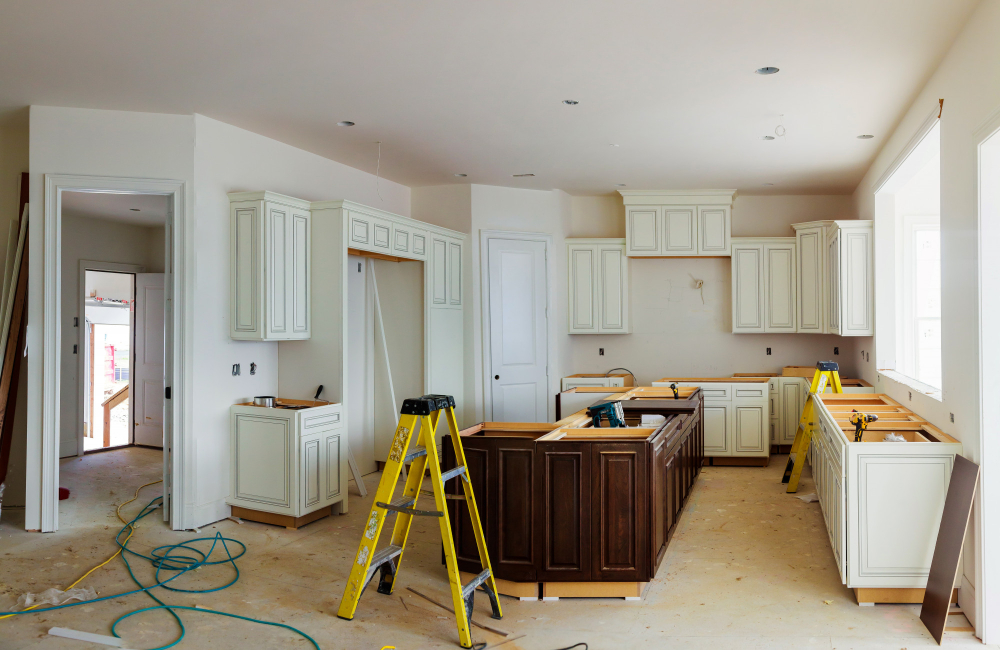
Constructing Island Frame
The first step is to measure out the dimensions of your island on the floor using painter’s tape or chalk. Next, cut four pieces of 2×4 lumber to match these measurements for each side of the frame.
Using a drill and screws, attach two pieces together at a right angle to form an L-shape. Repeat this process with all four sets until you have four L-shaped sections that will make up each corner post.
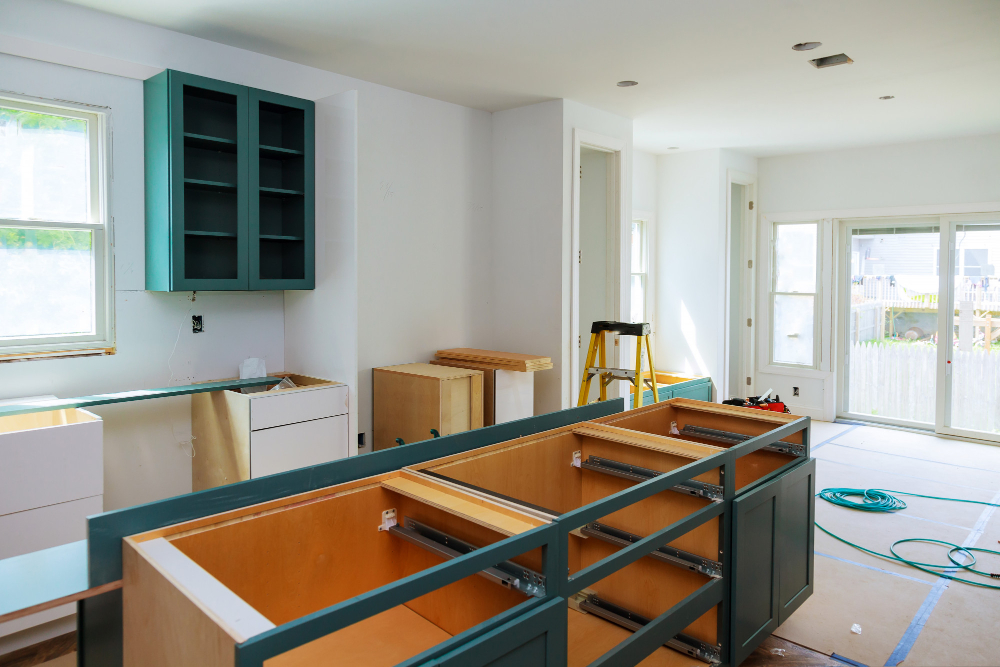
Next, connect these posts by attaching horizontal beams between them using screws or nails. Be sure that everything is level as you go along so that your finished product will be sturdy and stable.
Add diagonal braces in each corner for extra support before moving on to installing plumbing and electrical outlets in preparation for fitting in sinks and dishwashers later on.
Installing Plumbing and Electrical Outlets

This step is crucial for ensuring that your island functions properly, so it’s important to take care when installing these systems.
Firstly, determine where you want your outlets to be located on the island. It’s best to place them in a convenient location near where you’ll be using small appliances or charging devices.
Next, hire a licensed electrician if necessary or follow local codes if doing it yourself.
For plumbing installation, connect water supply lines from under-sink valves through holes drilled into cabinet walls up into faucet assembly above countertop level. Make sure all connections are tight before turning on water supply valve(s) slowly while checking for leaks at each connection point until no more leaks are found.
Fitting the Sink and Dishwasher
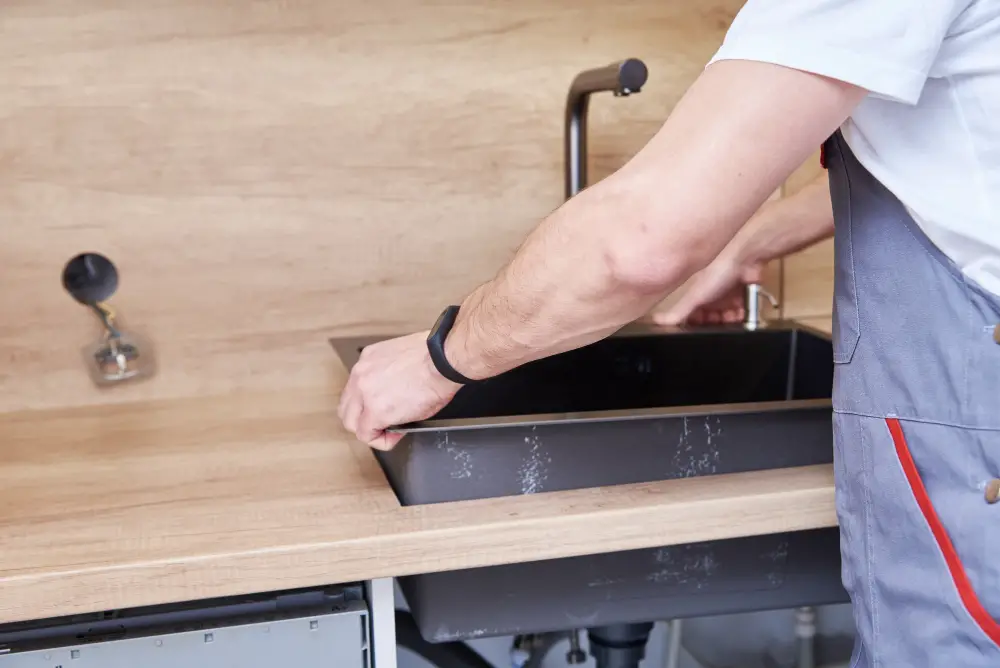
The first step is to carefully measure the dimensions of your chosen appliances so that they can be properly positioned within the island. It’s important to ensure that there is enough space for both items without overcrowding or interfering with other elements of the kitchen.
Next, install any necessary brackets or clips provided by the manufacturer to secure both appliances in place. Make sure all connections are tight and leak-free before turning on water supply valves.
When fitting a sink into an island countertop, consider adding a garbage disposal unit if desired. This will require additional plumbing work but can greatly enhance functionality in food preparation areas.
For dishwashers, make sure there is adequate clearance for loading dishes from above as well as access for maintenance below.
Adding Cabinetry, Storage, and Seating Options
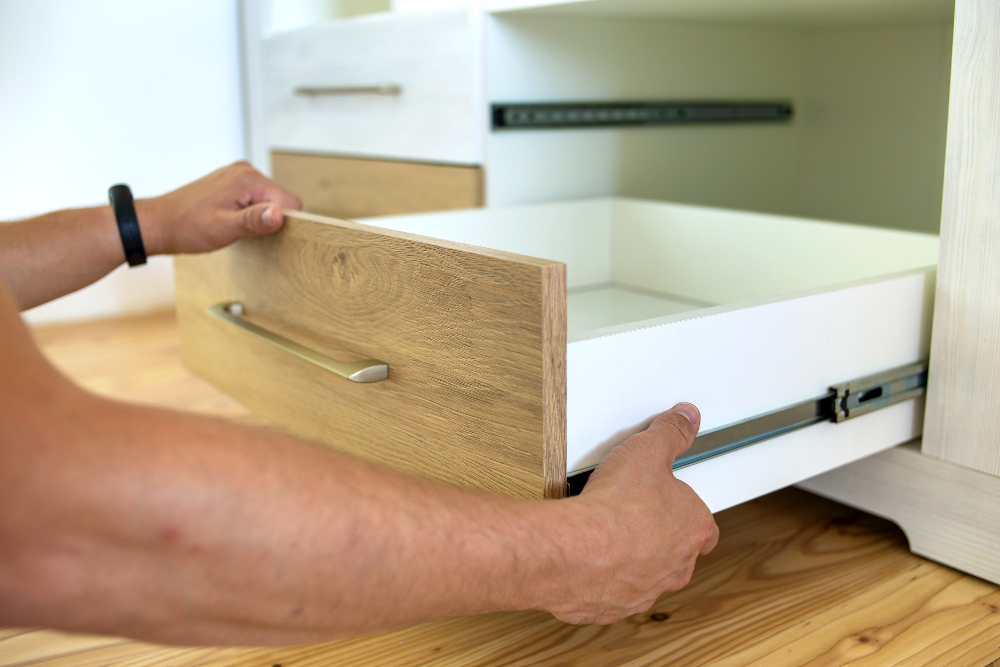
The type of cabinets you choose will depend on your personal style and needs. You can opt for open shelving or closed cabinets with doors.
Consider adding drawers for utensils or a pull-out trash bin to keep your kitchen tidy.
Storage is also an important consideration when building a kitchen island. You may want to include additional shelves or cubbies for cookbooks, small appliances like blenders or mixers, pots and pans, baking sheets – whatever you need within reach while cooking.
Finally comes seating options – do you want bar stools that tuck under the counter? Or perhaps bench-style seating along one side of the island? This decision will largely be based on how much space you have available in your kitchen as well as how many people typically gather there during meal prep times.
Installing the Countertop

This step requires precision and attention to detail, as any mistakes can be costly and difficult to fix. Begin by measuring the dimensions of your island frame accurately.
Then, choose a countertop material that suits your style and budget.
Granite or marble countertops are popular choices for their durability and aesthetic appeal but can be expensive. Laminate or butcher block countertops are more affordable options that still offer functionality and style.
To install the countertop, place it on top of the island frame carefully ensuring that it fits snugly into place with no gaps between them. Secure it in place using screws from underneath if necessary.
Seal around all edges with silicone caulk to prevent water damage over time.
Painting or Staining
One option is to paint or stain the island to match your existing cabinetry or create a unique look. If you choose to paint, be sure to use a high-quality primer and paint that can withstand moisture and frequent cleaning.
Staining allows for the natural beauty of wood grain patterns while providing protection against wear and tear.
Before painting or staining, make sure all surfaces are clean and dry. Sand any rough spots with fine-grit sandpaper before applying any finish coats.
Apply multiple thin coats rather than one thick coat for best results.
Remember that painting or staining requires proper ventilation as well as protective gear such as gloves, goggles, and masks when working with chemicals like stains or paints.
Customizing the Island Design

Customizing the design can be as simple or complex as you want, depending on your skill level and budget. One way to customize is by adding decorative elements such as corbels or trim work that match the style of your existing cabinetry.
You could also consider incorporating a built-in cutting board or wine rack for added functionality.
Another option is to choose a different countertop material than what you originally planned for – perhaps something more luxurious like marble or granite if budget allows. Painting or staining the island in a color that complements your kitchen decor can give it an entirely new look.
If seating is important in your kitchen space, consider adding bar stools around one side of the island for casual dining and entertaining guests while cooking up delicious meals.
Safety Considerations

Before you begin construction, make sure to read and understand all instructions for the tools and materials you’ll be using. Wear appropriate protective gear such as gloves, goggles, and a dust mask.
When working with plumbing or electrical components of the island installation process, it’s important to turn off power sources or shut off water valves before beginning work. If you’re unsure about how to safely handle these tasks yourself, consider hiring a professional plumber or electrician.
Ensure that your kitchen island is properly anchored to prevent tipping over during use. This can be achieved by attaching it securely to the floor or wall studs.
Cleaning and Maintenance

Regular cleaning will help prevent the buildup of dirt, grime, and bacteria that can accumulate in these areas.
To clean the sink area, use a mild detergent or dish soap along with warm water. Avoid using abrasive cleaners or scrubbers that could scratch the surface of your sink.
For stubborn stains or hard water deposits on stainless steel sinks, try using vinegar mixed with baking soda.
The dishwasher should also be cleaned regularly to ensure optimal performance. Check for any food debris stuck in the spray arms or filters before running each load of dishes through the machine.
You can also run an empty cycle once a month with white vinegar to remove any buildup inside.
FAQ
Can a kitchen island have a sink and dishwasher?
Yes, a kitchen island can have a sink and dishwasher, adding convenience to your food preparation and making the design more involved but well worth it.
How big should a kitchen island be with a sink and dishwasher?
A kitchen island with a sink and dishwasher should be at least nine feet long to comfortably accommodate both and maximize efficiency when cleaning.
How much does it cost to build your own kitchen island?
The cost to build your own kitchen island typically ranges between $100 and $10,000, with homeowners paying an average of $4,000 nationally.
Is it practical to have a sink in kitchen island?
Yes, it is practical to have a sink in a kitchen island, as it serves as a convenient secondary or prep sink, saving countertop space and complementing the primary sink located among the wall cabinets.
What are the essential plumbing requirements for installing a sink and dishwasher in a kitchen island?
Essential plumbing requirements for installing a sink and dishwasher in a kitchen island include water supply lines, drain lines, and proper venting.
Which materials are best suited for constructing a durable and functional kitchen island with a sink and dishwasher?
Hardwood for the structure, stainless steel for the sink, and granite or quartz for the countertop are best suited for constructing a durable and functional kitchen island with a sink and dishwasher.
Are there any design tips to ensure a seamless integration of a sink and dishwasher within a kitchen island layout?
To ensure seamless integration of a sink and dishwasher within a kitchen island layout, place them side by side, leaving adequate space around them for efficient plumbing connections and smooth workflow.


