Last updated on
Discover the essential steps to achieve a polished and complete look for your kitchen island by effectively finishing its backside with this comprehensive guide.
If you’re looking to add some extra storage and countertop space to your kitchen, a kitchen island is an excellent addition. Not only does it provide functionality, but it also adds style and character to the heart of your home.
However, one often overlooked aspect of a kitchen island is the backside. While it may not be as visible as the front, finishing the back of your kitchen island can make a significant impact on its overall look and feel.
In this article, we’ll explore some creative ways to finish the back of your kitchen island that will make it stand out in all its glory!
What's Inside
Choosing the Right Materials
When it comes to finishing the back of your kitchen island, choosing the right materials is crucial. You want something that not only looks great but also stands up to daily wear and tear.
Some popular options include beadboard, wood planks, tile backsplash, decorative paneling or even a fresh coat of paint.
Beadboard is an excellent choice for those who prefer a classic look. It’s easy to install and adds texture without overwhelming the space.
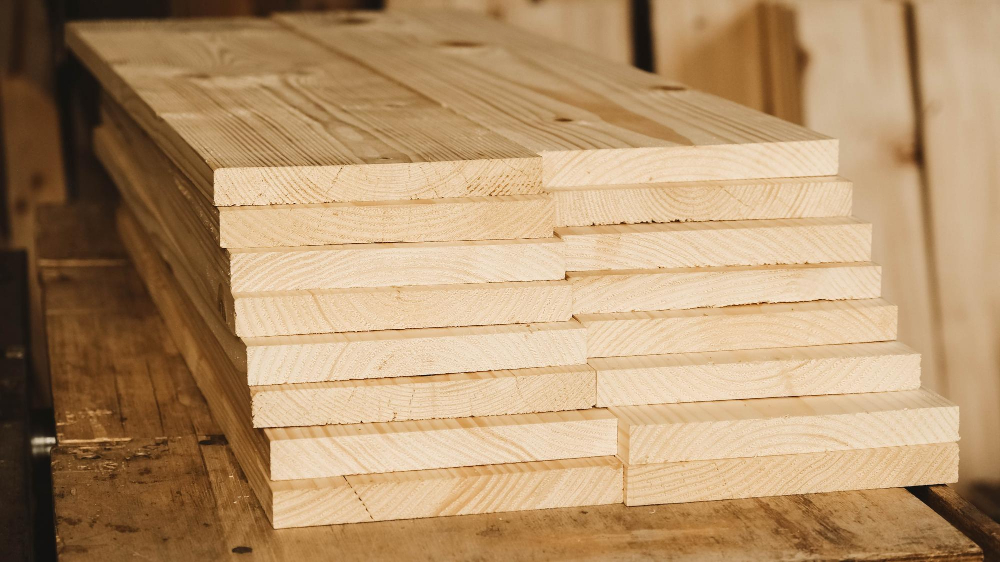
Wood planks are another option that can add warmth and character while creating a rustic feel in your kitchen.
If you’re looking for something more modern or sleeker than traditional options like beadboard or wood planks, consider installing tile backsplash on the backside of your island instead! This will give you endless design possibilities with different colors and patterns available.
Decorative paneling can be used if you want to create an accent wall behind your island; this material offers various textures such as shiplap or brick veneer which will add depth and interest without being too busy visually.
Measuring the Back of the Island

Measuring will help you determine how much material you’ll need and ensure that everything fits correctly. To get started, grab a measuring tape and follow these simple steps:
1. Measure the height: Start by measuring from the floor to where you want your finished surface to end.
2. Measure the width: Next, measure across from one side of your island’s backside to another.
3. Account for any obstacles: If there are any electrical outlets or plumbing fixtures on or near your kitchen island’s backside, make sure to account for them in your measurements.
4. Double-check everything: Once all measurements have been taken into account, double-check them before purchasing materials or starting work on finishing up this space!
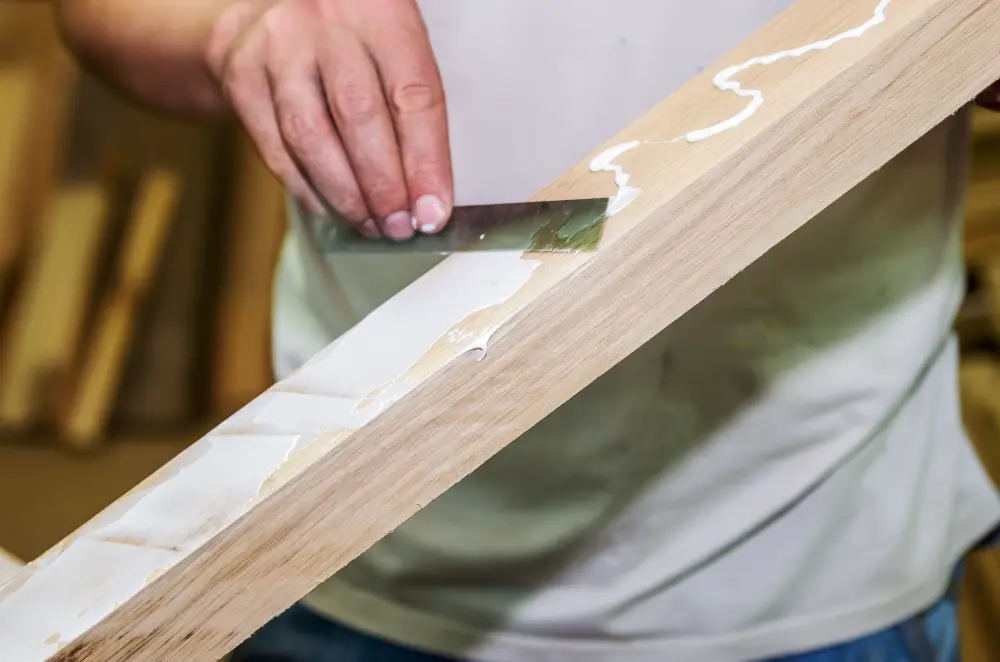
Preparing the Surface
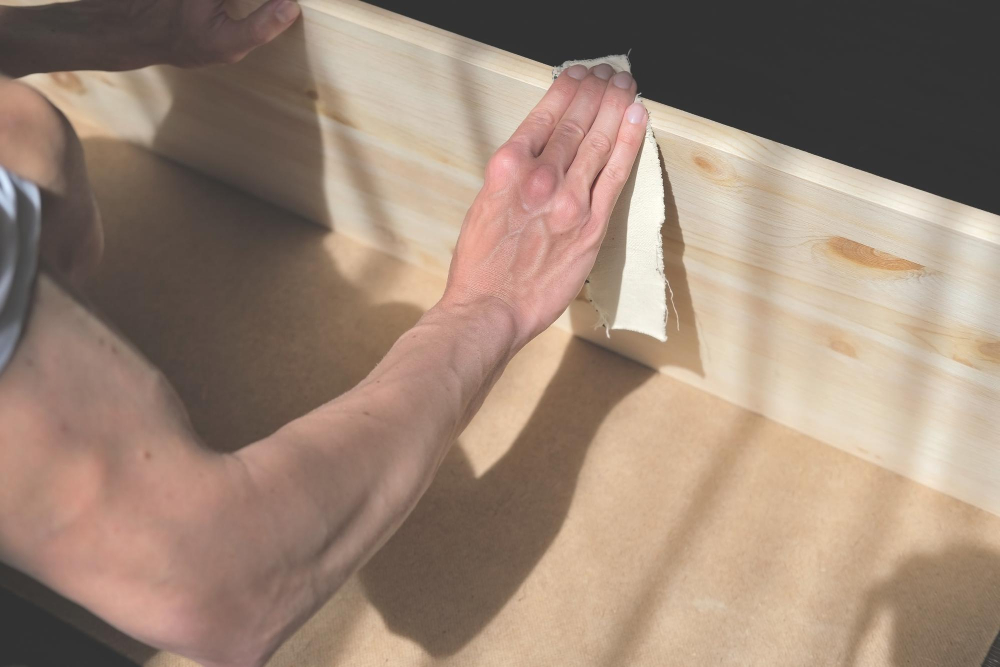
The preparation process will depend on the material you’re using for your finish. For instance, if you’re installing beadboard or wood planks, ensure that they fit snugly against each other and are level with one another before attaching them to the back of your island.
If you plan on painting or applying a tile backsplash, make sure that any existing paint or adhesive residue is removed from the surface first. You can use sandpaper to roughen up glossy surfaces so that they hold onto new paint better.
It’s also crucial to clean and dry off any dust particles from sanding before proceeding with painting or tiling. If there are any gaps between materials used in finishing such as tiles and wood planks fill them in with caulk for a seamless look.
Installing Beadboard
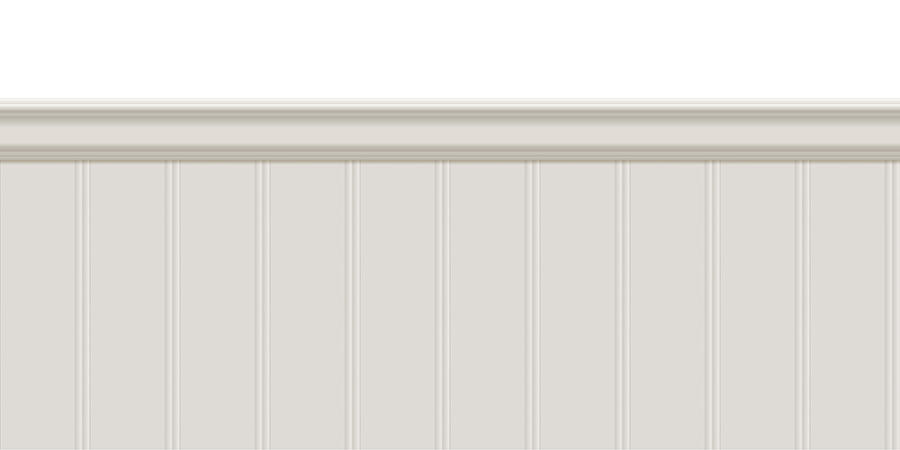
It adds texture, depth, and visual interest to an otherwise plain surface. Installing beadboard is relatively easy and can be done in just a few steps.
Firstly, measure the height and width of the backside of your kitchen island accurately. Purchase enough beadboard panels to cover this area plus some extra for any cuts or mistakes that may occur during installation.
Next, prepare the surface by cleaning it thoroughly with soap water or degreaser solution if necessary. Sand down any rough spots or bumps on the surface so that it’s smooth before installing beadboards.
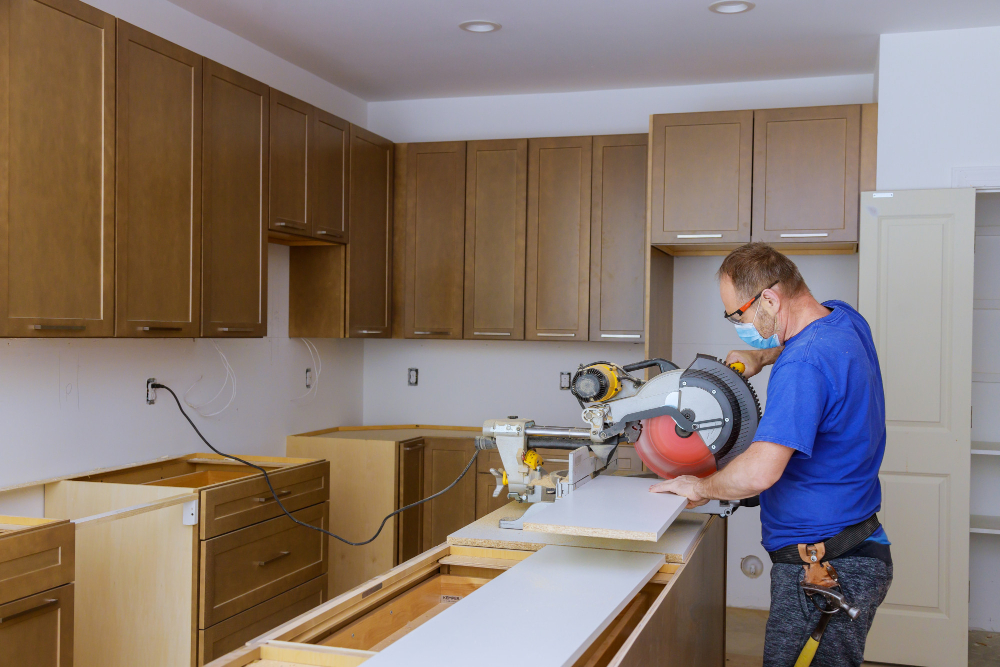
Then cut each panel according to measurements using a saw blade suitable for cutting wood material like plywood sheets (a circular saw works best). Apply construction adhesive on each panel’s backside before attaching them onto your prepared surfaces one at a time until you’ve covered all areas needed with no gaps left between boards!
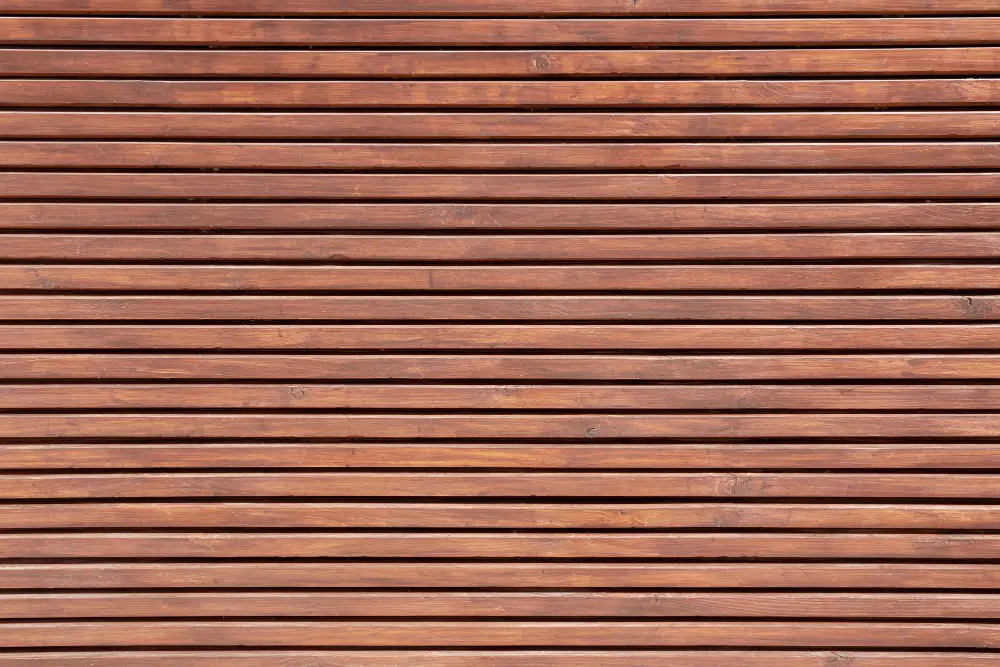
Applying Wood Planks
This technique adds warmth and texture to your space while creating a cozy atmosphere. To get started, measure the back of your island and purchase enough wood planks to cover it entirely.
Before installing the planks, prepare the surface by sanding it down and cleaning any debris or dust. Then apply construction adhesive on each plank’s backside before attaching them one by one onto the surface of your kitchen island’s backing.
Once all boards are in place, use finishing nails along with glue for extra support if needed. You can also stain or paint them according to your preference once they have been installed.
Creating a Tile Backsplash
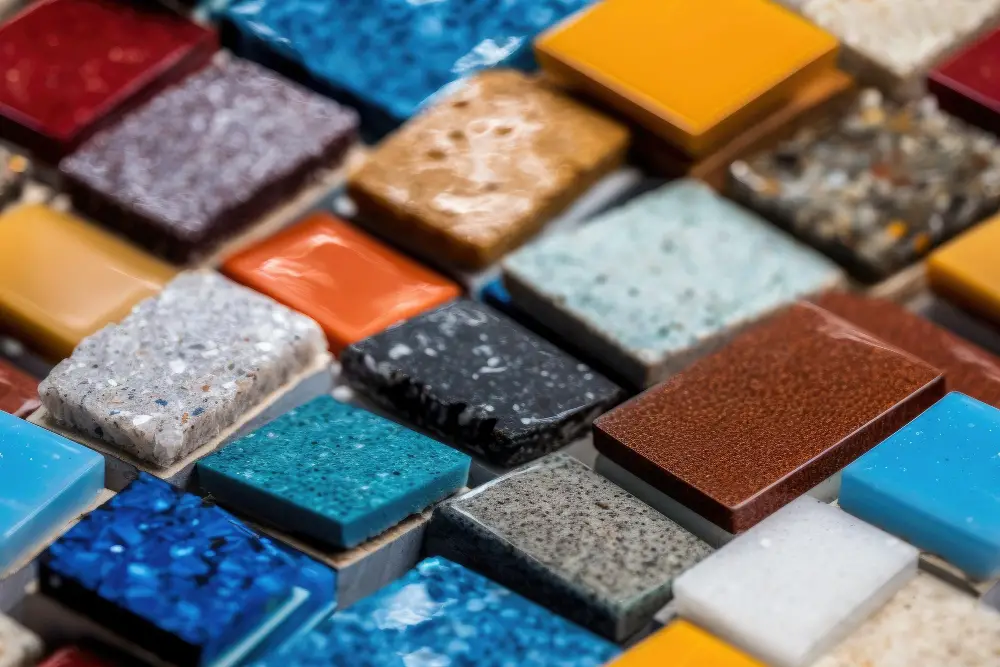
It’s durable, easy to clean, and comes in various colors and patterns that can complement any kitchen style. To create a tile backsplash on your island’s backside, you’ll need to measure the area accurately and choose tiles that fit well with your overall design.
Once you have selected the tiles, prepare the surface by cleaning it thoroughly and sanding it lightly if necessary. Apply adhesive to small sections at a time using a notched trowel before placing each tile carefully onto its designated spot.
After all of the tiles are installed correctly, allow them to dry completely before applying grout between them using a rubber float tool. Wipe off excess grout with damp sponges until only thin lines remain between each tile.
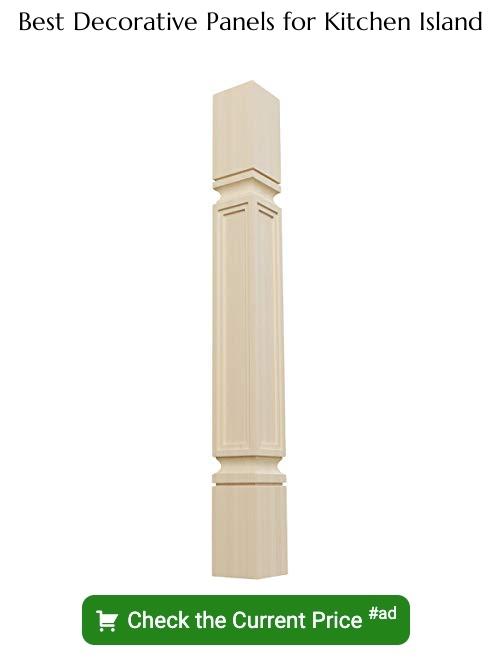
Adding Decorative Paneling
There are many different types of paneling available, from classic shiplap to intricate designs that can add texture and depth to the back of your island. One popular option is beadboard, which features narrow vertical planks with a distinctive groove between them.
Beadboard adds charm and character while also being relatively easy to install.
Another type of decorative paneling that you might consider for your kitchen island is raised or recessed panels. These panels create a more formal look than beadboard but still offer plenty of visual interest.
Raised panels have an elevated surface that creates shadows and highlights, while recessed panels are set into the wood for a more subtle effect.
When choosing decorative paneling for your kitchen island, it’s essential to consider the overall style of your home as well as any existing design elements in the space. You want the finished product to complement rather than clash with other features in your kitchen.
Painting the Back
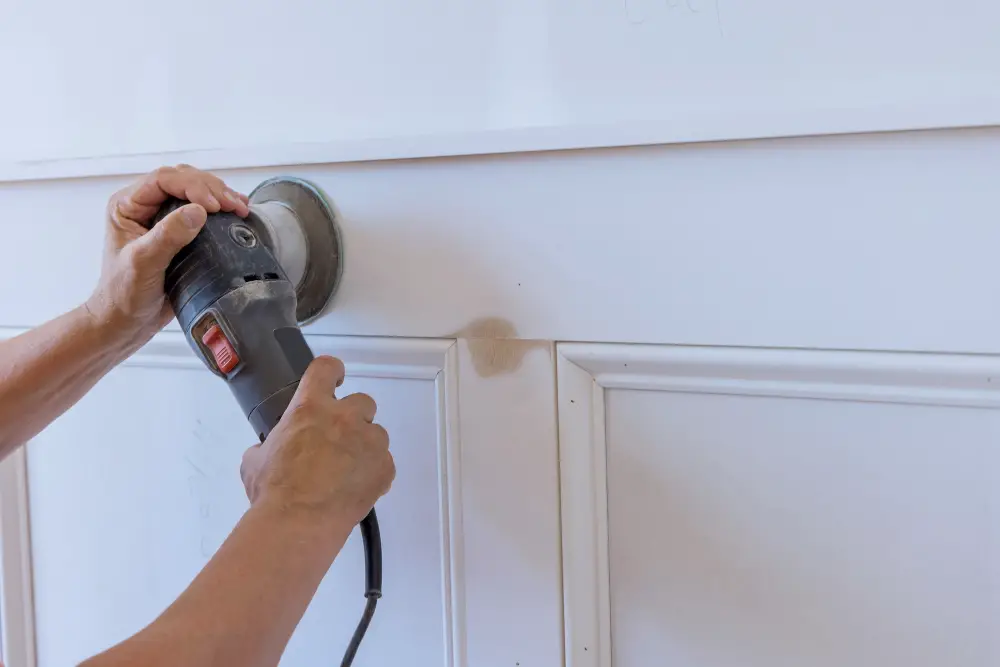
It’s also a great opportunity to add some color or contrast to your kitchen design. Before starting, make sure that the surface is clean and dry.
Sand it lightly with fine-grit sandpaper if necessary.
Choose paint that complements or contrasts with your existing cabinetry and countertops. You can use any type of paint suitable for wood surfaces such as latex, oil-based enamel, or chalk paint depending on what look you want to achieve.
Apply at least two coats of primer before painting; this will help ensure even coverage and adhesion between layers. Once dry (usually overnight), apply two coats of paint using a brush or roller in long strokes following the grain direction.
For added durability, consider applying polyurethane overcoat once everything has dried completely according to manufacturer instructions.
Combining Different Textures
Mixing materials such as wood, tile, or metal can create a unique look that complements your kitchen’s aesthetic. For example, if you have a modern-style kitchen with sleek countertops and stainless steel appliances, adding a textured backsplash made of natural stone or brick can provide an eye-catching contrast.
Another way to combine textures is by layering them on top of each other. You could install beadboard paneling on the bottom half of the backside and then apply wood planks vertically above it for added dimensionality.
When combining different textures in your design plan for finishing the backside of your island make sure they complement each other well without clashing with one another. A good rule is not to use more than three types at once; otherwise it may become too busy-looking.
Mixing and Matching Materials
You can combine different textures, colors, and finishes to create a unique look that complements your kitchen’s overall aesthetic. For example, you could use wood planks on the bottom half of the island’s backside while installing beadboard or tile on top.
When mixing materials, it’s important to consider their durability and maintenance requirements. Some materials may be more prone to scratches or stains than others, so choose wisely based on your lifestyle needs.
Another thing you should keep in mind when mixing materials is balance. Too many contrasting elements can make the space feel cluttered or overwhelming.
Try sticking with two complementary textures for a cohesive look that still adds interest.
Installing Electrical Outlets
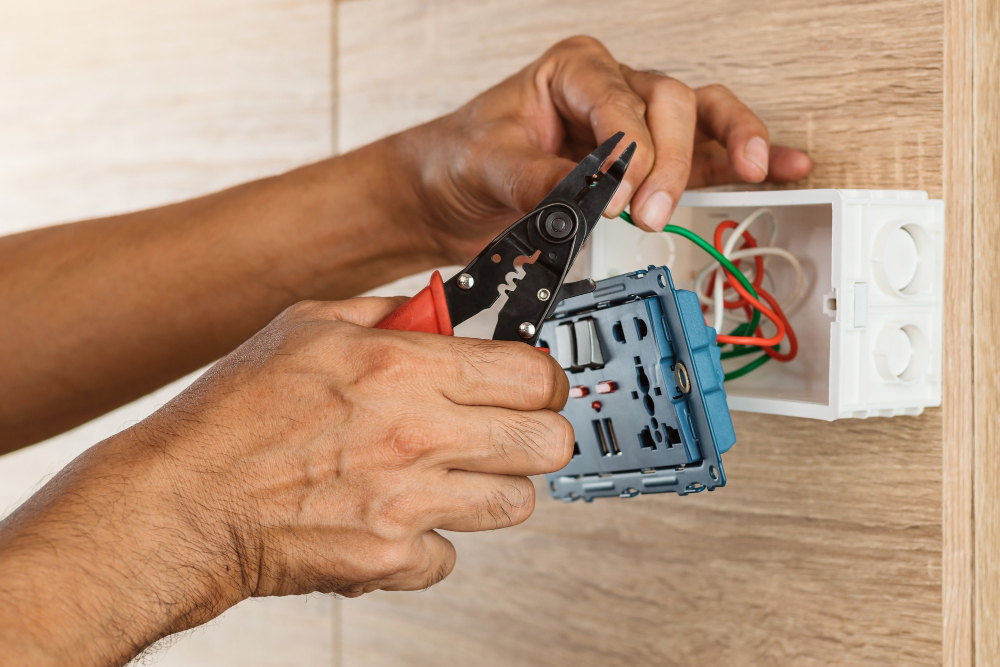
This will allow you to plug in appliances and gadgets without having cords running across the countertop. When deciding where to place the outlets, consider how you’ll be using your island and what appliances or devices need power.
It’s also essential to follow local building codes when it comes to electrical work.
To install an outlet on the back of your kitchen island, first turn off power at the circuit breaker box and test that there is no electricity flowing through wires with a voltage tester tool before proceeding further. Next, cut out a hole in your chosen location using an oscillating saw or jigsaw according to measurements specified by manufacturer instructions.
Then attach wiring from inside of wall cavity into new receptacle box (also following manufacturer instructions) before securing it onto drywall surface with screws provided within package contents; finally connect wires together as per color-coded markings found inside junction boxes so that they match up correctly – black wire goes with black wire etc., then screw faceplate over top once everything has been connected properly.
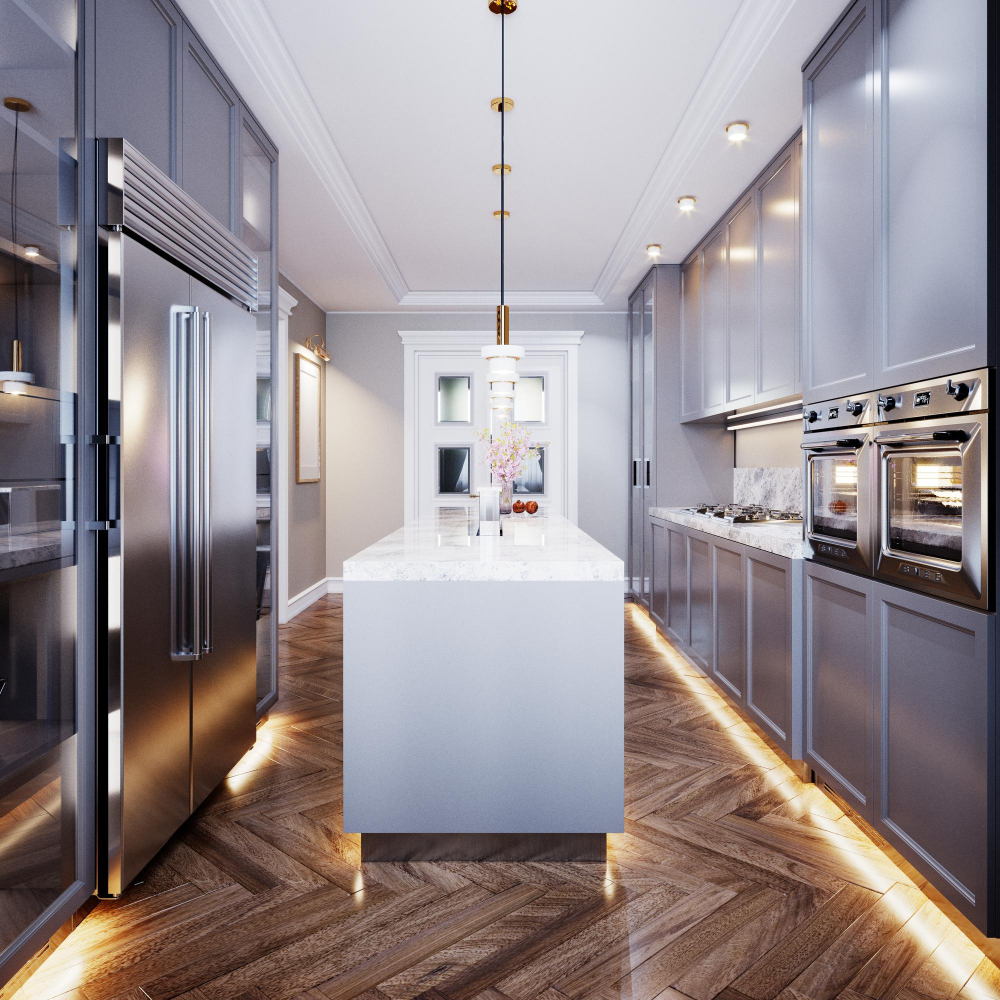
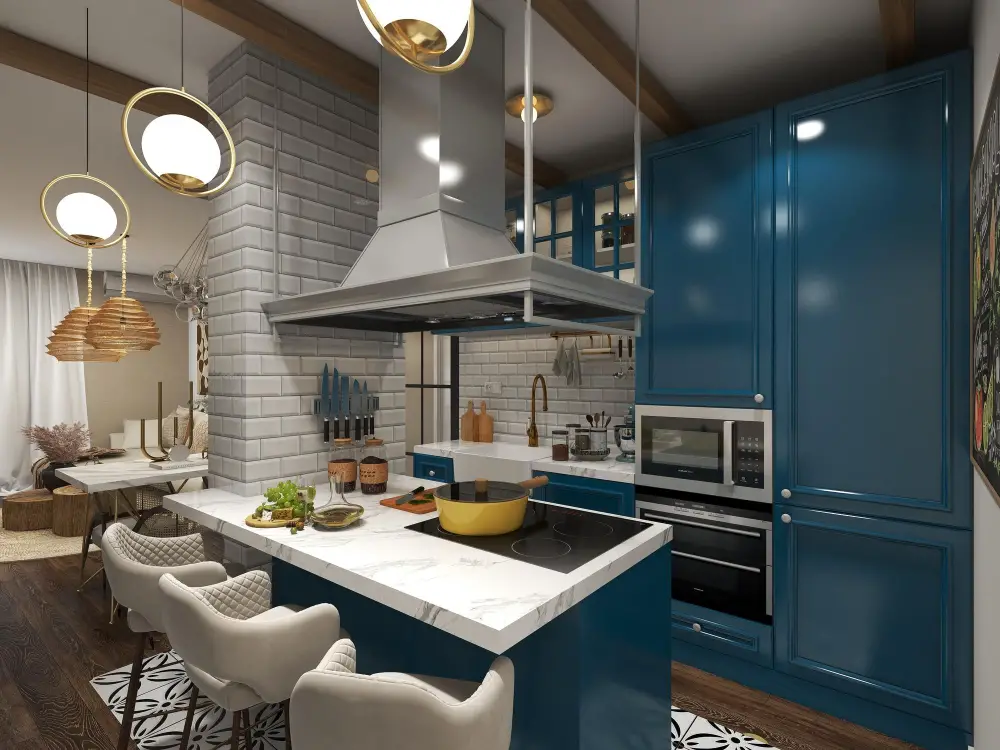
Enhancing With Lighting
Adding lighting to the back of your kitchen island can create an inviting ambiance while also providing functional task lighting for meal prep and cooking. There are several ways to incorporate lighting into the backside of your island, such as installing pendant lights above or under-cabinet lights below.
Pendant lights come in various styles and sizes that can complement any kitchen aesthetic. They provide a warm glow that adds character to space while illuminating the countertop area for food preparation.
Under-cabinet lighting is another popular option that provides ample light without taking up valuable counter space. It’s perfect for highlighting decorative items on open shelves or creating a cozy atmosphere during dinner parties.
When choosing which type of light fixtures to install on your kitchen island’s backside, consider their placement carefully. You want them positioned correctly so they don’t interfere with daily activities but still add value aesthetically.
Installing Open Shelving
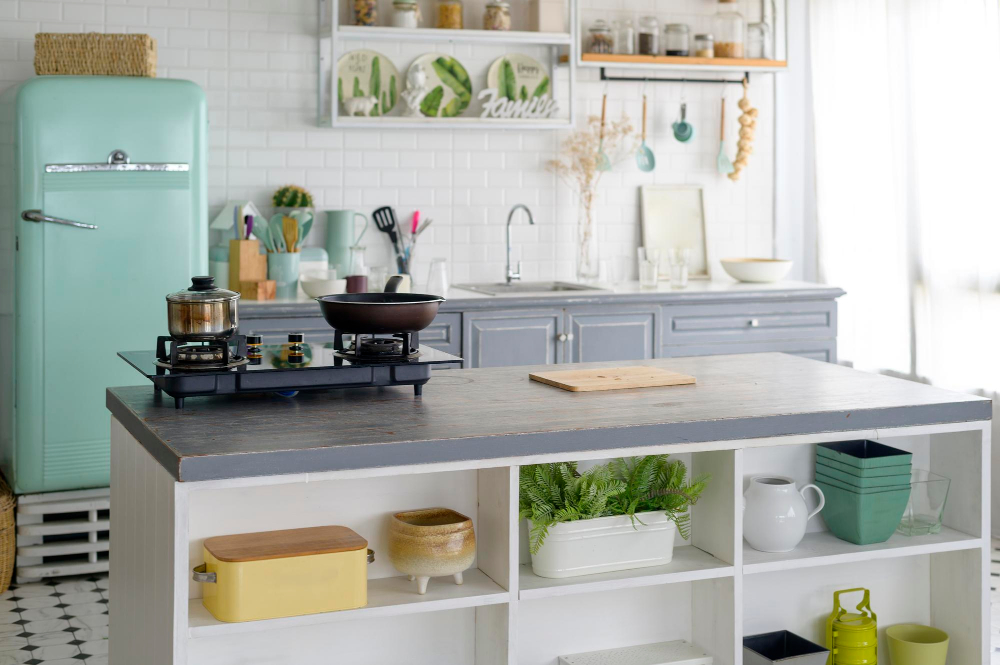
It provides a convenient storage solution for frequently used items, such as cookbooks or small appliances, while also allowing you to showcase decorative pieces that can enhance the overall look of your kitchen.
To install open shelving on the back of your island, start by measuring and marking where you want them placed. Use a leveler to ensure they are straight before drilling pilot holes into the surface.
Next, attach brackets onto these pilot holes using screws.
Once all brackets are in place, slide shelves onto them and secure with additional screws if necessary. You can choose from various materials like wood or metal depending on what suits best with your design aesthetic.
Open shelves provide an opportunity for customization; consider adding some greenery through potted plants or displaying colorful dishes that complement other elements in your kitchen decor scheme.
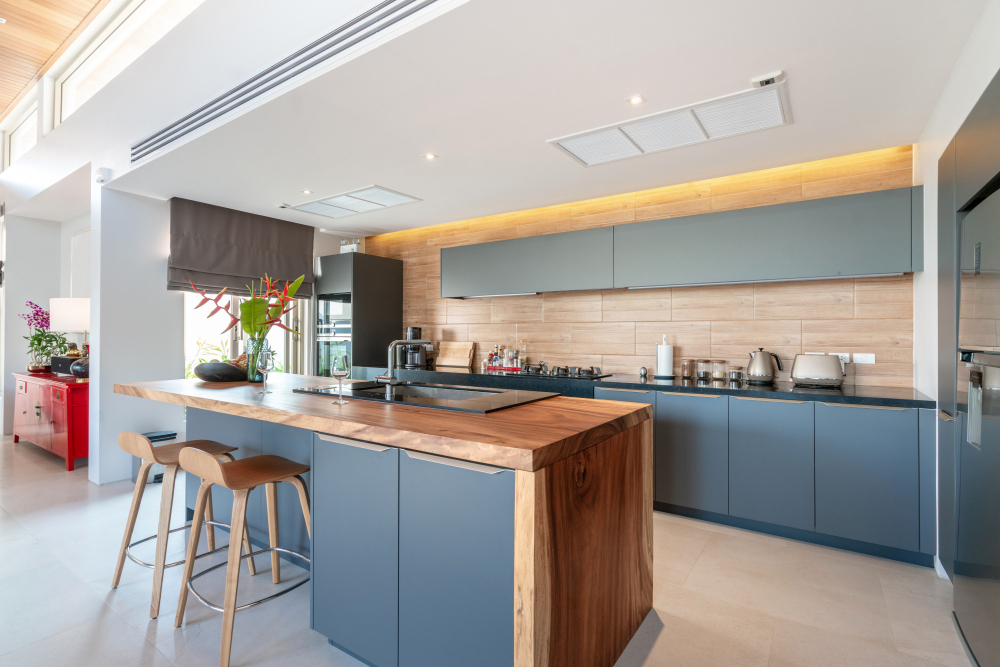
Incorporating Bar Seating
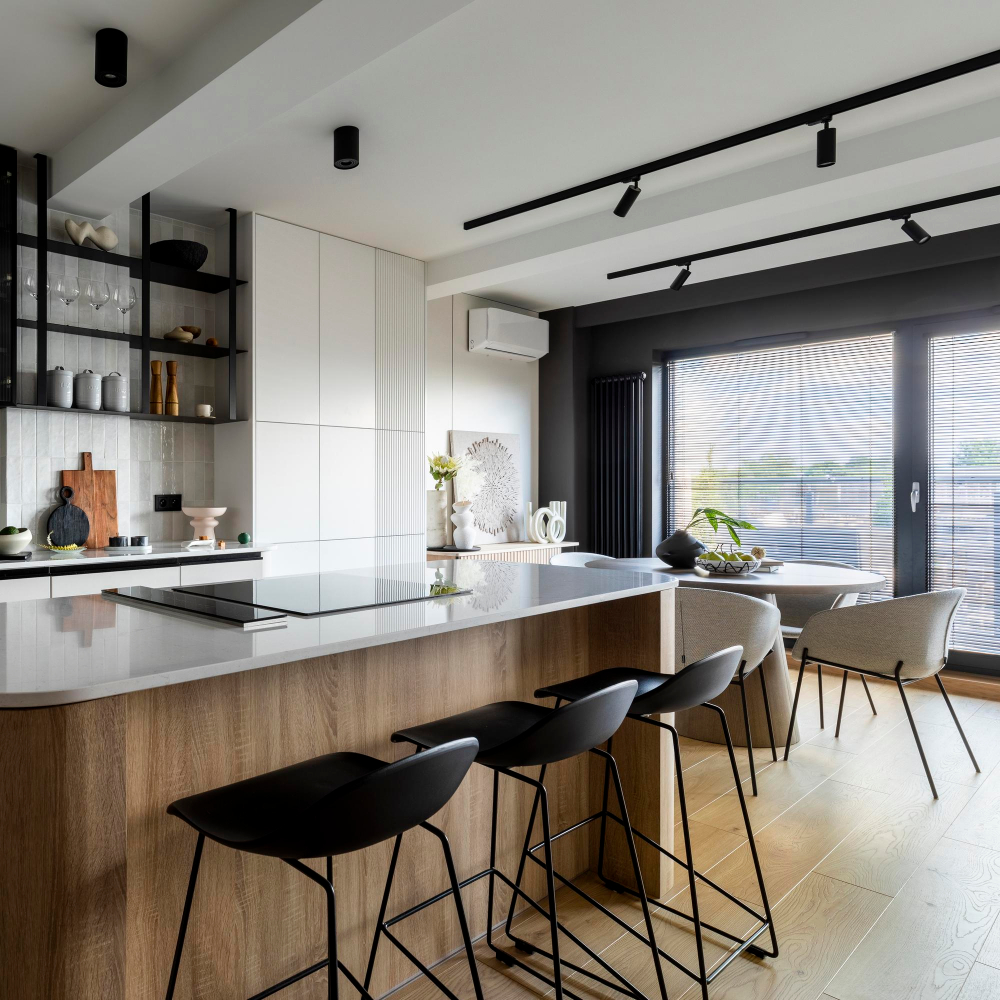
It’s also a practical solution if you have limited space in your dining area. When finishing the back of your kitchen island, consider adding some comfortable stools or chairs that complement the overall design of the space.
Before choosing bar seating, measure the height of your countertop to ensure that it’s compatible with standard stool heights. A typical counter height ranges from 35-37 inches, while standard stool heights are around 24-30 inches tall.
When selecting stools or chairs for bar seating, keep in mind their functionality and comfort level. Choose materials that are easy to clean and maintain since they will be exposed to food spills and stains regularly.
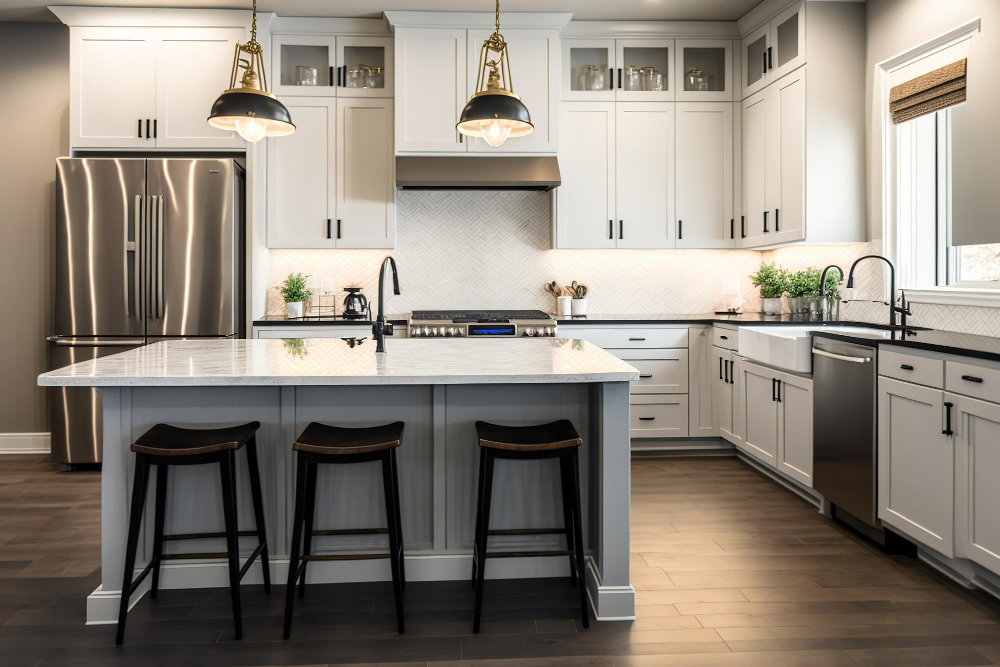
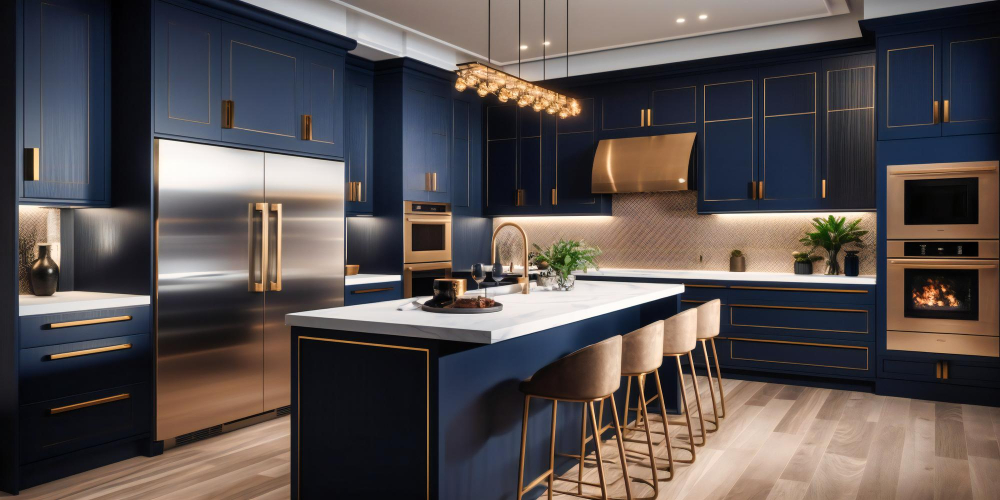
Matching the Kitchen Aesthetic

You want to ensure that it complements and enhances rather than clashes or detracts from its surroundings. If you have a modern and sleek kitchen, you may opt for a minimalist approach by painting the backside in a neutral color or installing simple paneling.
On the other hand, if your style is more traditional or rustic, beadboard or wood planks can add warmth and texture.
Another way to match your island’s aesthetic is by incorporating similar materials used elsewhere in your kitchen design. For example, if you have marble countertops on your island and backsplash behind the stove area, using marble tiles for backing up against cabinets could create an elegant continuity throughout space.
Accessorizing the Island Back
The key is to keep it simple and not overcrowd the space. Here are a few ideas for accessorizing the island back:
1. Hang Artwork: Add some color and interest by hanging artwork on the back of your kitchen island.
2. Display Cookbooks: If you’re an avid cook or baker, display your favorite cookbooks on open shelves or in a book holder.
3. Install Hooks: Adding hooks can be both functional and decorative – use them to hang utensils, towels, or even plants!
4. Incorporate Plants: Speaking of plants – adding greenery can bring life into any space! Consider installing floating shelves for potted herbs or succulents.
5. Use Decorative Trays: A tray is an easy way to corral items like salt & pepper shakers, oil & vinegar bottles, napkins holders etc., while also adding texture and visual interest.
Maintaining the Finished Look
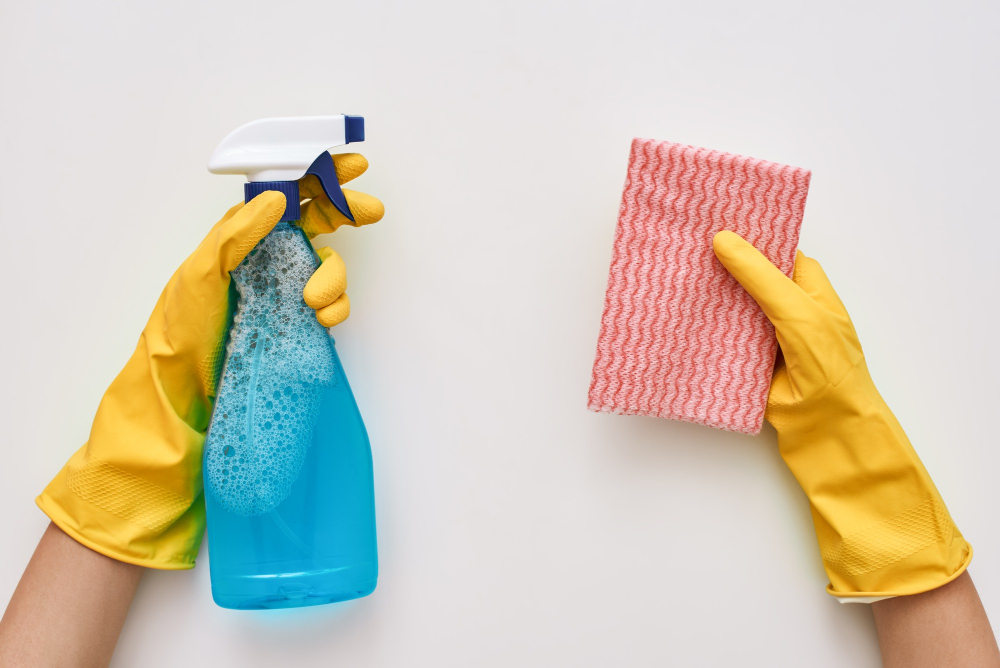
Regular cleaning and upkeep will ensure that your hard work doesn’t go to waste. Here are some tips for maintaining the finished look:
1. Wipe down regularly: Use a damp cloth or sponge to wipe down the surface of your island’s backside regularly.
2. Avoid harsh chemicals: Harsh chemicals can damage certain materials used in finishing the back of an island, so be sure to use gentle cleaners.
3. Address spills immediately: If you spill something on your kitchen island, clean it up as soon as possible before it has a chance to stain or damage any finishes.
4. Check for wear and tear: Over time, finishes may start showing signs of wear and tear such as scratches or chips; address these issues promptly by repairing them with touch-up paint or other appropriate methods.
Budgeting for the Project

Some materials and techniques can be more expensive than others. That’s why budgeting for the project is an essential step in ensuring that you don’t overspend.
Before starting any work on your kitchen island, take a moment to assess how much money you’re willing to spend on this project. Consider all aspects involved in finishing the backside of your island – from materials and tools needed to labor costs if you plan on hiring a professional.
Once you have determined how much money is available for this task, research different options that fit within your budget range. Keep in mind that some materials may require additional expenses such as special adhesives or tools necessary for installation.
DIY Vs. Hiring a Professional
While DIY can save you money, time and effort, hiring a pro ensures that the job is done correctly and efficiently. If you have experience with home improvement projects and feel confident in your skills, then DIY might be an excellent option for you.
However, if this is your first time attempting such a task or if it involves electrical work or plumbing installation – which requires permits – then hiring an expert would be best.
Keep in mind that while doing it yourself may seem like an easy way out at first glance; there are many factors to consider before embarking on any home renovation project alone. For instance: do I have all necessary tools? Do I know how much material will need? How long will this take me?
On the other hand, working with professionals means they bring their expertise into play when designing and executing ideas tailored specifically for each client’s needs while ensuring quality results within budget constraints.
Tips for Small Kitchens
Here are some tips to keep in mind when working with limited square footage:
1. Choose light-colored materials: Light colors reflect more natural light, making the room feel brighter and more spacious.
2. Keep it simple: Avoid busy patterns or textures that can overwhelm a small space.
3. Use open shelving: Open shelves create an illusion of depth while providing storage for frequently used items.
4. Incorporate lighting: Adding under-cabinet lighting or pendant lights above the island will brighten up your workspace and make it appear larger.
5. Consider multi-functional features: If you’re short on counter space, consider adding bar seating or installing electrical outlets for appliances like blenders or mixers that can be easily stored away after use.
By following these tips, you’ll be able to finish the back of your kitchen island in a way that maximizes function without sacrificing style in even the smallest kitchens!
FAQ
What are some creative ideas to incorporate functional storage solutions into the back of a kitchen island?
Some creative ideas to incorporate functional storage solutions into the back of a kitchen island include installing pull-out shelves, hanging pot racks, integrating wine storage, adding a bookshelf, and utilizing pegboard for additional organization.
How can I incorporate seating or a dining space on the backside of a kitchen island?
To incorporate seating or a dining space on the backside of a kitchen island, simply add chairs or stools along the extended countertop area.
What materials and finishes are suitable for creating a cohesive design with the rest of the kitchen while finishing the back of a kitchen island?
Suitable materials and finishes for creating a cohesive design with the rest of the kitchen while finishing the back of a kitchen island include matching cabinetry, wood paneling, beadboard, shiplap, or tile, depending on existing elements.


