Last updated on
Replacing a kitchen faucet with a U-shaped bracket may seem daunting, but because we’ve unlocked the secrets to doing it without a hassle, your DIY home improvement project just got considerably easier.
Looking to remove a kitchen faucet with a U-shaped bracket? You’re on the right track! This article promises a detailed step-by-step guide that simplifies the process.
From gathering the right tools, releasing the pressure in the lines, removing the faucet hoses, to detaching the braces, every small but crucial detail will be covered.
By the end, that stubborn U-shaped bracket will be off, with a new faucet ready to be installed. This article will ensure you don’t miss a beat while undertaking this DIY task.
So, roll up your sleeves, grab your plumber’s wrench, and let’s get started!
Key takeaways:
- Identify the type of kitchen faucet before removing it.
- Gather the necessary tools before starting the removal process.
- Shut off the water supply to the faucet before beginning.
- Drain any leftover water from the faucet and pipes.
- Carefully remove the handles and detach the spout before reaching the U-shaped bracket.
What's Inside
Identifying the Type of Kitchen Faucet
When it comes to faucets, the options can be overwhelming. Different types make for varied functionality and aesthetics. From ball and disc to cartridge types, each comes with its unique assembly and handling. It’s essential to understand what you’re working with.
A quick glance beneath the sink might give you a good idea of what you’re dealing with. Look for any trademark signs such as visible screws or a single handle, which typically indicate a ball faucet. No visible screws on the other hand, could mean a disc or cartridge type.
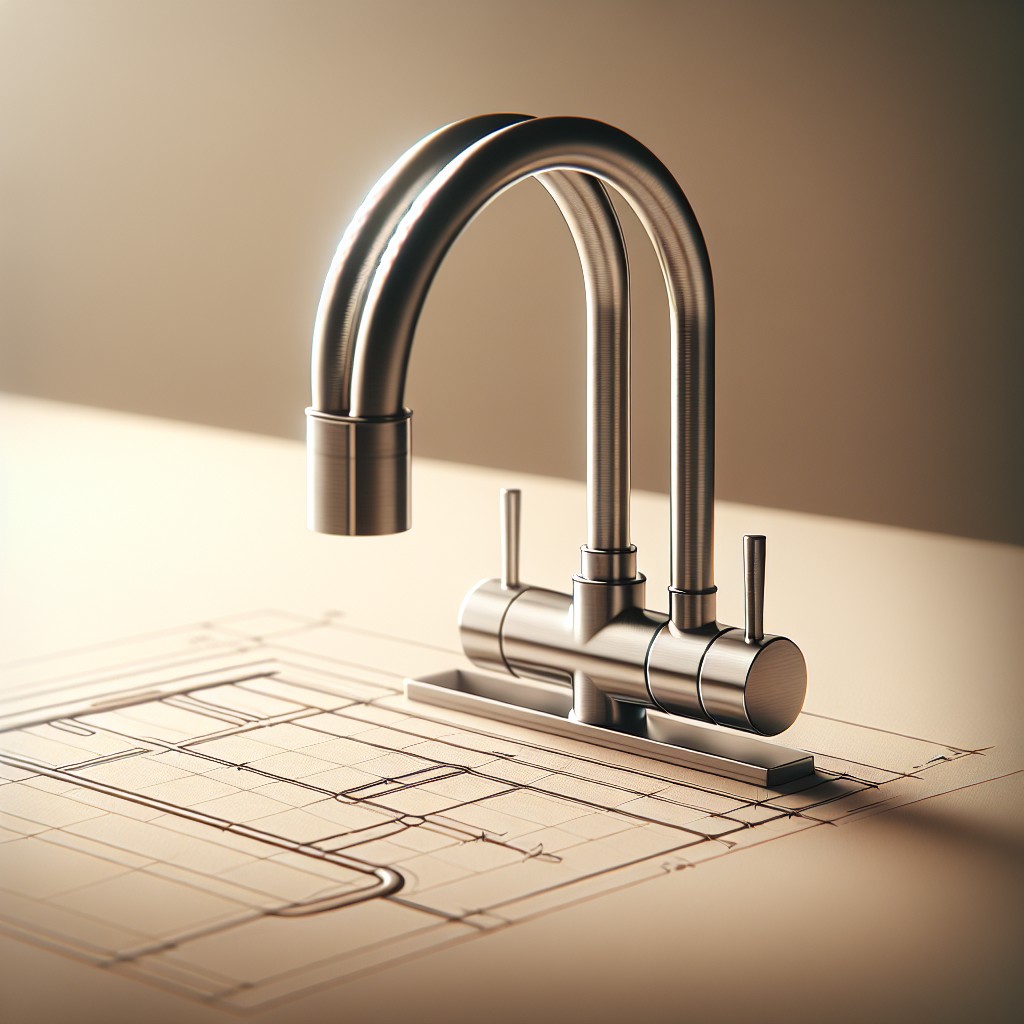
But to ensure accuracy, check the faucet’s base. If there is a U-shaped bracket, you’re dealing with a center-set faucet. This type incorporates a spout and a couple of handles into a single, easily removable fixture, held in place by the U-shaped bracket. Spotting this bracket gives you the green light to proceed with the removal.
Gathering Necessary Tools
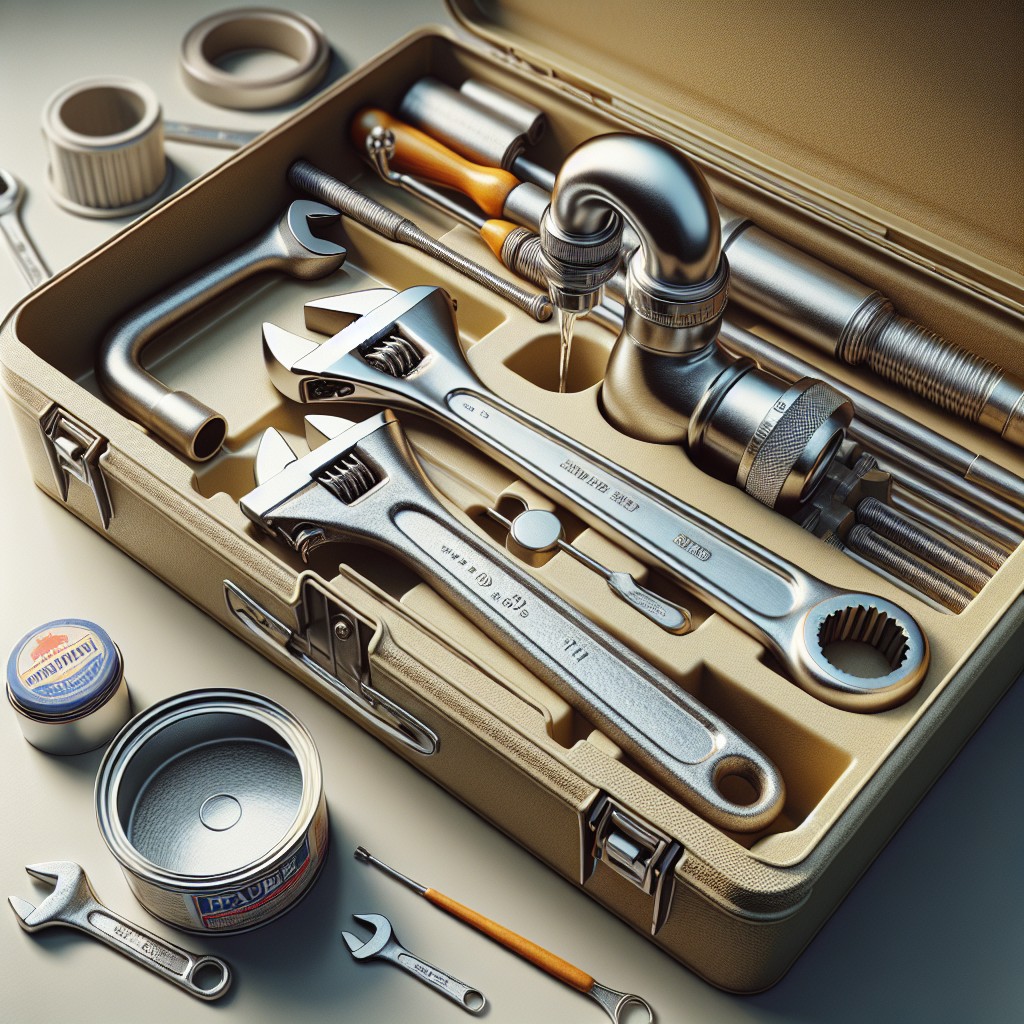
To make the process smooth and stress-free, ensure you have all needed tools on hand. First thing, you will need a basin wrench, an invaluable tool for tight and hard-to-reach areas. Next is the adjustable wrench, commonly used for loosening or tightening nuts and bolts.
A pair of pliers comes handy for gripping small parts without much effort, while a screwdriver aids in unscrewing small elements of the faucet. A flashlight is a must-have for improved visibility in the cabinet under the sink. Lastly, organize a bucket or large bowl to collect any residual water from the pipes and keep your workspace clean.
Having all the tools ready will help to remove your U-shaped bracket kitchen faucet without any unnecessary interruptions.
Shutting Off Water Supply
Before handling any parts of the faucet, ensure that the water flow to the tap gets discontinued. Locate the water supply valves typically found under the sink. Two valves control the cold and hot water flow. Should you fail to find the valves, check the basement or crawl space directly beneath your kitchen. Once located, turn each valve clockwise until you meet resistance, indicating full discontinuation of the water supply.
Keep in mind it’s crucial to shut off the water entirely, as proceeding with the task while the supply is open can result in a mess and possible water damage. It’s also critical to remember the position of the valves turned for an easier resuming of the water supply when work gets completed.
For homes without specific shut-off valves for the sink, use the main water supply valve to disconnect the entire household’s water flow. Although slightly inconvenient, it ensures safety during your kitchen faucet removal task. Remember to briefly inform household members before concluding this step.
Draining Leftover Water
First, turn all the faucet handles to the ‘on’ position to allow any residual water to escape. Ensure each valve is fully open, which includes both the hot and cold sides. Depending upon your faucet style, you may rotate, pull, or push the handles.
You’ll hear the water flowing for a brief period and then shortly after it trickles out, signalling that most of the water has been drained. Remember, a small amount might remain within the pipes, but this is nothing to be alarmed about. Keeping a towel or small bucket nearby can prevent any unintentional mess.
Be mindful to turn the handles back to their ‘off’ position once finished, to save you a possible mishap when the water supply is eventually turned back on. Draining water from the system minimizes potential water-related issues, like accidental leaks or squirts during your faucet change.
Removing the Handles
Before you dive right into the task, make sure you’ve appropriately identified the screws attaching your faucet handles. They are frequently found under decorative caps. The caps can usually be pried off using a flat screwdriver. Under these caps, you’ll see the screw that holds the handle in place.
Carefully, use a suitable screwdriver to turn the screws counter-clockwise until they’re loose. Be sure to place these small components in a secure location – losing them might become a significant inconvenience! With the screws removed, pull the handles straight up; they should come off without much resistance.
In certain situations, mineral deposits may cause the handles to stick. If so, use some white vinegar on the area. The vinegar’s acid will break down the deposits, making it a lot easier to remove the handles.
Remember, gentle and patient movements work best here. You want to avoid causing any unnecessary damage to your operational handles, especially if you intend on reusing them.
Detaching the Spout
Begin the process by locating the set screw—this small screw usually conceals under the lever handle. You need an Allen wrench to loosen it.
Once you’ve done that, the handle can be removed easily. Now, direct your attention towards the bonnet nut. This particular component secures the spout to the faucet body. Utilize a wrench, or a set of pliers, to unscrew it.
Upon removing the screw, simply grip the spout and apply an upward pull. A few gentle wiggles might be necessary to release it. Patience is key here; forceful actions may cause damage to the sink finish.
With the spout detached, you will expose the bracket, bringing you one step closer to successful faucet removal.
Reaching the U-Shaped Bracket
With the spout and handles out of the way, you’re now able to access the U-shaped bracket. Remember, it’s fixed beneath the sink and holds the faucet in position. To view it, you might have to crouch or lay down, depending on your sink configuration.
1. Equip yourself with a bright flashlight to ensure clear visibility. Inspect carefully as the U-bracket is often concealed by the sink’s basin.
2. Locate the mounting nuts. These are usually attached to the underside of the U-shaped bracket.
3. Notice the threads on the mounting nuts. They either tighten clockwise and loosen counter-clockwise, or vice versa.
This visibility and knowledge make the subsequent process of removal straightforward. Each mounting nut has to be unscrewed. But be prepared, depending on the material, they could be stuck or corroded, requiring a little extra oomph. Proceed to the next section for insights on that.
Performing the Actual Removal of the U-Shaped Bracket
Delving directly into the heart of the task, it’s important to first loosen the nuts holding the bracket in place. Using an adjustable wrench or a basin wrench depending on the available space, carefully turn the nuts counterclockwise, maintaining a steady hold on the faucet from above.
Should the nuts prove stubborn, don’t force them. A shot of penetrating oil or rust dissolver can make all the difference. Let it sit for a few minutes then try again.
Once the nuts are loose, slide the U-shaped bracket down the supply lines. Keep track of all the parts removed, as you might need them for reference when installing a new faucet.
Remember to work patiently during this process. Hasty wrenching can lead to property damage or personal injury. It’s crucial to preserve the threads on your pipes, so use controlled, steady pressure when loosening fasteners.
Lifting Off the Faucet
After successful removal of the U-shaped bracket, it’s time for the faucet to make its exit. Start by applying a gentle upward pressure to detach it from its position. In case it’s stubborn or calcified over time, a bit of wiggle might become necessary. Be careful not to Muster too much strength as it can damage the countertop.
Keep the faucet’s neck in consideration. More often than not, they are goose-neck or high-arc models. Therefore, a straightforward lift-off won’t work. Instead, pull it up, then towards you, and finally lift it off the sink. Should there be any resistance, don’t force it. Revisit the previous steps to ensure nothing’s been missed.
Remember to do it gently to avoid scratching the sink or damaging the pipes beneath. Remove any gasket present beneath it as it won’t serve any purpose now. Give yourself a pat on the back because you’ve successfully performed a tricky task yourself. In the next section, we’ll discuss how to clean up and prepare the space ready for another faucet installation.
Cleaning Up After Removal
After your faucet removal task, it’s significant to keep your workspace tidy. Initially, dispose of the old faucet responsibly, considering any recycling possibilities in your area.
Next, attention should be given to the sink area. As the faucet has been long-standing, you might find grime deposits. Make use of a non-abrasive cleaner to scrub around the sink, especially the empty faucet hole. Ensure any residue from pipe sealants or hard water deposits is thoroughly cleaned off.
Further, collect all the tools and materials used during the process and store them properly. If there are any leftover parts from your former faucet, consider storing them as they might come handy for future plumbing tasks.
Keeping your workspace neat not only keeps the area ready for the next task—installing a new faucet but also extends the life of your kitchen sink.
Highlight On Replacing With a New U-Shaped Bracket Faucet
After successful removal of the old faucet, it’s time to install the new one. Start by positioning the new U-shaped bracket faucet onto the spot. Make sure it is accurately aligned with the sink’s opening to achieve a flawless fit.
Next, go below the sink and attach the washers and nuts that came with your new faucet. Tighten them adequately to secure the faucet into position. This process may come with some effort, but it ensures a sturdy installation.
Then, connect the supply lines to the faucet’s tailpiece. Having a basin wrench will be helpful for this step as it enables you to reach and tighten nuts in tight spaces.
Now, reconnect the water supply. Turn on both supply valves and then run both hot and cold water from the faucet to check if the water flows smoothly and to ensure there are no leaks. If there happen to be leaks, recheck and tighten the connections.
Finally, attach the handle or handles, depending on your faucet’s design. Make sure they’re tightly secured and functioning properly. The procedure might slightly vary depending on the faucet model so always refer to your manufacturer’s manual for specific instructions.
Troubleshooting Common Challenges in Removing U-Shaped Brackets
When encountering resistance or difficulty during the process, here are effective solutions to common problems:
- 1. When the nuts are stuck, consider using penetrating oil or vinegar to loosen them. Give it ample time to work before trying again.
- 2. If access to the bracket is obstructed by drawers or other hardware, it may be necessary to remove these temporarily. A tool like a basin wrench can also help in tight spaces.
- 3. If the old faucet has calcification or rust, you can scrub it off gently with a wire brush, but avoid aggressive rubbing that may damage the surface.
- 4. If the faucet does not come off even after removing the U-shaped bracket, check for any hidden screws or points of attachment. The layout can vary depending on the model.
Remember to prioritize safety. If you are unsure at any point, it’s advisable to consult a professional or experienced DIYer. With patience and the right approach, you will successfully navigate these challenges.
FAQ
How do you remove a kitchen faucet nut without a basin wrench?
To remove a kitchen faucet nut without a basin wrench, simply utilize a socket wrench to loosen the nuts, applying grease if necessary, and detach the hose from the basin or sink after removing any screws with a screwdriver.
How do you remove faucet mounting hardware?
To remove faucet mounting hardware, simply locate the locking nut or screws that secure the faucet to the sink, then use a basin wrench to loosen and unscrew it; if the nut is stubborn, apply a penetrating oil.
Is there a tool for removing faucet nut?
Yes, the 2 in. Universal Faucet Wrench from Husky is an ideal tool for removing faucet nut, specially designed to tightly grab the nut wings without causing any damage.
What are some alternative tools to use if a basin wrench for removing a kitchen faucet nut is not available?
In the absence of a basin wrench, a pair of locking pliers or a pipe wrench can effectively be used to remove a kitchen faucet nut.
How do you safely disassemble a U-shaped bracket on a kitchen faucet?
To safely disassemble a U-shaped bracket on a kitchen faucet, turn off the water supply, place a towel in the sink to prevent small parts from falling into the drain, and use an adjustable wrench to gently unscrew and release the U-shaped bracket.
What’s the process to loosen a corroded faucet nut without damaging the sink?
Apply a penetrant like WD-40 to the corroded faucet nut, let it sit for a few hours to break down the rust, and then slowly unscrew it with a basin wrench to avoid damaging the sink.


