Last updated on
Discover the transformative power of refinishing your kitchen sink, breathing new life into a worn-out centerpiece and revamping your space effortlessly.
Are you tired of looking at your old, worn-out kitchen sink? Maybe it’s time for a change, but before you start shopping for a new one, have you considered refinishing it? That’s right! Refinishing your kitchen sink can give it a brand-new look without the hefty price tag of buying a new one. In this article, we’ll explore whether or not refinishing your kitchen sink is possible and what steps you need to take to get the job done.
So, let’s dive in and see if we can give your old sink a second chance at life!
What's Inside
Types of Kitchen Sink Materials
When it comes to kitchen sinks, there are several materials to choose from. Each material has its own unique characteristics and benefits.
Here are some of the most popular types of kitchen sink materials:
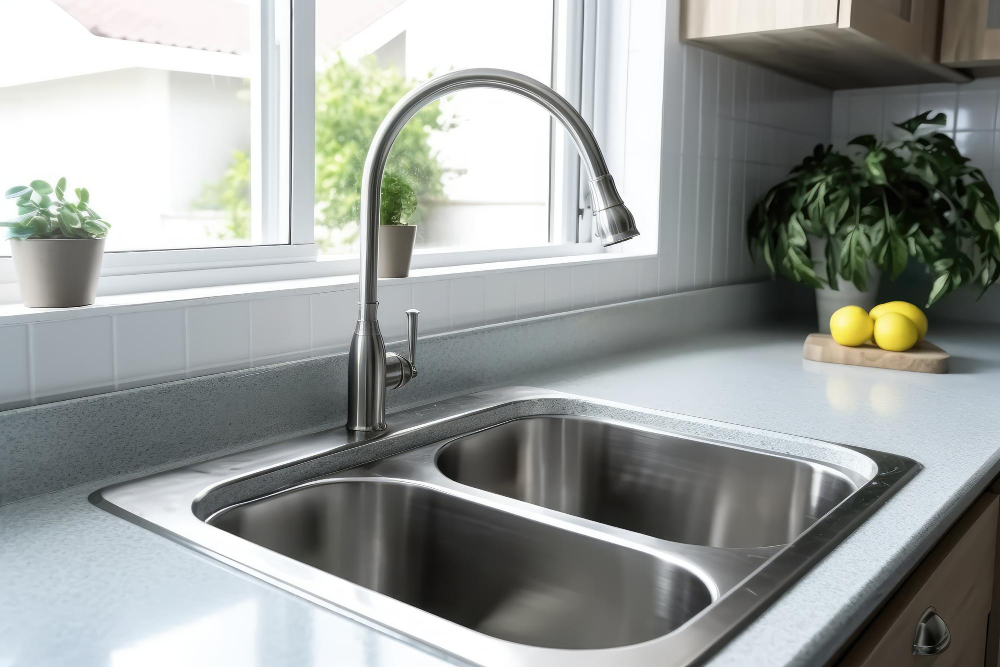
1. Stainless Steel: This is one of the most common types of sink materials due to its durability, affordability, and easy maintenance.
2. Porcelain: Porcelain sinks have a classic look that can add elegance to any kitchen design; however, they require more care than other materials as they can chip or scratch easily.
3. Cast Iron: These sinks are known for their strength and durability but require regular maintenance such as sealing or refinishing.
4. Composite Granite: Made from a mixture of granite stone dust and acrylic resin, composite granite offers an attractive appearance with excellent resistance against scratches and stains.
5. Copper: Copper sinks offer a unique rustic charm that adds character to any space; however, they tend to be more expensive than other options.
When to Refinish a Kitchen Sink
Refinishing a sink that’s too damaged or corroded may not be worth the effort and cost. So, how do you know when it’s time to refinish your kitchen sink?
Firstly, if there are any cracks or chips in the surface of your sink that expose its underlying material (such as cast iron), then it’s definitely time for a refinish. These types of damages can lead to rusting and corrosion over time.
Another sign that indicates refinishing is necessary is if there are stains on the surface of your kitchen sink which cannot be removed by regular cleaning methods such as baking soda paste or vinegar solution.
Lastly, if you’re simply tired of looking at an outdated color scheme in your home but don’t want to replace everything just yet – refinishing could give new life back into those old fixtures!
Assessing Kitchen Sink Damage

Not all sinks are good candidates for refinishing, and some may require more extensive repairs before they can be refinished. Start by examining the surface of your sink for chips, cracks or deep scratches that cannot be removed with a simple cleaning solution.
If you have a porcelain sink, check if there are any rust stains around the drain or faucet area. These stains can indicate that water has been leaking into the metal underneath and causing corrosion.
For stainless steel sinks, look out for dents and scratches on its surface as these could affect how well it holds up against future wear-and-tear.
Cast iron sinks should also be checked thoroughly since they tend to chip easily when hit by heavy objects like pots or pans.
Concrete sinks may develop hairline cracks over time due to their porous nature; therefore inspecting them closely is crucial before deciding whether to refinish them.
By assessing your kitchen sink’s condition beforehand will help determine if refinishing is an option worth considering.
Signs Your Sink Needs Refinishing
The most obvious sign is visible damage such as chips, cracks, and scratches on the surface of the sink. These can be caused by heavy use over time or accidental impacts from pots and pans.
Another sign that your sink may need refinishing is discoloration or staining that won’t come off with regular cleaning methods. This can happen if you have hard water in your area or if certain foods and liquids have been left sitting in the sink for too long.
If you notice rust forming around drains or other areas of metal on your kitchen sink, it’s a clear indication that it’s time to refinish it before further damage occurs.
By keeping an eye out for these signs of wear and tear on your kitchen sink early on, you’ll be able to take action quickly before any permanent damage sets in.
DIY Refinishing Vs. Professional Services

DIY refinishing can be an attractive option for those who enjoy taking on home improvement projects and want to save money. However, it’s important to note that sink refinishing requires specialized tools and materials that may not be readily available at your local hardware store.
Professional services offer several advantages over DIY methods. For starters, professionals have access to high-quality materials and equipment designed specifically for sink resurfacing.
They also have years of experience in handling different types of sinks with various levels of damage.
Another advantage is time-saving; while a DIY project could take days or even weeks depending on how much work needs doing, professionals can typically complete the job within hours without compromising quality.
Pros and Cons of Refinishing

Like any home improvement project, there are pros and cons to consider before diving in.
Pros:
- Cost-effective: Refinishing is often much cheaper than replacing a sink.
- Quick turnaround time: Most refinishing jobs can be completed within a day or two.
- Customizable options: With refinishing, you have more control over the color and finish of your sink.
- Eco-friendly option: By choosing to refinish instead of replace, you’re keeping an old item out of landfills.
Cons:
- Limited lifespan: While refinishing can extend the life of your sink for several years, it’s not as long-lasting as buying a brand new one.
- Not suitable for all sinks/materials: Some types of sinks may not be able to withstand the process involved in refinishing. It’s important to assess whether or not this is an appropriate option for your specific situation before proceeding with any work on it
- Potential health hazards if done improperly : The chemicals used during some DIY projects could pose risks if proper safety precautions aren’t taken into account
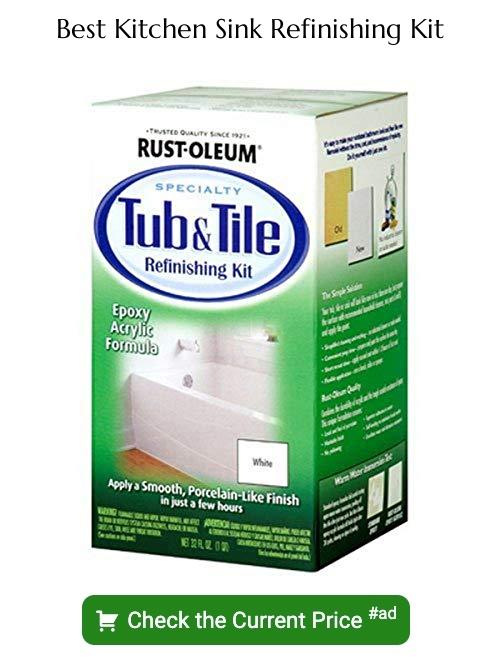
Cost of Sink Refinishing

The cost of refinishing varies depending on the type of material, size, and extent of damage. Generally speaking, the cost for DIY kits ranges from $50-$150 while professional services can range anywhere from $200-$500 or more.
While DIY kits may seem like an affordable option at first glance, they require a lot of time and effort to complete correctly. If you make any mistakes during the process or fail to follow instructions properly – which can happen easily – you might end up with unsatisfactory results that will only lead to additional expenses in fixing them.
On the other hand, hiring professionals ensures quality workmanship and guarantees long-lasting results without having to worry about making costly mistakes along the way. It’s important also not just focus solely on price but consider factors such as experience level and reputation when choosing a service provider.
Essential Tools and Supplies

Here are some of the things you’ll need:
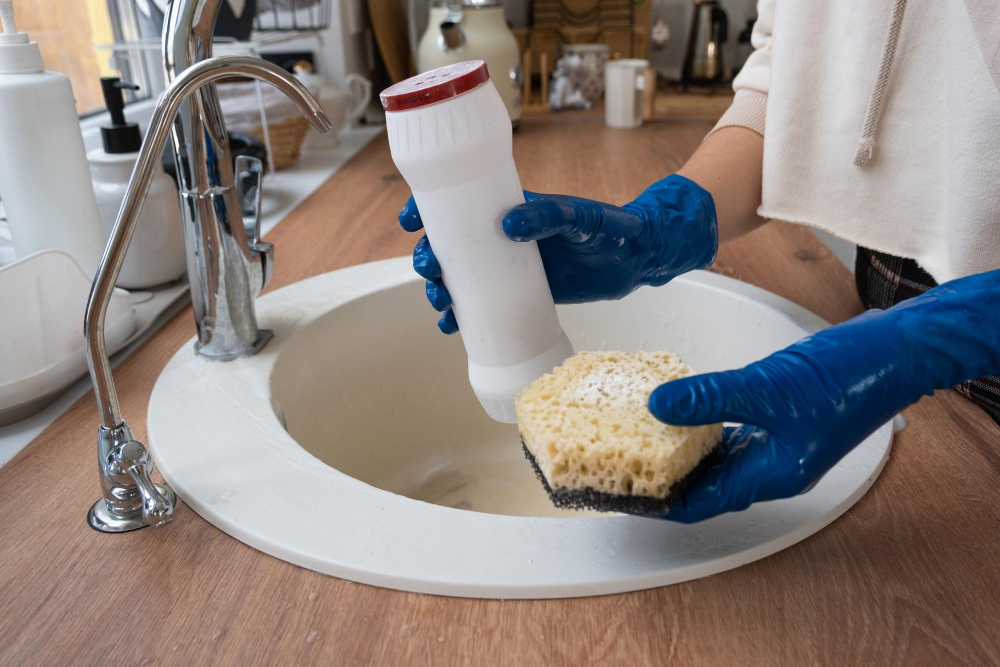
1. Safety gear: Refinishing a sink involves working with chemicals that can be harmful if inhaled or come into contact with your skin.
Make sure to wear gloves, goggles, and a respirator mask.
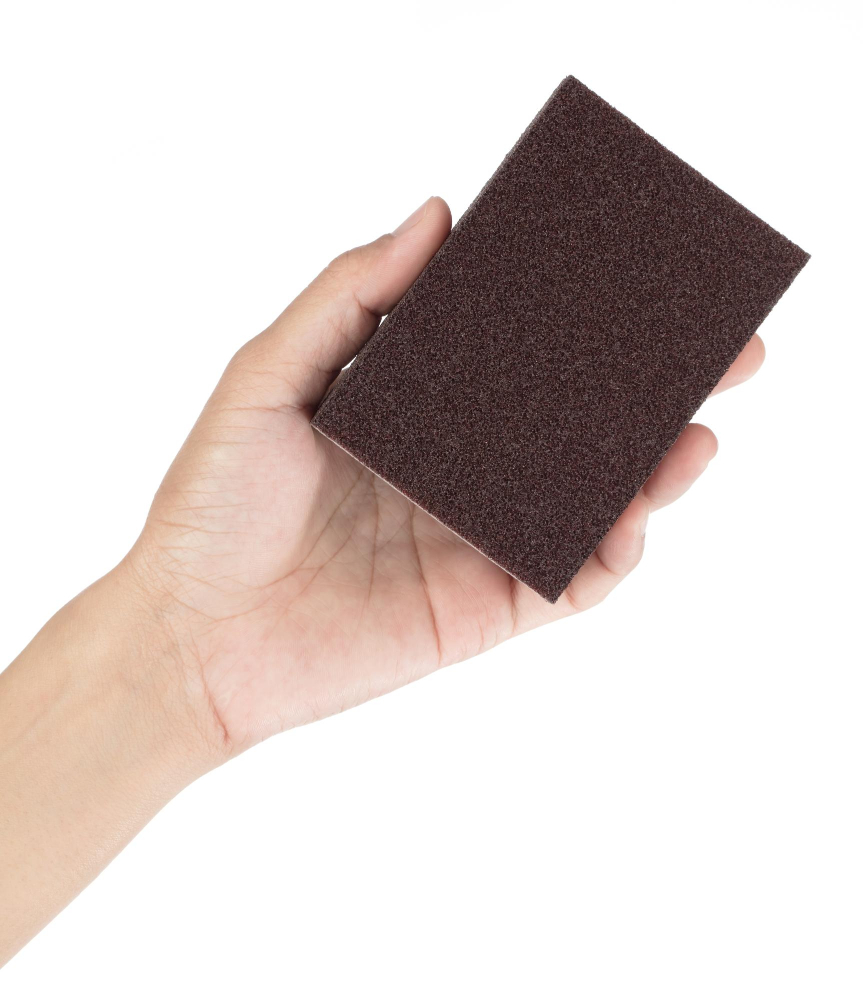
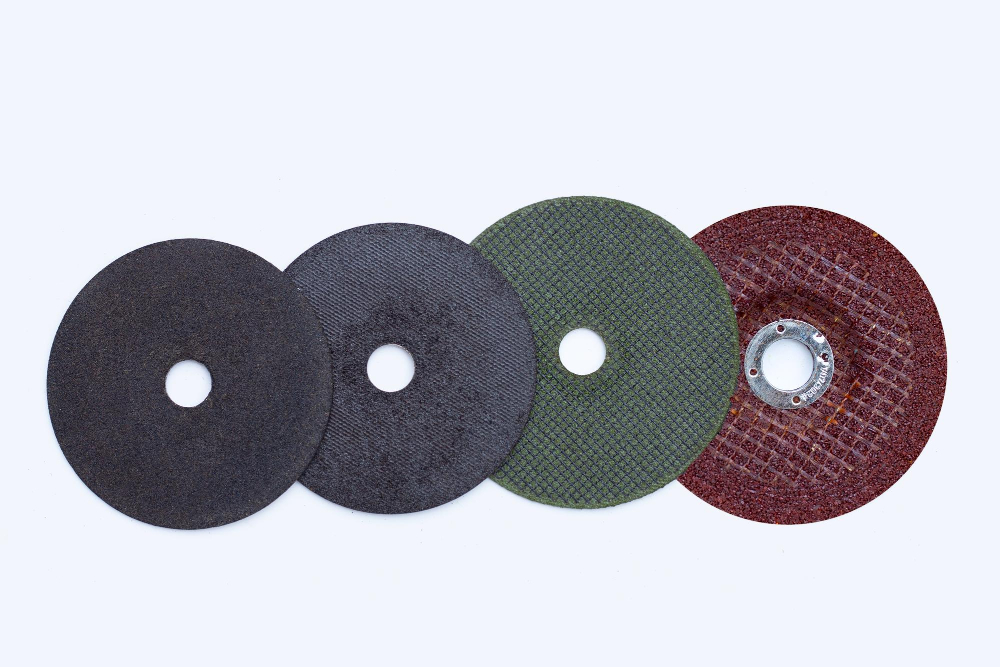
2. Cleaning supplies: You’ll need soap scum remover, degreaser cleaner, sandpaper (220 grit), steel wool (0000 grade), and a scrub brush.
3. Repair materials: If there are any chips or cracks in your sink’s surface that require repair before refinishing can begin; you will need epoxy putty filler.
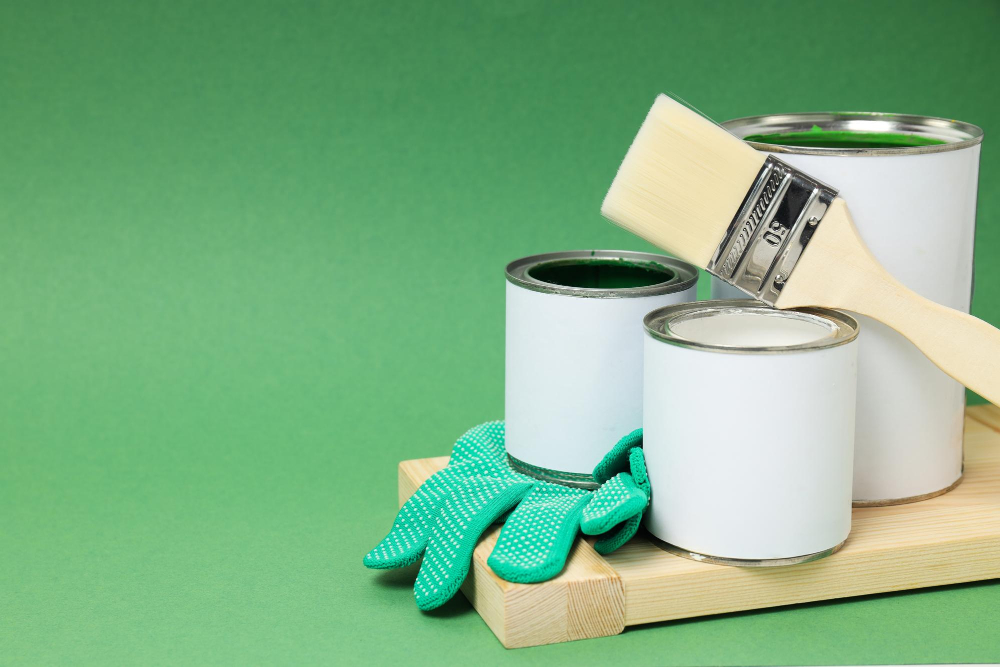
4. Refinishing kit: Purchase an all-in-one kit designed for refinishing sinks containing primer coat paint finisher topcoat sealer etc., depending on what type of material is used for making the kitchen sink.
5.Miscellaneous items such as drop cloths/tarps to protect surrounding areas from overspray during painting process.
Safety Precautions

Refinishing a sink involves working with chemicals and tools that can be hazardous if not handled correctly. Here are some safety tips to keep in mind:
1. Wear protective gear: Always wear gloves, goggles, and a respirator mask when working with chemicals.
2. Work in a well-ventilated area: Make sure there is proper ventilation in the room where you’ll be refinishing your sink.
3. Keep children and pets away from the work area: It’s best to keep kids and pets out of harm’s way during this process.
4. Follow instructions carefully: Read all product labels carefully before use, follow instructions closely for each step of the process.
Preparing the Kitchen Sink
This step is crucial as it ensures that the new finish adheres correctly and lasts longer. Here are some steps to follow when preparing your kitchen sink for refinishing:
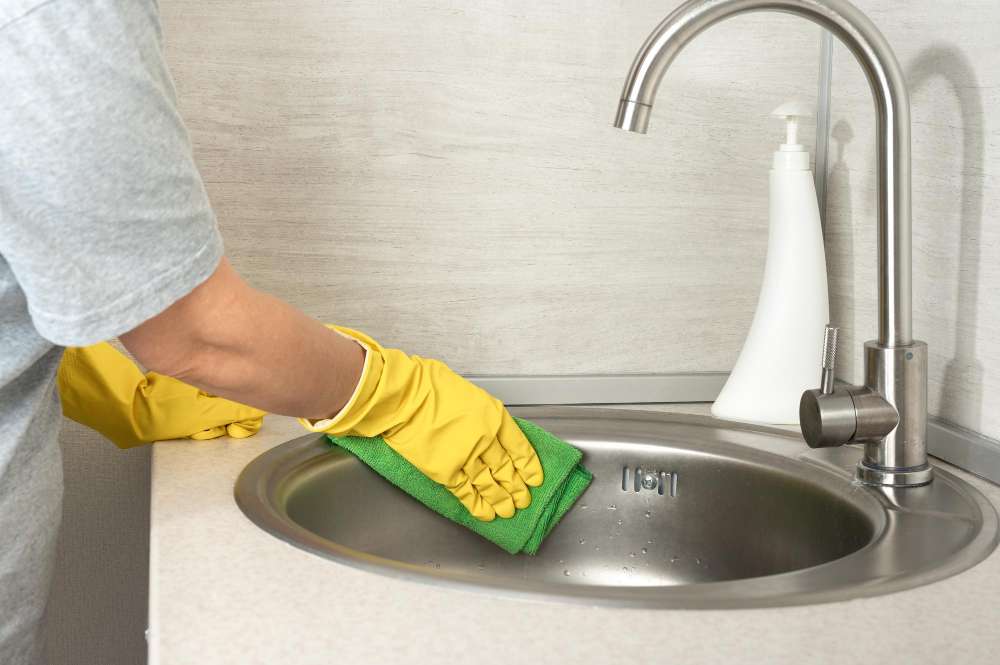
1. Clean the Sink: Use a non-abrasive cleaner and scrub brush to remove any dirt, grime or stains from the surface of your sink.
2. Sanding: Using sandpaper with 220-grit or higher grits, lightly sand down all surfaces of the sink until they’re smooth.
3. Rinse Thoroughly: After sanding, rinse off all debris thoroughly using clean water and let dry completely before proceeding further.
4. Mask Off Surrounding Areas: Cover surrounding areas like countertops with masking tape or plastic sheeting so that no overspray gets on them during application.
5.Apply Primer Coat : Apply a primer coat over entire area which needs resurfacing.
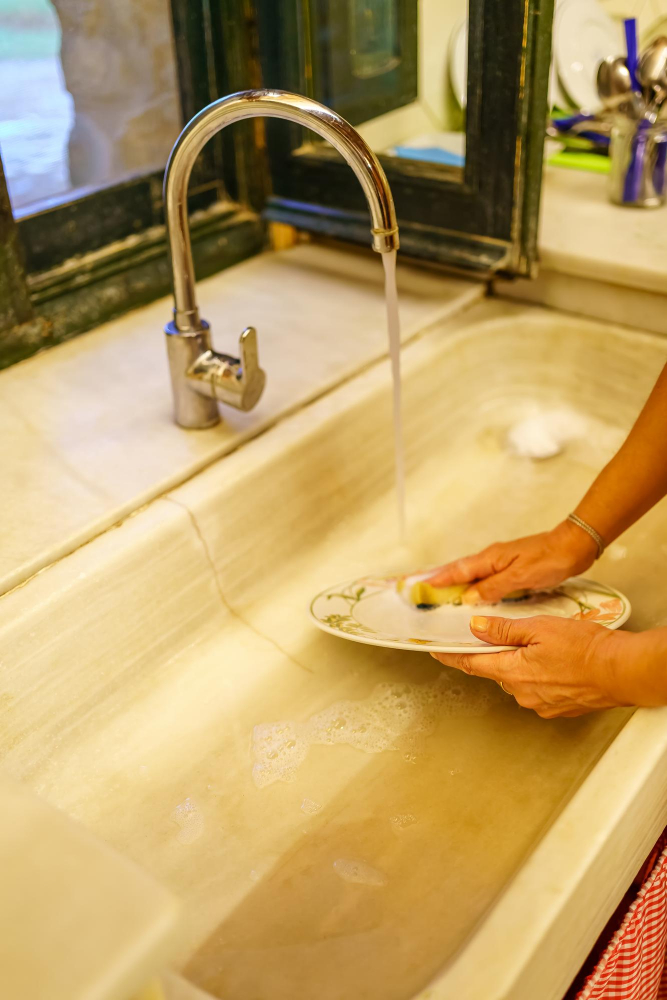
Refinishing Porcelain Sinks
Over time, they can become stained or chipped, making them an eyesore in your kitchen. Refinishing porcelain sinks is a cost-effective way to restore their original beauty without having to replace them entirely.
To refinish a porcelain sink, you’ll need specialized equipment and materials such as etching cream and epoxy paint designed specifically for use on porcelain surfaces. The process involves cleaning the sink thoroughly with abrasive cleaners before applying the etching cream that will help the new finish adhere better.
Once you’ve applied the etching cream according to instructions provided by manufacturers of both products used (etching cream & epoxy paint), rinse it off with water then let it dry completely before applying several coats of epoxy paint using either spray or brush-on methods depending on what works best for your situation.
Refinishing Stainless Steel Sinks
Over time, they can become scratched or stained, making them look dull and unattractive. Refinishing your stainless steel sink is an excellent way to restore its shine and make it look brand new again.
To refinish a stainless steel sink, you will need specific tools such as sandpaper or abrasive pads of different grits (from coarse to fine), metal polishers like Bar Keepers Friend or Flitz Metal Polisher, microfiber cloths for cleaning the surface thoroughly before refinishing it with sealant.
Before starting the process of refinishing your stainless-steel sink ensure that you have all necessary safety equipment including gloves and goggles since some chemicals used in this process can be harmful if not handled correctly.
Once you have gathered all necessary supplies follow these steps:
- Clean the Sink: Start by cleaning your sink thoroughly using warm water mixed with dish soap.
- Sanding: Use sandpaper or abrasive pads on any scratches until they disappear.
- Polishing: Apply metal polisher onto a clean cloth then rub gently into the surface of your entire basin area until shiny.
- Sealant Application: Once polished apply sealant evenly across every inch ensuring no spots missed out; let dry completely before use!
Refinishing Cast Iron Sinks
Over time, they can become chipped or stained, making them an eyesore in your kitchen. Refinishing a cast iron sink is possible with the right tools and techniques.
To start refinishing your cast iron sink, you will need to remove any rust or stains using sandpaper or steel wool. Once the surface is smooth and clean, apply a bonding agent that will help the new finish adhere properly.
Next comes applying several coats of enamel paint designed specifically for use on cast iron surfaces. Be sure to let each coat dry completely before adding another layer.
After all layers have been applied and dried thoroughly (usually 24-48 hours), it’s time to add sealant for protection against scratches and other damage that may occur during everyday use.
While refinishing a cast-iron sink can be done as DIY project with some patience & skillset; hiring professionals who specialize in this type of work might be worth considering if you want guaranteed results without risking further damage.
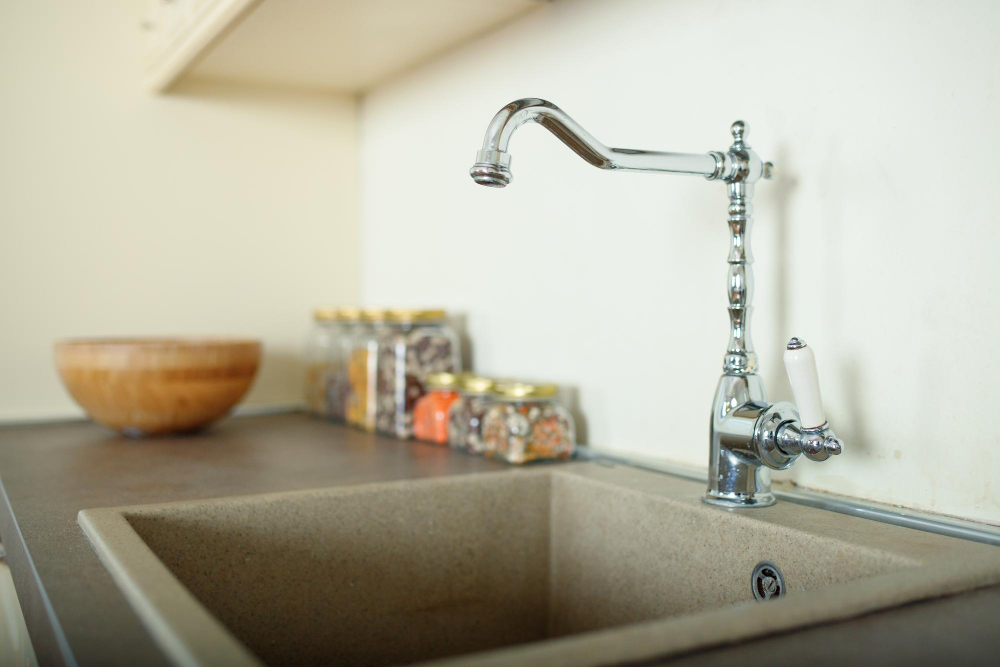
Refinishing Concrete Sinks
Over time, concrete sinks can become stained or chipped, making them look worn out and unattractive. Refinishing a concrete sink is an excellent way to restore its original beauty without having to replace it entirely.
To refinish a concrete sink, you will need specialized tools and materials such as diamond sanding pads or grinding wheels designed for use on hard surfaces like stone or cement. The process involves removing the old sealer from the surface of the sink using chemical strippers before smoothing out any rough spots with sandpaper.
Once you have prepared your work area and gathered all necessary supplies, begin by cleaning your sink thoroughly with soap and water before applying an acid etching solution that will help open up pores in the surface of your countertop material so that new coatings can adhere better.
After allowing enough time for drying (usually 24 hours), apply several coats of epoxy paint specifically formulated for use on countertops until achieving desired color depth while ensuring even coverage across all areas including edges where most wear occurs over time.
Seal off newly painted surfaces using high-quality sealers designed explicitly for kitchen countertops made from porous materials like natural stone or cement-based products such as those used in creating custom-made concrete sinks.
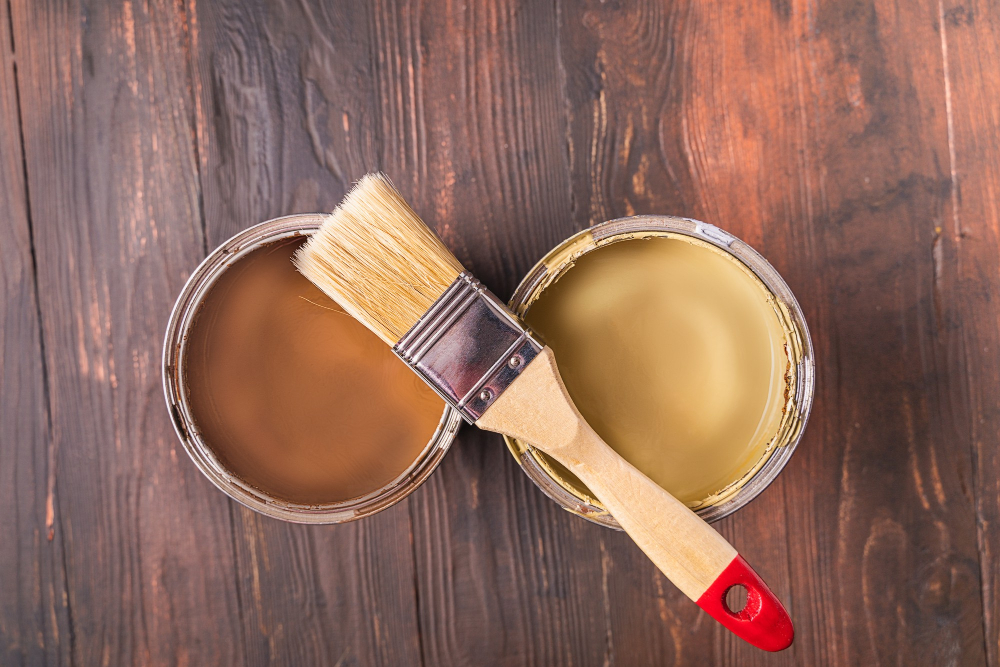
Resurfacing Materials and Techniques
The most common resurfacing materials include epoxy, acrylic urethane, and polyester resin. Epoxy is a popular choice because it’s durable and resistant to chemicals and heat.
Acrylic urethane is another option that provides excellent adhesion but requires more time for curing than epoxy.
Polyester resin is also used in sink refinishing but has some drawbacks such as being less durable than other options. When it comes to techniques for resurfacing sinks, there are two main methods: spraying or brushing on the new surface material.
Spraying involves using specialized equipment that sprays an even layer of coating onto the sink’s surface while brushing entails applying multiple layers of paint with a brush until you achieve your desired finish.
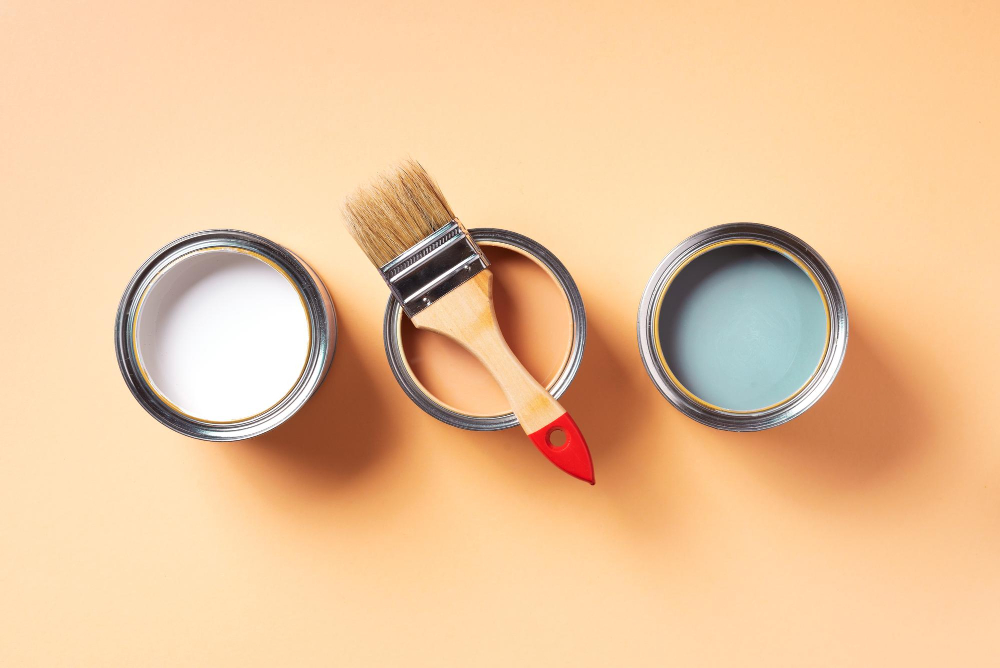
Sealers and Finishing Products
These products help prevent scratches, stains, and other types of damage that can occur over time. There are several different types of sealers and finishing products available on the market today.
One popular option is an epoxy coating that provides a durable surface for your sink. Epoxy coatings come in various colors and finishes to match any decor style you have in mind.
Another type of sealer is a clear acrylic coating that creates an invisible barrier between your sink’s surface and potential damage-causing agents like water or cleaning chemicals.
It’s essential to choose the right type of sealer or finishing product for your specific kitchen sink material as some may not be compatible with certain surfaces such as cast iron sinks which require special care when refinishing them.
Before applying any sealing agent, make sure you follow all manufacturer instructions carefully. Some sealers require multiple coats while others only need one application; either way always allow enough drying time before using the newly refinished kitchen sink again.
Caring for a Refinished Sink
Here are some tips on how to care for a refinished sink:
1. Avoid abrasive cleaners: Refinishing materials can be sensitive and may scratch easily if exposed to harsh chemicals or abrasives.
2. Use gentle cleaning products: Stick with mild dish soap and water when cleaning your newly-refinished sink.
3. Don’t let standing water sit in the sink: Standing water can cause damage over time, so make sure you wipe down the surface after each use.
4. Be mindful of heavy objects: While refinishing materials are durable, they’re not indestructible! Avoid dropping heavy pots or pans into the basin as this could chip away at the finish.
5. Regular maintenance is key: Keep up with regular cleanings and touch-ups as needed so that your newly-refinished kitchen sink stays looking great for years to come!
Preventing Kitchen Sink Damage
Here are some tips for keeping your sink looking great:
- Avoid using abrasive cleaners or scrubbers on the surface of your sink.
- Don’t leave standing water in the basin for extended periods as this can cause discoloration and rusting.
- Be mindful of what you put down the drain; avoid pouring grease, oil, or coffee grounds into it.
- Use a protective mat at the bottom of your sink when washing heavy pots and pans to prevent scratches and dents.
- Regularly clean out any debris that may accumulate around drains.
Refinish or Replace: Factors to Consider

First and foremost is the extent of damage to your current sink. If the damage is minor, such as scratches or stains that can be removed with refinishing, then it may not be necessary to replace the entire sink.
Another factor is cost. Refinishing a kitchen sink typically costs less than replacing it entirely since you don’t have to pay for a new fixture and installation fees.
However, if your current sink has significant structural issues or requires extensive repairs in addition to refinishing work, replacement may end up being more cost-effective in the long run.
You should also think about how much time you’re willing and able to invest in this project. Refinishing a kitchen sink can take anywhere from several hours up through an entire day depending on its size and condition; whereas replacing one could take days if plumbing modifications are required.
Consider aesthetics: do you want something completely different? Do you need more space? Is there another style that would better suit your needs?
Trust the Highest Rated Sink Refinishing Team

While DIY projects can be fun and cost-effective, they may not always produce the best results. That’s why it’s important to trust a professional team with experience in sink refinishing.
The highest rated sink refinishing teams have years of experience and use top-of-the-line materials and techniques for a flawless finish. They also offer warranties on their workmanship, giving you peace of mind knowing that your investment is protected.
Before choosing a company for your kitchen sink refinish project, do some research online or ask friends and family members for recommendations. Look at reviews from previous customers to get an idea of their level of expertise and customer service.
By trusting the highest rated team with your kitchen sink refinish project, you can rest assured that you’ll end up with a beautiful new centerpiece in no time!
FAQ
Can you refinish an old kitchen sink?
Yes, you can refinish an old kitchen sink by stripping away the old finish, repairing any damage, and applying a new finish, which is typically more cost-effective than replacing the sink and can extend its life for another 10 to 15 years.
How much does it cost to Reglaze a kitchen sink?
The cost to reglaze a kitchen sink ranges from $417.39 to $952.67, with a national average of $685.03, including labor and materials, and varying based on location, job size, conditions, and finish options.
Does reglazing a sink last?
Yes, reglazing a sink lasts, with proper care the new surface can remain in good condition for 10-15 years before needing to be reglazed again.
What is the process involved in refinishing a kitchen sink?
The process involved in refinishing a kitchen sink includes removing the old finish, cleaning and prepping the surface, applying a new coating, and allowing it to dry properly.
What are the best materials to use for kitchen sink reglazing?
The best materials to use for kitchen sink reglazing are epoxy, acrylic, and porcelain coatings.
Can DIY sink refinishing methods give professional results?
DIY sink refinishing methods can provide professional results if executed with precision and quality materials.


