Last updated on
Discover the essential steps to effectively repair water damage under your kitchen sink and restore your space to its former glory with our comprehensive guide.
Water damage under the kitchen sink is a common household problem that can cause significant damage if not addressed promptly. It can be caused by various factors such as leaking pipes, clogged drains, or even a faulty garbage disposal system.
If left unchecked, water damage under the kitchen sink can lead to mold growth and structural damage to your home. Fortunately, repairing water damage under the kitchen sink is not as daunting as it may seem.
In this article, we’ll provide you with some useful tips on how to repair water damage under your kitchen sink and prevent it from happening again in the future. So let’s dive right in!
What's Inside
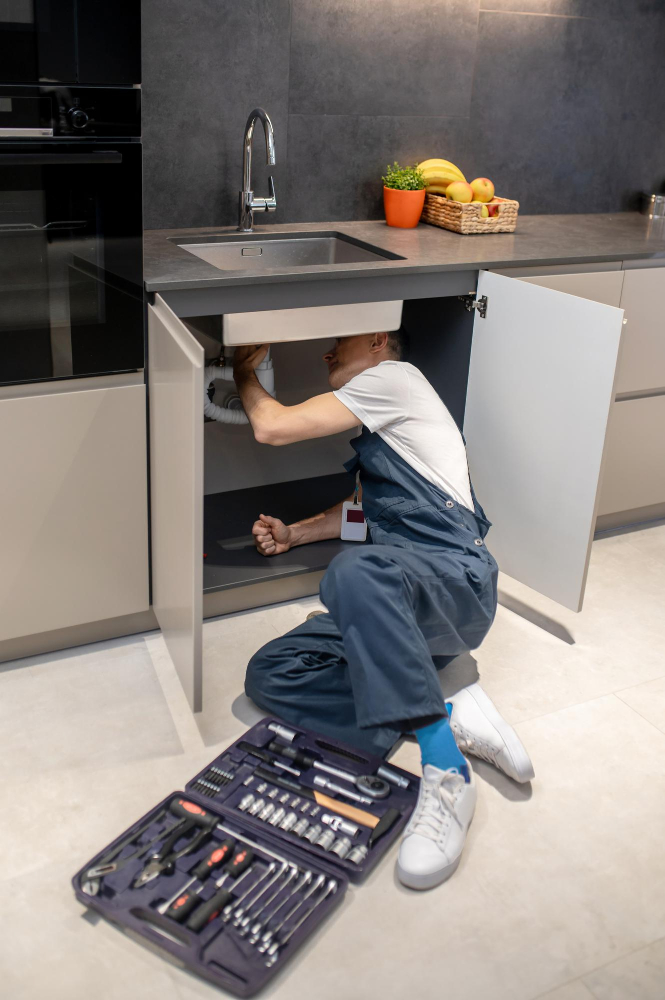
Identifying the Source of Leak
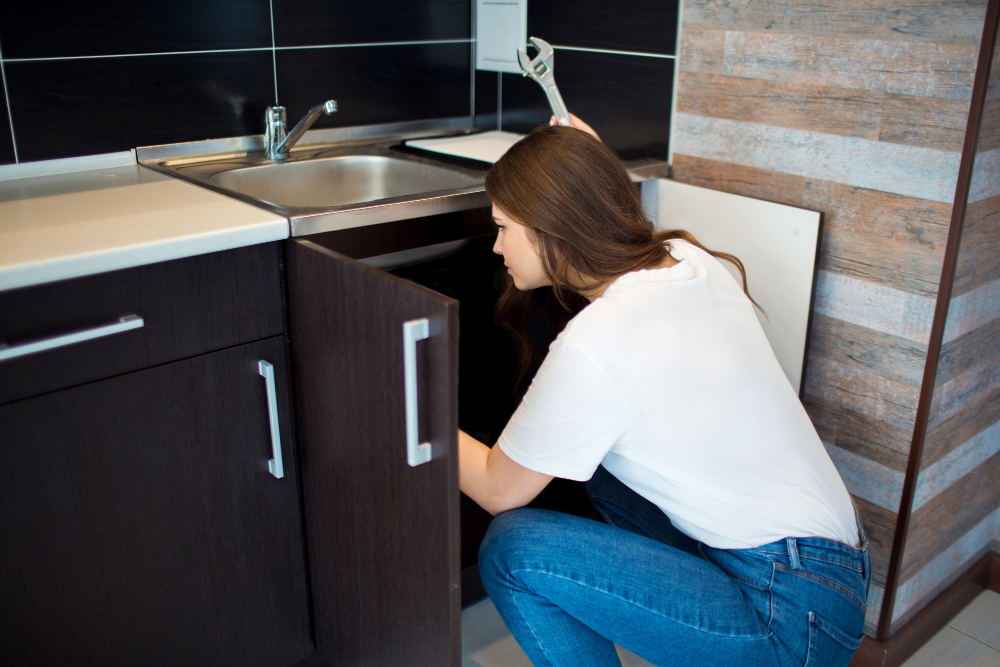
The first step in repairing water damage under the kitchen sink is to identify the source of the leak. This can be a challenging task, especially if you’re not familiar with plumbing systems.
However, it’s crucial to determine where the water is coming from before proceeding with any repairs.
Start by inspecting all visible pipes and connections under your sink for signs of moisture or corrosion. Check for any loose fittings or cracks that may be causing leaks.
If you don’t find anything obvious, try running some water down your drain while observing underneath your sink.
If there are no visible signs of leakage but you still suspect that there might be a problem, consider using a flashlight to check other areas around your kitchen sink such as nearby walls and floors for dampness or discoloration.
Once you’ve identified where exactly the leak is coming from, turn off both hot and cold-water supply valves located beneath your kitchen sink before proceeding further with repair work.
Assessing the Severity of Damage

This step is crucial in determining whether you can repair or replace damaged components and materials. Assessing the extent of damage will also help you determine if there are any underlying issues that need to be addressed before repairing or replacing anything.
To assess the severity of water damage under your kitchen sink, start by examining all visible areas for signs such as discoloration, warping, swelling or softness on wood surfaces and cabinets. Check for mold growth around pipes and other damp areas.
If there is significant structural damage like sagging floors or walls due to prolonged exposure to moisture from a leaking pipe beneath your kitchen sink then it may require professional intervention rather than DIY repairs.
Safety Precautions Before Repair
Water damage can weaken the structure of your home and create hazardous conditions that could lead to accidents or injuries. Here are some safety tips to keep in mind before starting any repair work:
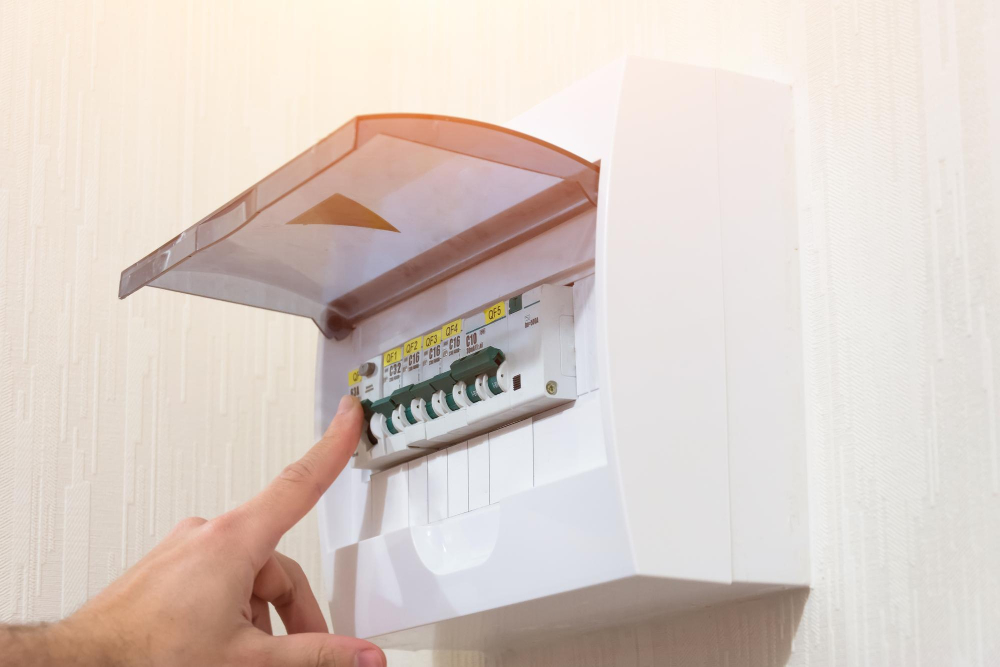
1. Turn off the power supply: If there are electrical outlets or appliances near the damaged area, turn off the power supply at the circuit breaker before beginning repairs.
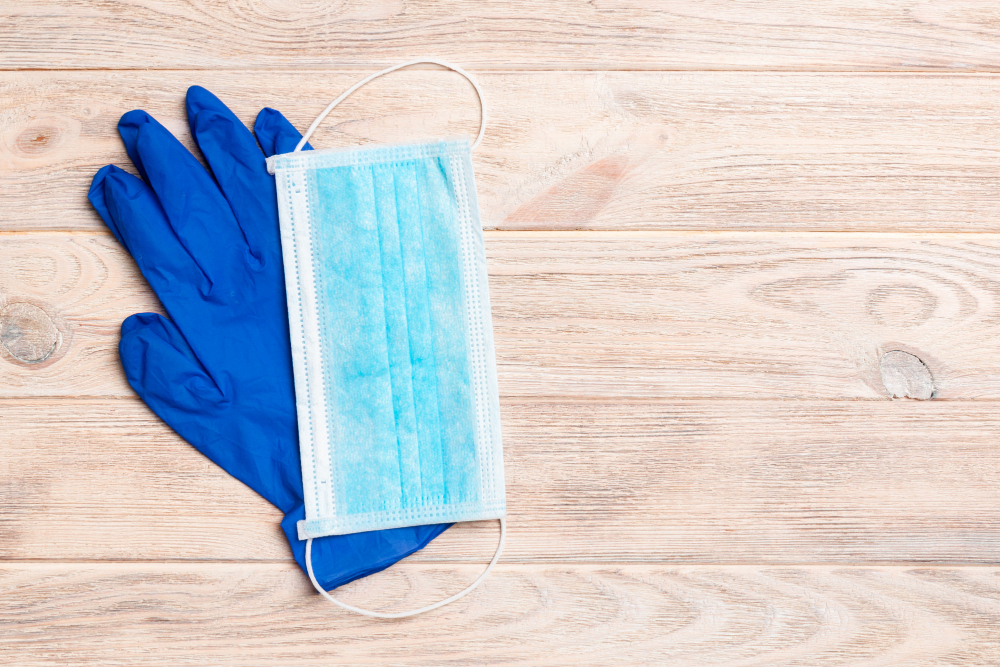
2. Wear protective gear: Wear gloves, goggles, and a mask when working with water-damaged materials as they may contain harmful bacteria or mold spores.
3. Ventilate properly: Open windows and doors for proper ventilation while working on repairs.
4. Use appropriate tools: Use only appropriate tools for each task; avoid using makeshift items that could cause injury.
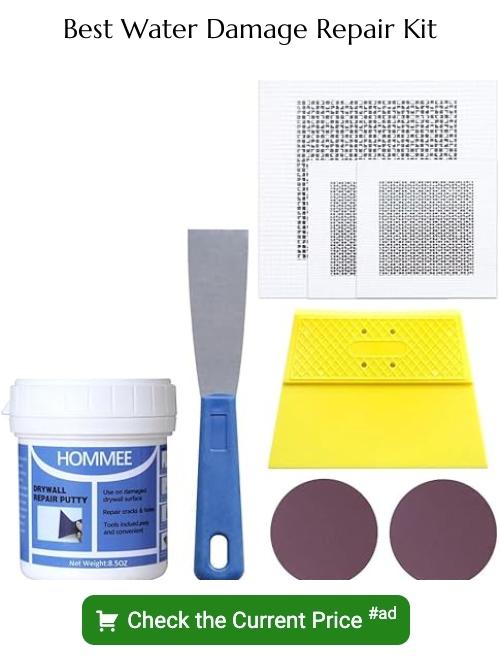
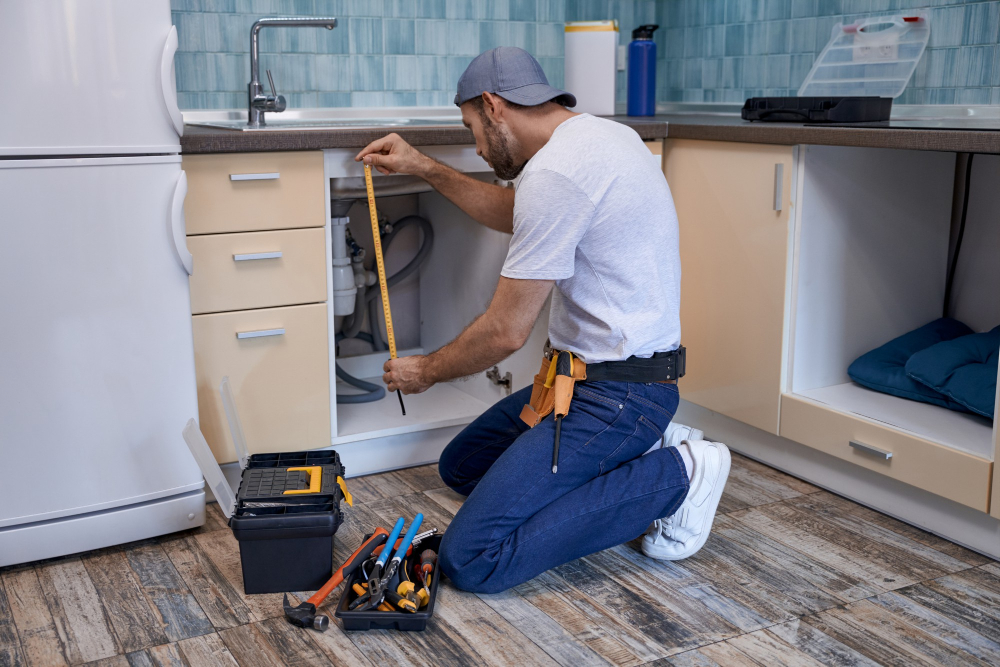
Gathering Necessary Tools and Materials
Having everything you need on hand will make the repair process smoother and more efficient.
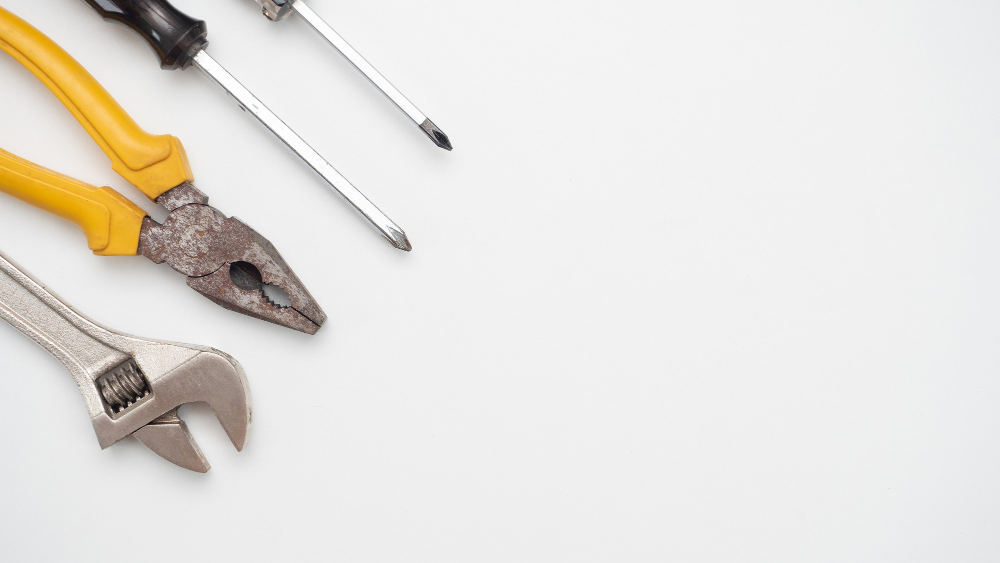
Some essential tools that you may need include a wrench, pliers, screwdrivers (both flathead and Phillips), utility knife or saw, hammer, drill with bits suitable for wood or metal screws depending on what needs fixing. You may also require safety gear such as gloves to protect your hands from sharp edges or chemicals used in cleaning mold.
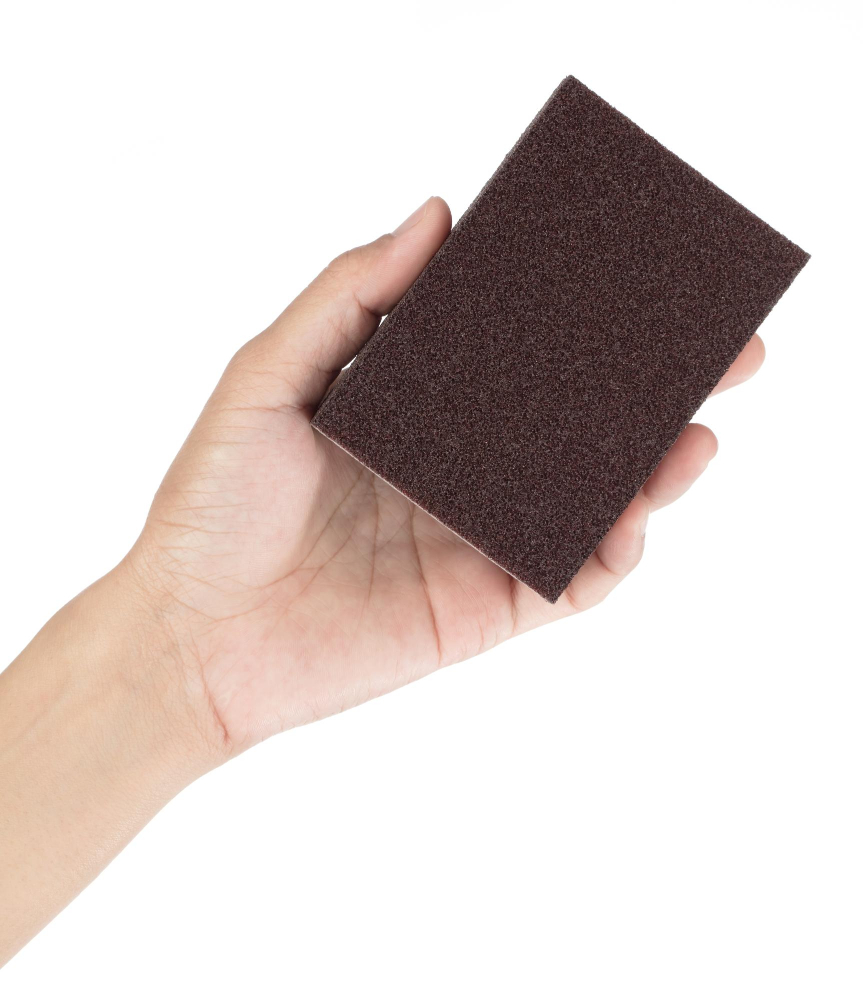
In terms of materials needed for repairs; this can vary depending on how severe the water damage is but some common items include replacement pipes if required (make sure they are compatible with existing plumbing), sealant tape/putty/sealant gun if there are any leaks around joints between pipes/fixtures/cabinets etc., sandpaper/sanding block to smooth out rough surfaces after removing damaged material like wood panels/shelves/drawers etc., paint/stain/varnish if refinishing cabinets is necessary.
Shutting Off Water Supply
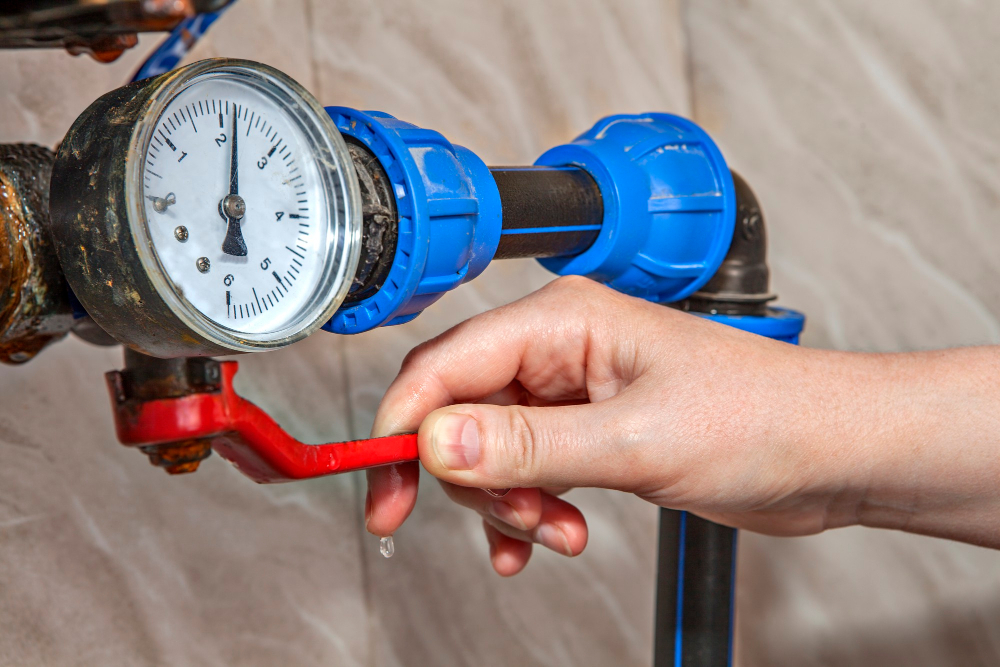
This is an essential step in preventing further water damage and ensuring your safety during repairs. The location of your main shutoff valve may vary depending on where you live, but it’s usually located near a utility room or outside near a hose bib.
If you’re unsure about its location, consult with a plumber or check with your local utility company for assistance.
Before shutting off the valve, make sure to turn off all appliances that use water such as dishwashers and washing machines. Once everything is turned off, locate the shutoff valve and turn it clockwise until it stops moving.
This will cut off all incoming water supply to your home.
It’s important to note that if there are multiple leaks in different areas of your home or if turning off one specific valve doesn’t stop all leaks completely then consider calling professional help immediately before proceeding any further.
Removing Damaged Materials
This step is crucial in preventing further damage and ensuring that your kitchen remains safe and functional. Start by removing all items stored under the sink, including cleaning supplies, sponges, or anything else that may have been affected by water.
Next, carefully inspect the cabinet for signs of mold or mildew growth. If you notice any visible mold growth on surfaces such as wood or drywall around your sink area after a leak has occurred; it’s important to take immediate action to prevent its spread.
Wear protective gear such as gloves and a mask before removing any wet materials from under your kitchen sink. Use a utility knife or saw to cut away damaged parts of cabinets if necessary.
Drying Out the Affected Area

Drying out is a crucial step in preventing mold growth and further damage to your kitchen cabinets. The first thing you need to do is remove any standing water using a wet/dry vacuum or towels.
Next, use fans or dehumidifiers to circulate air and reduce humidity levels in the space. You can also open windows if weather permits for better ventilation.
It’s important not only to dry visible surfaces but also hard-to-reach areas such as inside cabinet walls or under flooring materials where moisture may linger unnoticed.
If necessary, consider renting professional-grade drying equipment from your local hardware store for more efficient results.
Remember that proper drying takes time; rushing this process can lead to long-term problems like warping wood or persistent mold growth.
Treating Mold and Mildew

These fungi thrive in damp environments, making them a likely occurrence in areas affected by water leaks. If left untreated, mold and mildew can cause health issues such as respiratory problems or allergic reactions.
To treat mold and mildew growth under your kitchen sink, you’ll need to take some necessary precautions before starting the cleaning process. First off, ensure that you’re wearing protective gear such as gloves, goggles, a mask or respirator to avoid inhaling spores during cleanup.
Next up is removing any visible signs of mold using an appropriate cleaner like bleach solution (one part bleach mixed with ten parts water). Apply this solution generously on all surfaces affected by mold growth using a scrub brush or sponge until it’s completely gone.
Afterward comes drying out the area thoroughly to prevent further moisture buildup which could lead to more fungal growths. You may use fans or dehumidifiers for faster drying if needed.
Repairing or Replacing Pipes

Depending on how severe the damage is, you may need to call in a professional plumber for assistance.
If you’re confident in your DIY skills and want to tackle this task yourself, start by shutting off water supply valves under your sink. Then remove any damaged pipes using a pipe cutter or hacksaw.
Be sure to measure accurately before cutting new pieces of pipe as they will need to fit precisely.
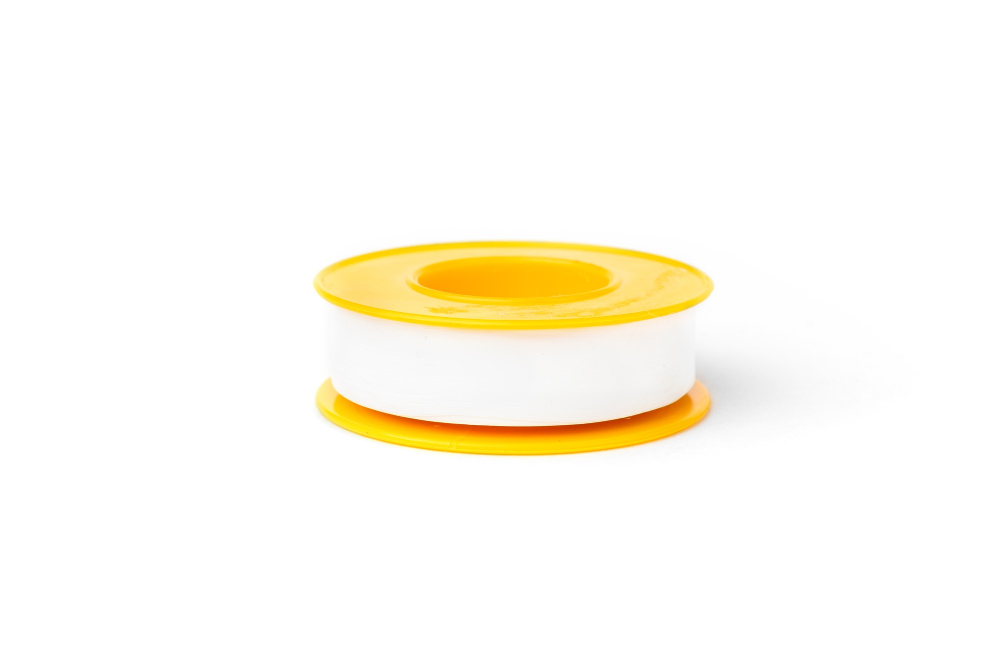
When replacing pipes, use Teflon tape on all threaded connections for added protection against leaks. Tighten each connection securely but be careful not over-tighten which can cause further damage.
If there are no visible signs of leakage from your existing plumbing system but still suspect that there might be an issue with it then consider hiring a professional plumber who can perform an inspection and provide recommendations accordingly.
Evaluating Structural Damage

Structural damage can occur when water has seeped into the walls or floors surrounding your kitchen sink. Signs of structural damage include warped flooring, sagging ceilings, and cracks in walls.
To evaluate structural damage under your kitchen sink:
- Look for signs of moisture: Check for dampness on drywall surfaces around your sink cabinet.
- Inspect wood framing: If there is visible water staining on wooden beams or joists supporting your floor above the cabinet area.
- Check subflooring: If you notice that tiles are loose around sinks base cabinets; this could indicate a problem with subflooring.
If you suspect that there may be significant structural damage under your kitchen sink, it’s best to consult with a professional contractor who specializes in home repairs before proceeding further.
Repairing Damaged Wood
Water can cause wood to warp, rot and even develop mold if left untreated for too long. The first step in repairing damaged wood is removing any wet or rotted sections with a saw or chisel.
Once you’ve removed all of the damaged areas, use sandpaper to smooth out rough edges and prepare the surface for repair.
Next, apply a wood hardener solution that will penetrate deep into the remaining healthy fibers of your wooden component and strengthen them against future damage. After allowing sufficient time for drying (as per manufacturer instructions), fill any gaps with an epoxy-based filler that matches your original material’s color.
Once dry again (usually 24 hours), sand down excess filler until flush with surrounding surfaces before applying paint/stain/sealant as needed.
Replacing Damaged Cabinet Components
This can include shelves, drawers, or even the entire cabinet box. Before replacing any damaged component, make sure that it is completely dry and free of mold or mildew.
To replace a damaged shelf or drawer in your kitchen cabinet:
- Remove all items from the affected area.
- Unscrew and remove any remaining hardware from the damaged component.
- Carefully remove it from its position without causing further damage to surrounding areas.
- Measure and cut a new piece of wood to fit into place using a saw if necessary.
- Sand down rough edges until smooth with sandpaper
- Install new hardware on both sides of replacement part
- Slide in replacement part carefully
For more extensive damage where an entire section needs replacing:
- Remove all items stored inside cabinets
- Unscrew hinges holding door onto frame
- Carefully unscrew screws attaching frame onto wall (if applicable)
- Remove old unit entirely
- Measure space for new unit ensuring correct dimensions are taken into account
- Attach brackets securely on either side where needed for support
- Place New Unit In Place And Securely Attach It To The Brackets
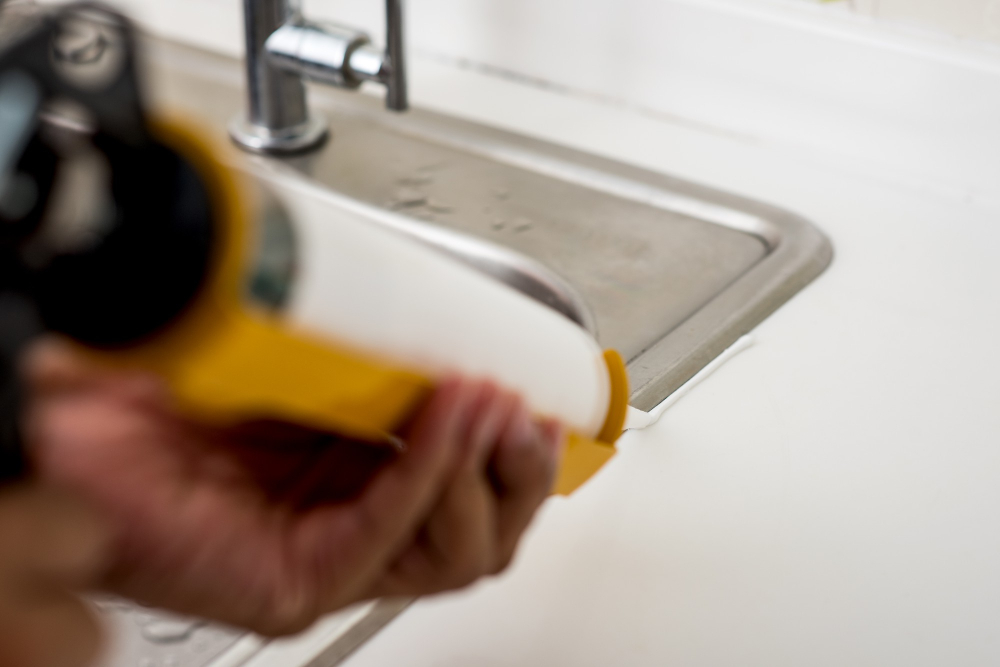
Sealing and Waterproofing the Area
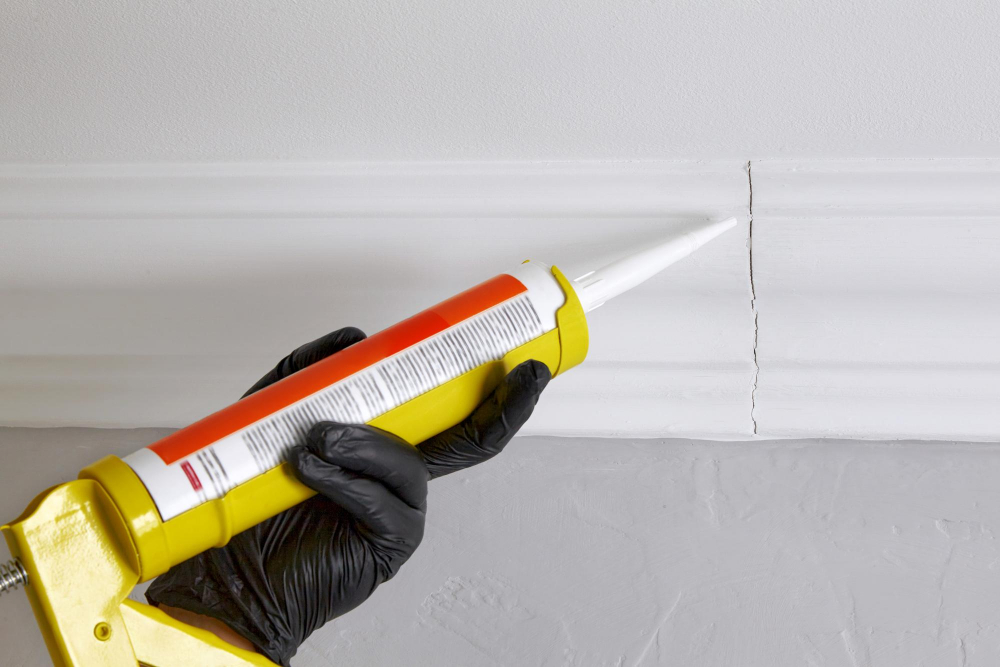
Sealing and waterproofing will help protect your cabinets from moisture, mold growth, and structural damage.
To start with sealing the area around pipes or drains that pass through walls or floors using silicone caulk. Apply a generous amount of caulk around these areas to create a watertight seal.
You can also use expanding foam insulation for larger gaps.
Next, apply a layer of waterproof paint on all surfaces in contact with water such as cabinet bottoms and walls behind sinks. Waterproof paint creates an impermeable barrier that prevents moisture from penetrating into wood fibers.
Install drip trays under your sink base cabinet if you don’t already have them installed; they catch any leaks before they cause significant damage.
Reinstalling Cleaned or New Components
Before doing so, make sure that all the cleaned or new components are completely dry and free of any mold or mildew. Reinstalling damp materials can lead to further water damage and mold growth.
Start by carefully placing the cleaned or new cabinet floor in its original position. Then, reattach any brackets that were removed during the repair process using screws and a power drill.
Next, install a new drain basket if necessary by applying plumber’s putty around its base before inserting it into place on top of the sink hole from underneath. Tighten it securely with a wrench.
Reconnect all pipes using Teflon tape on threaded connections for added security against leaks. Turn on your water supply slowly while checking for leaks at each connection point until everything is running smoothly again.
Testing for Further Leaks
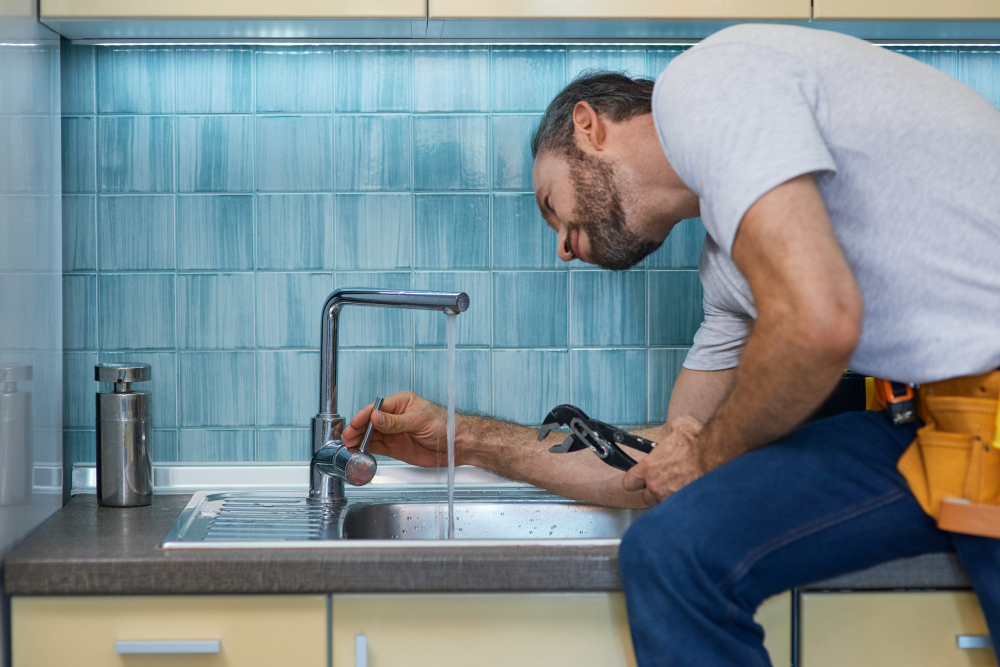
This step will ensure that your kitchen sink area is entirely free from any water damage and prevent future problems. To do this, turn on the water supply and let it run for a few minutes while checking under the sink for any signs of leakage.
If there are no visible leaks, fill up your sink with water and then drain it out while observing underneath. If you notice any drips or moisture buildup in areas where repairs were made, then there may still be an issue that needs addressing.
In such cases, repeat the repair process until all issues are resolved before testing again.
MDF Vs. Plywood: Understanding the Materials
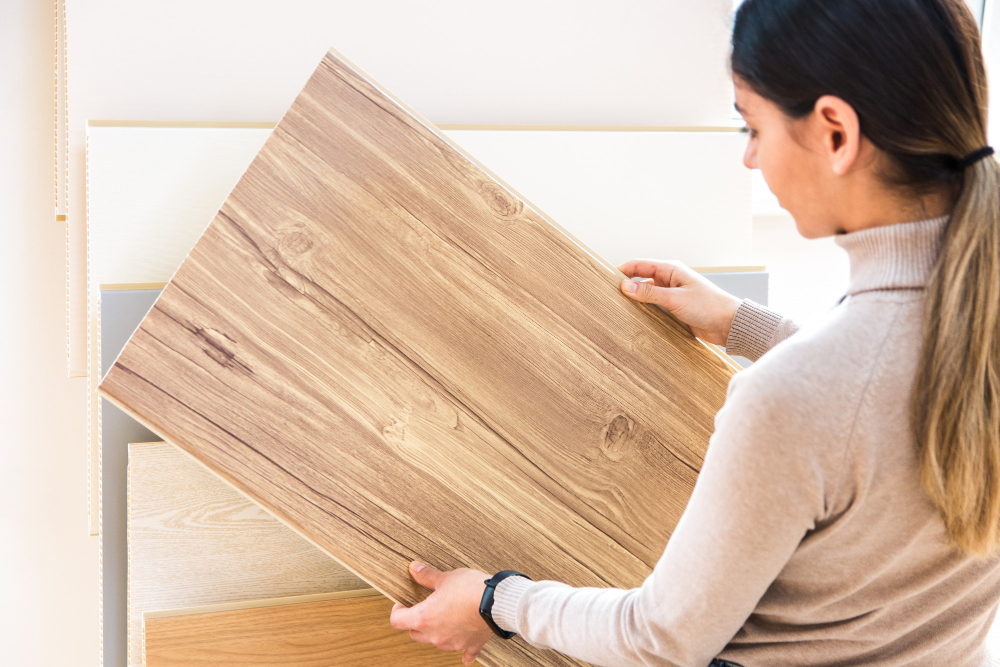
Two popular materials used for making cabinets are Medium Density Fiberboard (MDF) and plywood. Understanding the differences between these two materials can help you make an informed decision when replacing damaged parts.
MDF is a composite material made from wood fibers and resin that is pressed together under high pressure and heat. It has a smooth surface that makes it ideal for painting or laminating with veneer, but it’s not as strong as plywood.
Plywood, on the other hand, is made by gluing thin layers of wood veneers together at right angles to each other. This cross-grain construction gives plywood its strength and durability compared to MDF.
When choosing between MDF vs.
DIY Vs. Hiring a Professional
While DIY repairs can save you money, they are not always the best option for everyone.
If you have experience with plumbing and carpentry work, and feel confident in your abilities to repair water damage under your kitchen sink safely and effectively, then DIY may be an excellent choice for you. However, if this is your first time dealing with such an issue or lack confidence in handling tools or materials required for repair work; hiring a professional might be more appropriate.
Professional contractors have years of experience dealing with various types of water damages that occur within homes daily. They also possess specialized equipment necessary for detecting hidden leaks behind walls as well as drying out affected areas quickly before mold growth sets in.
Preventive Measures for Future Leaks

Here are some tips that can help:
1. Regularly inspect pipes and drains: Check your pipes and drains regularly for any signs of wear or tear, such as cracks or corrosion.
2. Avoid pouring grease down the drain: Grease buildup in pipes can cause clogs that lead to leaks.
3. Use a drain strainer: A drain strainer will prevent food particles from going down the drain and causing blockages.
4. Fix plumbing issues promptly: If you notice any plumbing issues such as slow draining sinks or toilets, address them immediately before they turn into bigger problems.
5. Install a leak detector alarm system: Consider installing a leak detector alarm system under your sink which will alert you if there is any water leakage detected in real-time so that prompt action can be taken before significant damage occurs.
Protecting Kitchen Cabinets From Water Damage
Here are some tips to protect your kitchen cabinets from water damage:
1. Regularly inspect pipes and drains: Check for leaks or clogs in the pipes and drains under your sink at least once a month.
2. Use waterproof sealant: Apply a waterproof sealant around the edges of your sink, faucet, and any other fixtures that come into contact with water.
3. Install drip trays: Place drip trays underneath plumbing fixtures to catch any leaks before they can cause significant damage.
4. Keep cabinets dry: Wipe down wet surfaces immediately after use, especially around sinks or faucets.
5. Avoid storing liquids near plumbing fixtures: Store cleaning supplies or other liquids away from areas where they could potentially spill onto cabinet surfaces.
Tips for Maintaining Kitchen Cabinets

Here are some tips for maintaining kitchen cabinets:
1. Regularly check pipes and drains: Inspect pipes and drains regularly for any signs of wear or tear that could lead to leaks.
2. Keep cabinet interiors dry: Wipe down the interior of your cabinets with a clean cloth after use, especially if there is any moisture present.
3. Use waterproof sealant: Apply a waterproof sealant around sinks, faucets, and other areas where water may accumulate.
4. Avoid harsh chemicals: Avoid using abrasive cleaners or chemicals that can damage cabinet finishes over time.
5. Install drip trays: Consider installing drip trays under sinks or appliances that produce excess moisture as an added layer of protection against potential leaks.
By following these simple tips, you can help prevent future water damage under your kitchen sink while keeping your cabinetry looking great for years to come!
FAQ
What can I do about water damage under my kitchen sink?
To address water damage under your kitchen sink, thoroughly dry the area, absorb excess water with towels, and remove cabinet doors for better airflow.
How do you get water stains out of wood under the sink?
To remove water stains from wood under the sink, apply a mixture of equal parts vinegar and olive oil using a cloth, wiping in the direction of the wood grain until the stain is gone.
What is the most common leak under the kitchen sink?
The most common leak under the kitchen sink is a leaking drain due to shifting plumbing lines, worn-out connections, or pipe corrosion.
What steps should I take to prevent future water damage under my kitchen sink?
To prevent future water damage under your kitchen sink, regularly inspect plumbing, promptly fix leaks, re-caulk joints, and consider installing a water sensor.
How can I detect early signs of water damage or leaks under the kitchen sink?
To detect early signs of water damage or leaks under the kitchen sink, regularly inspect the area for discoloration, moisture, mold, warped or soft materials, and musty odors.
What professional services are available for repairing water damage under the kitchen sink?
Professional services available for repairing water damage under the kitchen sink include plumbing, water damage restoration, and home repair companies.


