Last updated on
Explore because grout sticks can transform dull tiles into unique and appealing masterpieces in an easy, affordable and creative way.
These are my unique design concepts made using design tools. I hope you find them inspiring!
Immerse yourself into the creative world of grout stick ideas. There’s plenty of known tricks and hacks out there, and we’ll certainly provide top resources to those at the end. However, expect a thrilling divergence off the common path. Herein, we’ll carve out a new journey featuring fresh and unique perspectives on grout stick utilization. Our ultimate mission? To furnish you with an exciting list of innovative ideas you’ll find enlightening and beneficial.
Let’s dig into the grand treasure of grout stick ideas!
What's Inside
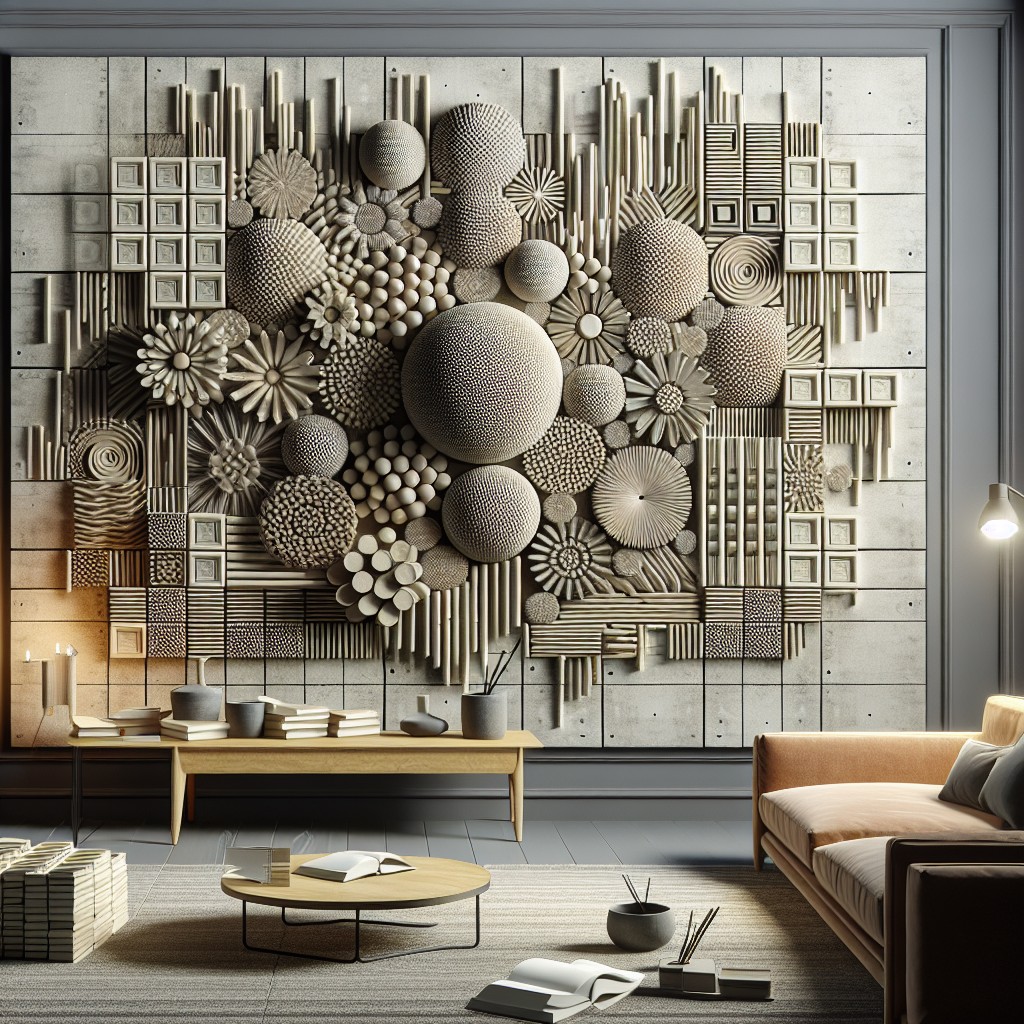
DIY: Grout Sticking Abstract Wall Art

To get started on abstract grout sticking, you’ll first need to gather your supplies. Choose grout sticks that contrast well with your chosen surface for the best visual impact. Then, sketch your design idea onto the wall. This step doesn’t have to be overly intricate – abstract art often thrives on simplicity and spontaneity.
Next, fill the lines of your sketch with the grout stick, adhering to it as you would when grouting tiles. Remember, uneven lines add to the abstract effect. Allow the grout to dry according to the manufacturer’s instructions before moving to the next step.
Once the grout is dry, color can be added. Using multiple hues will yield a more vibrant result. But if a minimalistic look is your goal, stick to monochrome or two colors at most.
Finally, to give your wall art a finishing touch, consider adding a clear coat of sealant. This step isn’t mandatory but it will protect your work from dust and scratches, preserving its visual appeal for years to come.
Up-cycling Home Accessories With Grout Stick

With a bit of creativity, grout sticks can breathe new life into old home accessories. From rejuvenating time-worn frames to giving lamps a chic rustic touch, the potential for upcycling items in your home with grout sticks is endless.
Start by selecting the right accessories, preferably items with a flat surface that can hold the grout stick adhesive. Picture frames, table tops, or lamp bases are all excellent choices.
To adhere the grout stick to your accessories, apply a layer of strong bond glue that is suitable for both the material of your accessory and the grout stick. Always be cautious while using glue, making sure to protect your working area and hands with gloves and a drop cloth.
After applying the glue, press the grout stick piece gently but firmly onto the surface. Leave a small space between each piece to achieve a mosaic-like effect.
Once the glue has dried, brush a layer of sealant over your newly adorned accessory to protect it from wear and tear. Be sure to use a sealant that is compatible with your grout stick, and follow the instructions on the packaging to ensure longevity.
Remember, color coordination enhances the overall aesthetical appeal. Choose grout stick colors that compliment your accessory and the room where it will be displayed.
With a little time and effort, you’ll have successfully upcycled home accessories, making them look new while adding a personal touch.
Use Grout Stick As Faux Concrete Finish On Home Decor
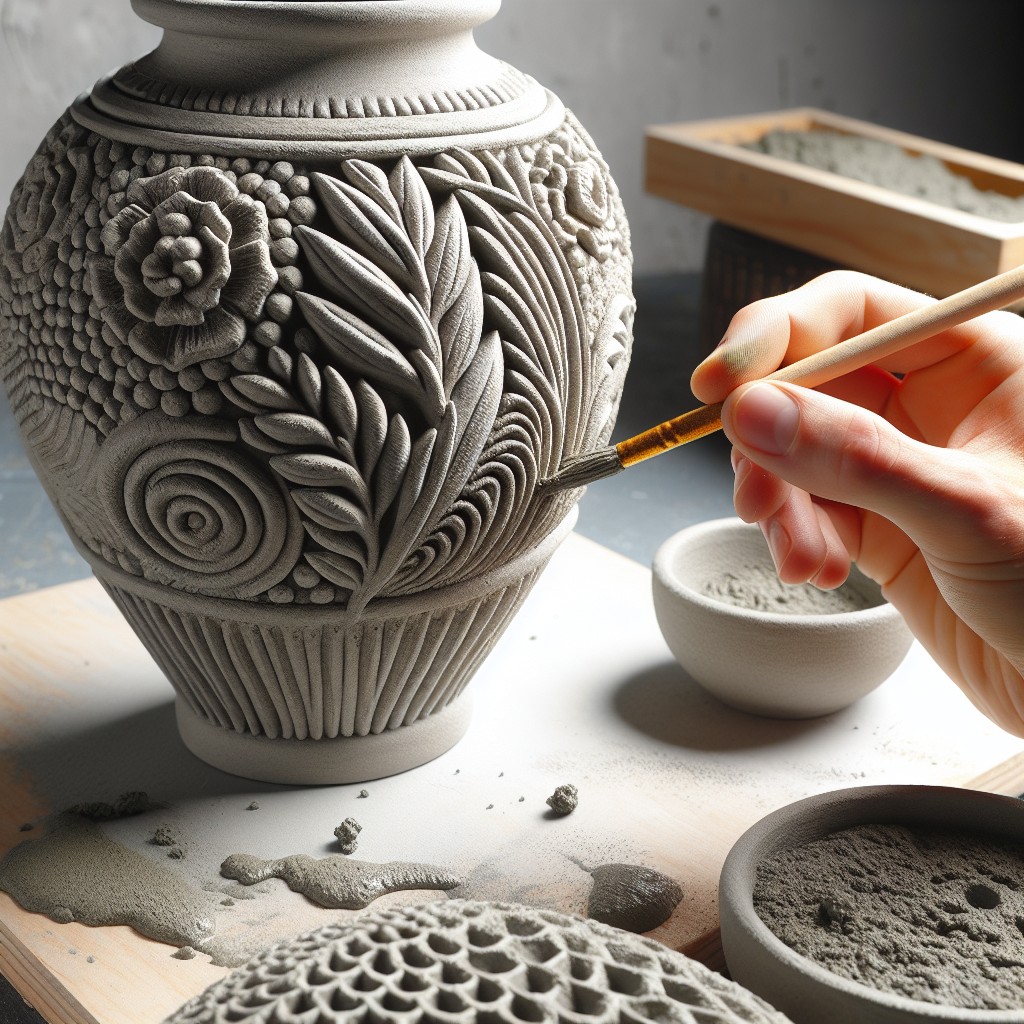
Harnessing the potential of grout sticks can redefine the aesthetics of home décor. For a faux concrete finish on home goods, grout sticks come in handy. Here are some points to help navigate this creative process:
1. Select Your Item: Whether it’s a lampshade, vase or a small side table, choose an item that could benefit from a stylish concrete makeover.
2. Clean and Prep: Start with a clean surface. If the item has a smooth finish, sand it lightly for better adhesion.
3. Apply Grout: Using the grout stick, begin applying an even layer. Aim for a thickness that would mimic the texture of concrete.
4. Texture: While the grout is damp, use different tools to create the desired texture on the surface. A plastic knife or an old toothbrush can be particularly useful.
5. Drying Time: Allow adequate time for it to dry and harden. The drying time can vary based on the thickness of the grout.
6. Seal: Once the piece is dry, a sealant can be applied using a paintbrush or sponge. This will prevent water penetration and discoloration.
Remember, practicing on a small, disposable item first can give you a feel for the process. Be creative, have fun, and watch your home décor transform!
Transform Old Furnitures Using Grout Sticks

First off, gather your tools. You’ll need grout sticks, a small paintbrush for application, and perhaps most importantly, your furniture piece in need of transformation.
The charm of grout sticks lies in their ability to provide texture, while also helping to conceal damages or scratches on the furniture surface. Application is remarkably simple – you’ll essentially be painting the grout stick onto the surfaces of your furniture.
Consider applying in generous amounts to old side tables, coffee tables, or even dressers for an unexpected texture and patterns. For more design impact, experiment with geometric designs or even chevron stripes.
Remember, practice makes perfect. If the furniture is a valuable antique, try using sample boards first. These modified pieces will add an unique aesthetic to your space and also elevate the overall look.
A small brush is ideal for detail work, while a sponge or rag might be best for distressing larger areas. The option is completely yours.
The grout sticks are known for their durability and resistance, meaning your newly designed furniture will maintain its charm for quite a while.
Cleaning the tools is extremely easy, all it needs is a rinse with warm water and soap. So there’s no reason to delay your project any longer!
In essence, the grout stick is your magic wand in upcycling old furniture. The possibilities are endless and exciting. It’s time to explore and create!
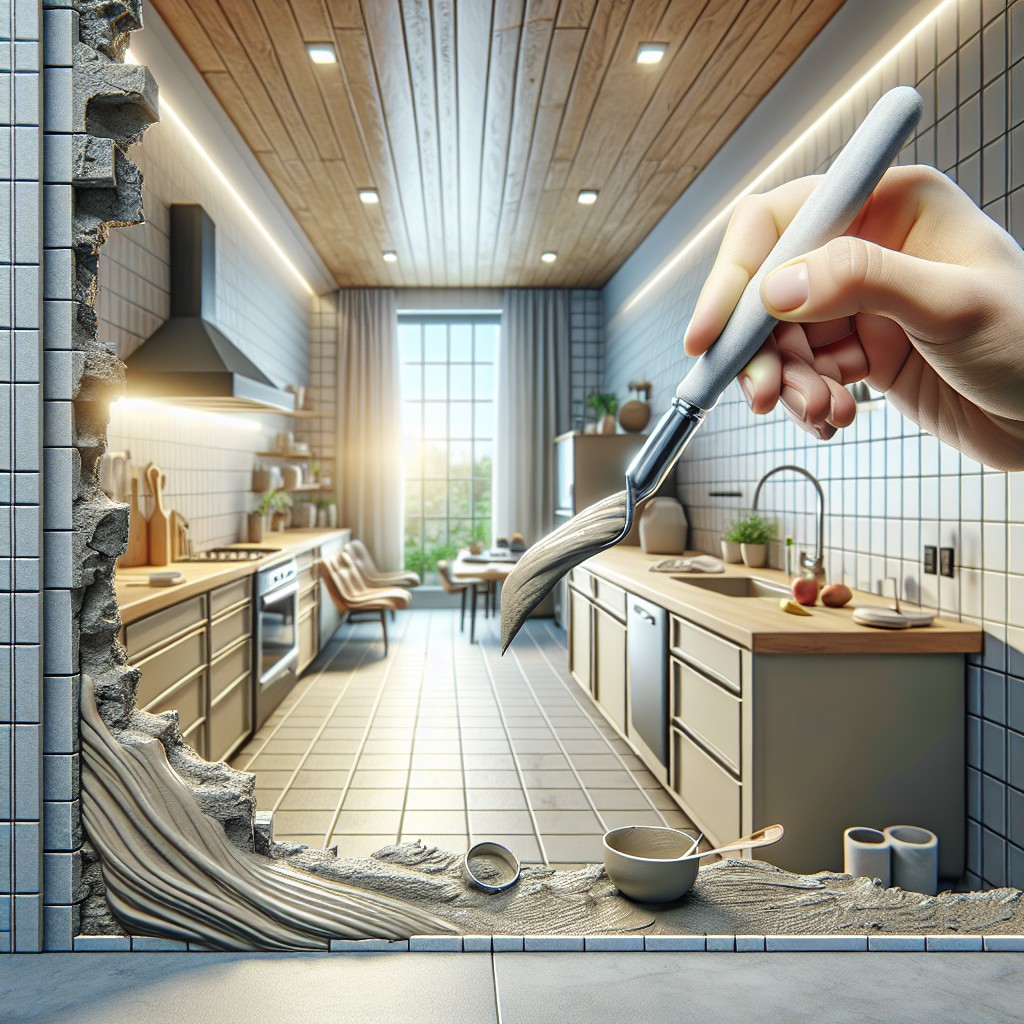
Use Grout Sticks to Create a Rustic Look in Your Kitchen
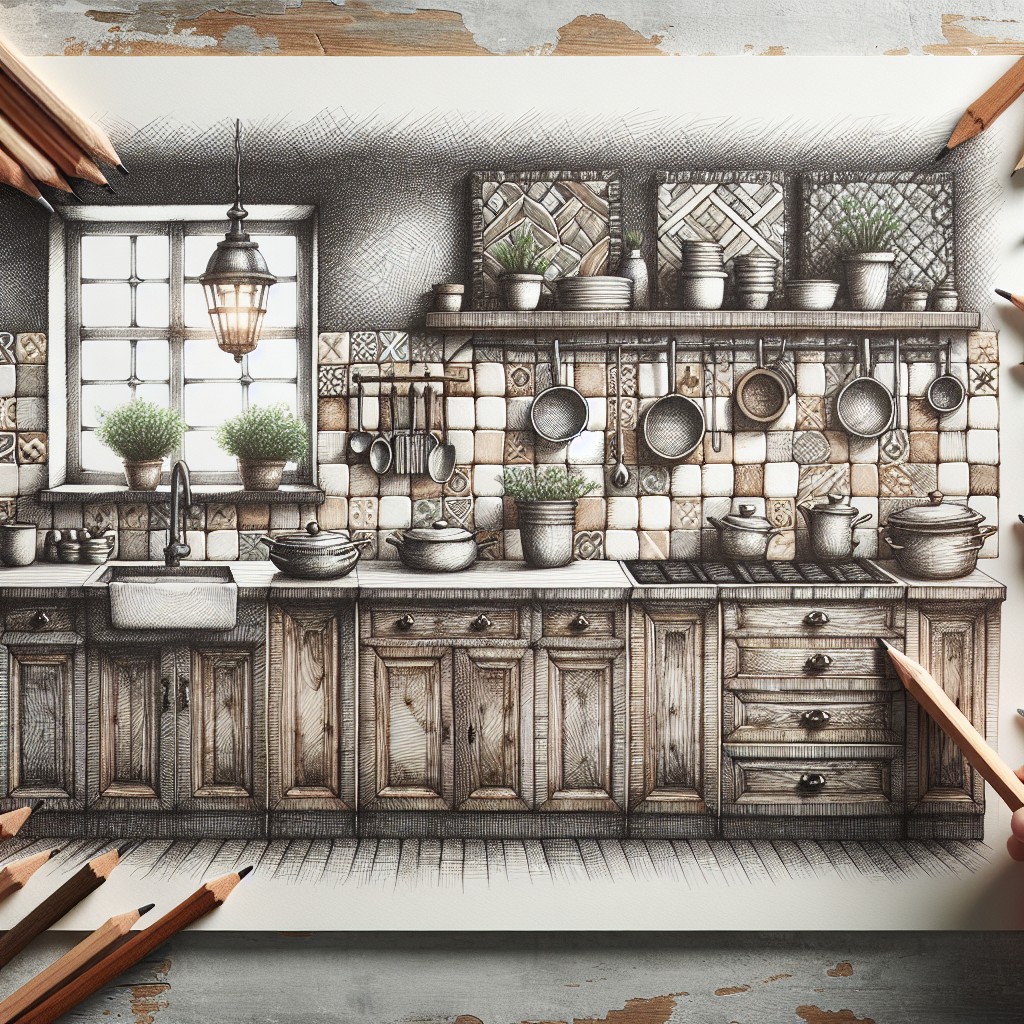
Creating a rustic kitchen vibe doesn’t necessarily mean a big-budget overhaul. Grout sticks can be your pocket-friendly tool to achieve this desired aesthetic. Here’s how:
1. Weathered Backsplash: Apply a layer of grout on your kitchen backsplash tiles using a grout stick. Let it dry completely and then lightly sand it for a weathered, rustic finish.
2. Distressed Cabinets: For cabinets, apply grout to the corners and edges using the stick and wipe away the excess quickly, leaving an intriguing distressed look.
3. Antique Countertop: Use a grout stick to apply thin lines of grout along your countertop edges. This will create an antiqued faux stone effect to your kitchen surfaces.
4. Textured Island: Give your kitchen island a unique texture by applying random patches of grout using the grout stick. Wipe away excess grout for a subtle, rustic texture.
With these tips, your kitchen can easily don a rustic look using the humble grout stick, transforming an everyday space into a cosy, inviting area. It’s a sure, simple method to add character and charm without breaking the bank.
Use Grout Sticks to Create a Bohemian Style Room

From area rugs to wall art, applying grout sticks in the right color can provide an effortlessly relaxed, creatively casual bohemian look to any room.
1. Furniture Makeover: Breathe new life into outdated furniture by covering it with a warm-toned grout. This method can help to achieve a rustic, yet chic look synonymous with bohemian style.
2. Wall Art: Create geometric patterns or mandala designs on the wall using grout sticks. A white grout color pops really well against a dark backdrop.
3. Bohemian Tiles: Design your tiles with the grout stick to mimic bohemian patterns that usually consist of nature-inspired elements, intricate designs and vibrant colors.
4. Planters: Ordinary pots can become statement decor pieces with the right grout design. Opt for a tribal pattern that suits the boho theme.
5. Window frames: Enhance the beauty of old window frames using grout sticks to highlight their charming, vintage appeal.
Remember, bohemian style is all about expressing individuality and creativity. Using grout sticks can help you to explore that in a unique way.
Grout Stick As a Novel Way to Update Patio Tilework
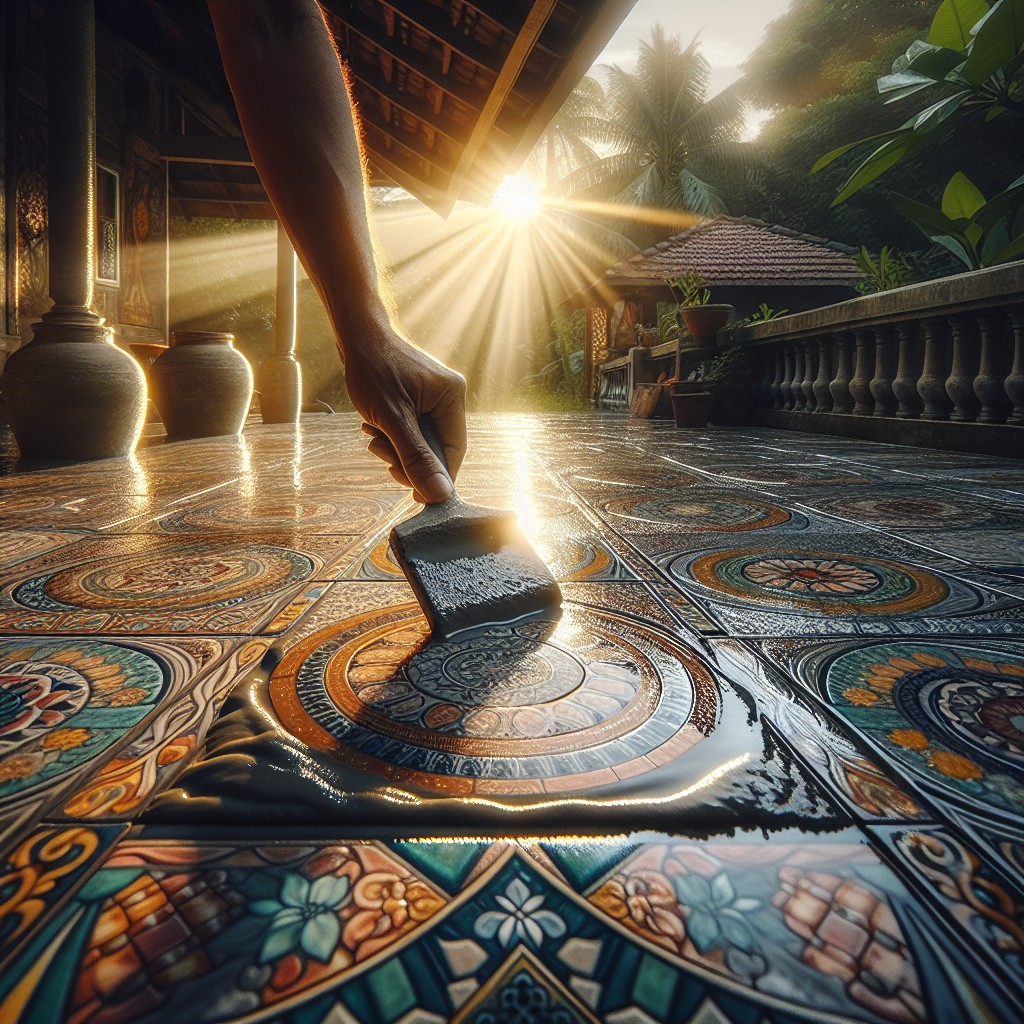
Grout sticks can work wonders when it comes to refreshing those worn-out patio tiles. In fact, they offer a simple, creative solution that doesn’t require tearing up the entire floor.
Here are some key tips to help you get started with this novel home update:
1. Clean & Prep: It is paramount to ensure the tiles are properly cleaned before applying grout sticks. This includes removing any loose debris and mildew. This preparation stage guarantees a proper bond of the grout with the tile surface.
2. Choose the Right Color: Look at your exterior color scheme. Do you want the new grout to blend in seamlessly, or provide a striking contrast? The choice is absolutely yours. Grout sticks come in a variety of colors to cater to varied aesthetic preferences.
3. Apply with Precision: Application is straightforward. Just run the grout stick over the grout lines. However, accuracy is crucial. Wrongly applied grout can sully the tiles. Do not worry, though, as any accidental markings can be wiped away while the grout is still wet.
4. Seal Your Work: Finally, once you have regrouted your patio tiles, be sure to seal over your work. This will ensure longevity and resistance to weather elements.
Adopting this grout stick method could indeed be the budget-friendly facelift your patio has been yearning for. While cost-effective, it does not compromise the updated and aesthetically pleasing effect of a brand new patio. Experiment with colors, patterns, and design through this simple yet transformative approach.
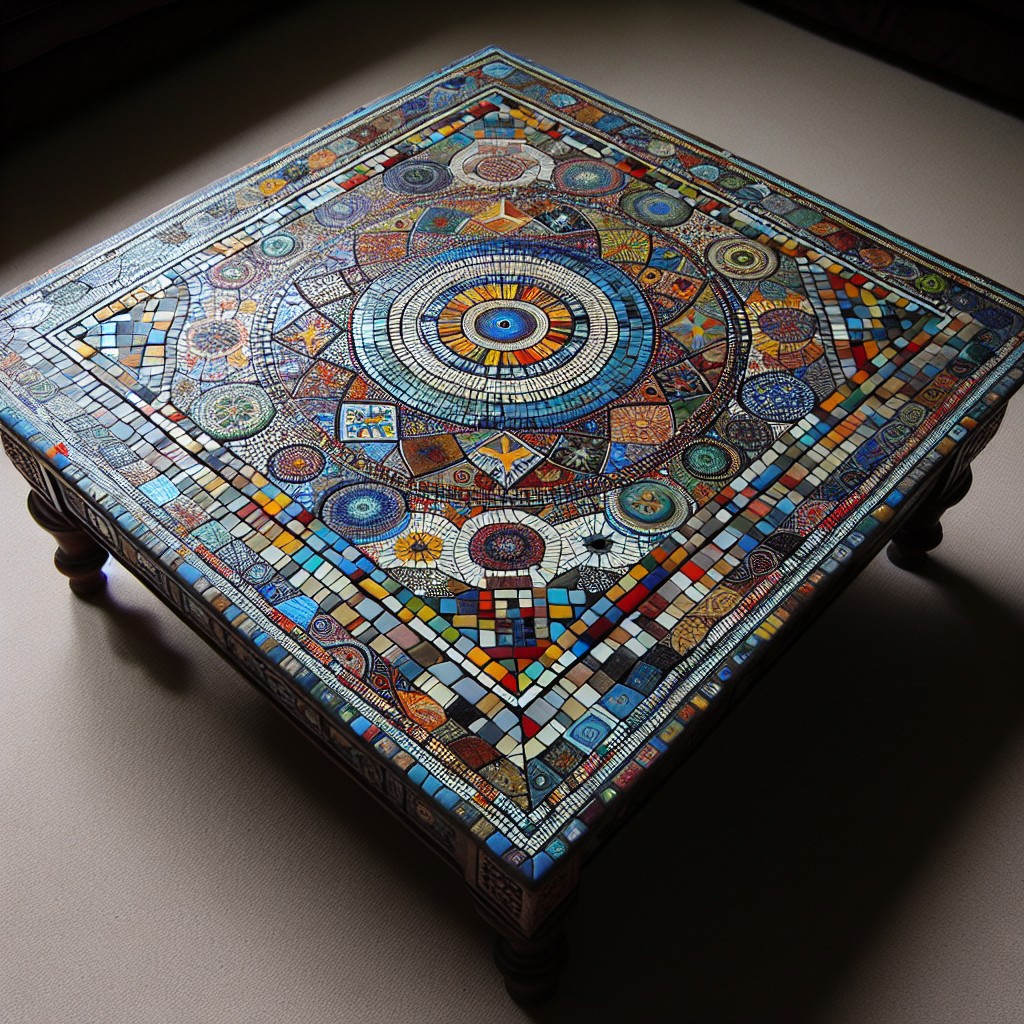
Create a Grout Stick Mosaic Backsplash in Your Kitchen
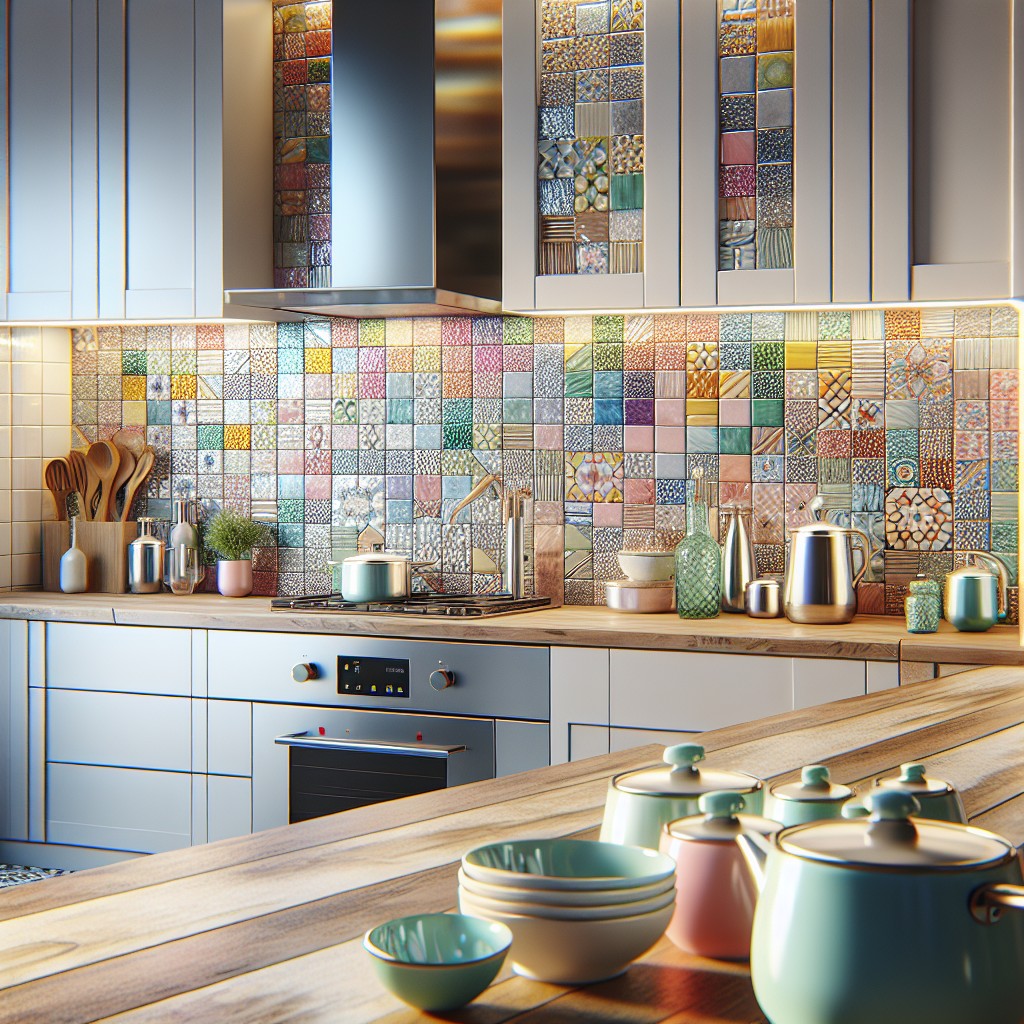
Creating your grout stick mosaic backsplash can add an artistic touch to your kitchen space. It’s a project that requires a bit of time and patience, but the payoff is tremendous.
1. Plan the Design: Begin by drafting a conceptual framework for your mosaic. The pattern could be abstract, geometric, or representative of a particular image.
2. Prepare the Grout Sticks: Determine the number of grout sticks you’d need based on your design. It might require cutting them into smaller pieces or different shapes.
3. Install Mosaic: Apply a suitable adhesive on the wall area where the backsplash is supposed to go, then commence laying your grout sticks as per the design. The sticks should firmly adhere when pressure is applied.
4. Final Touches: Once the adhesive is dry, apply grout over the mosaic ensuring it fills all the spaces between the sticks. Allow the grout to dry, then clean the mosaic surface.
Remember, choosing contrasting grout color can make your mosaic pop and catch the eye better. Happy decorating!
Make Durable, Slip-resistant Garage Floors With Grout Stick

Starting the project requires cleaning your garage floor thoroughly, ensuring it’s free of oil, grease, or dust. This step is critical since grout sticks adhere best to a clean, dry surface. If you come across stubborn stains, a mixture of baking soda and water can prove effective.
Next, remember to layout your grout sticks in the desired pattern before starting the adhesive process. This step will allow you to visualize the final result and make necessary adjustments. You may opt for a monochromatic approach or a random mix of colors.
When it comes to applying the grout sticks to your garage floor, start in one corner and work your way to the opposite side. Make sure to press firmly, ensuring each grout stick is securely in place. You shouldn’t rush this process as a well-applied stick can provide durability for years to come.
After you’ve completed the adhesive process, evenly spread grout on the surface, ensuring that it fills the gaps between the grout sticks completely. This grout application will create a seamless look and add an extra layer of moisture protection.
Finally, after the grout has dried, apply a sealant. It will provide a slip-resistant finish and make your new garage floor easy to clean. Consider multiple coats of sealant to further enhance this feature.
Regular sweeping and gentle cleaning with a pH-neutral cleaner will keep your durable, slip-resistant garage floor looking its best.
Grout Stick Ideas to Beautify Your Garden Walkway
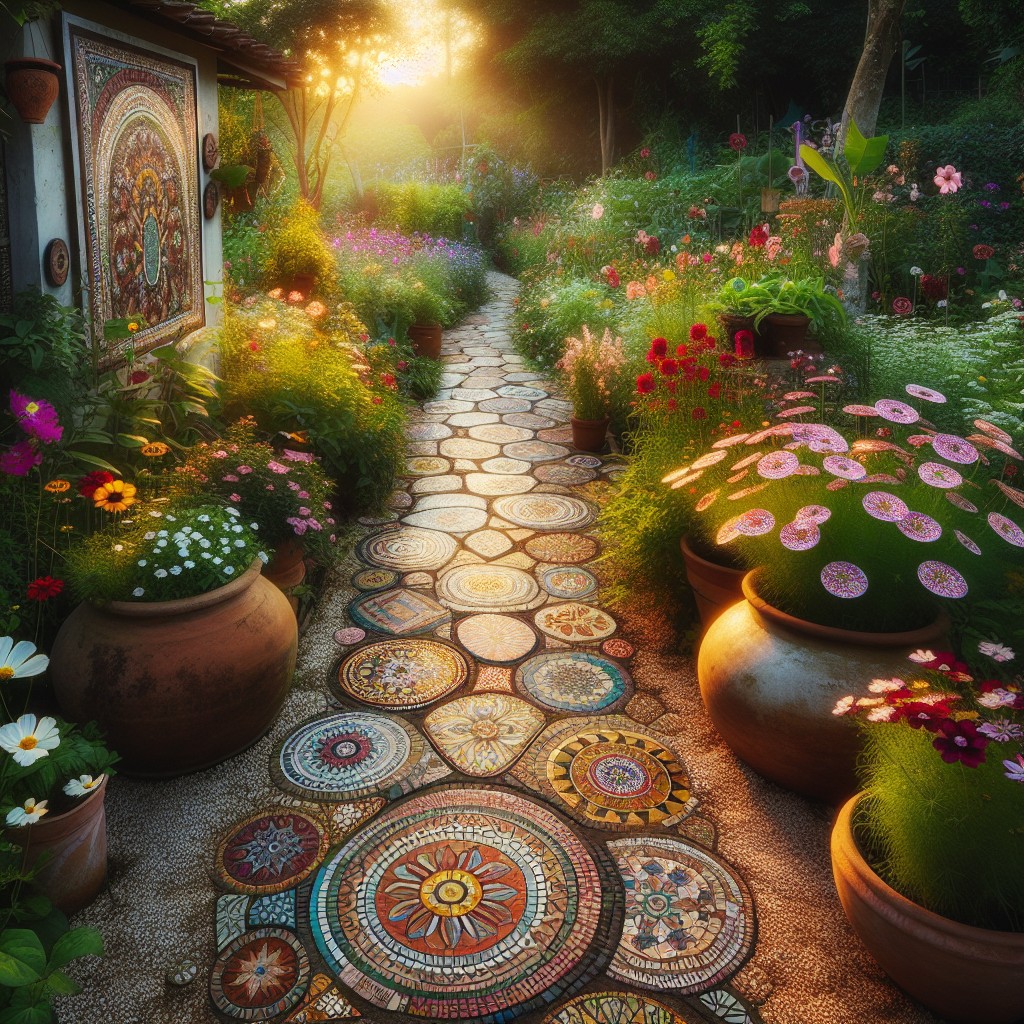
In the thoughtfully curated space of your garden, a walkway serves as the literal and metaphorical pathway to nature’s splendor. A subtle yet transformative accentuation to this can be achieved through the use of grout sticks. Here’s how:
Start by cleaning the walkway thoroughly, ensuring no traces of mud or dust are left behind. Prep work is key to a successful grout application.
Next, choose a grout stick color that complements your outdoor decor or garden palette. A rich earthy tone could blend seamlessly with your garden, while a bold contrasting color could make quite the visual statement. Have fun with it!
Apply the grout stick between the walkway stones, creating an evenly distributed filler. This step not only improves the overall appearance, but also increases durability and erosion resistance of the walkway.
Regular grout maintenance prevents discoloration. Don’t forget to periodically clean and reseal your walkway to maintain its fresh, vibrant appearance.
Remember, creativity is at the heart of this project. Incorporate mosaic patterns or different grout colors for a more personalized touch.
Incorporating grout sticks in your garden walkway offers an opportunity to infuse creativity and longevity into every step you take in your outdoor sanctuary.
DIY Project: Use Grout Stick to Create Textured Planters
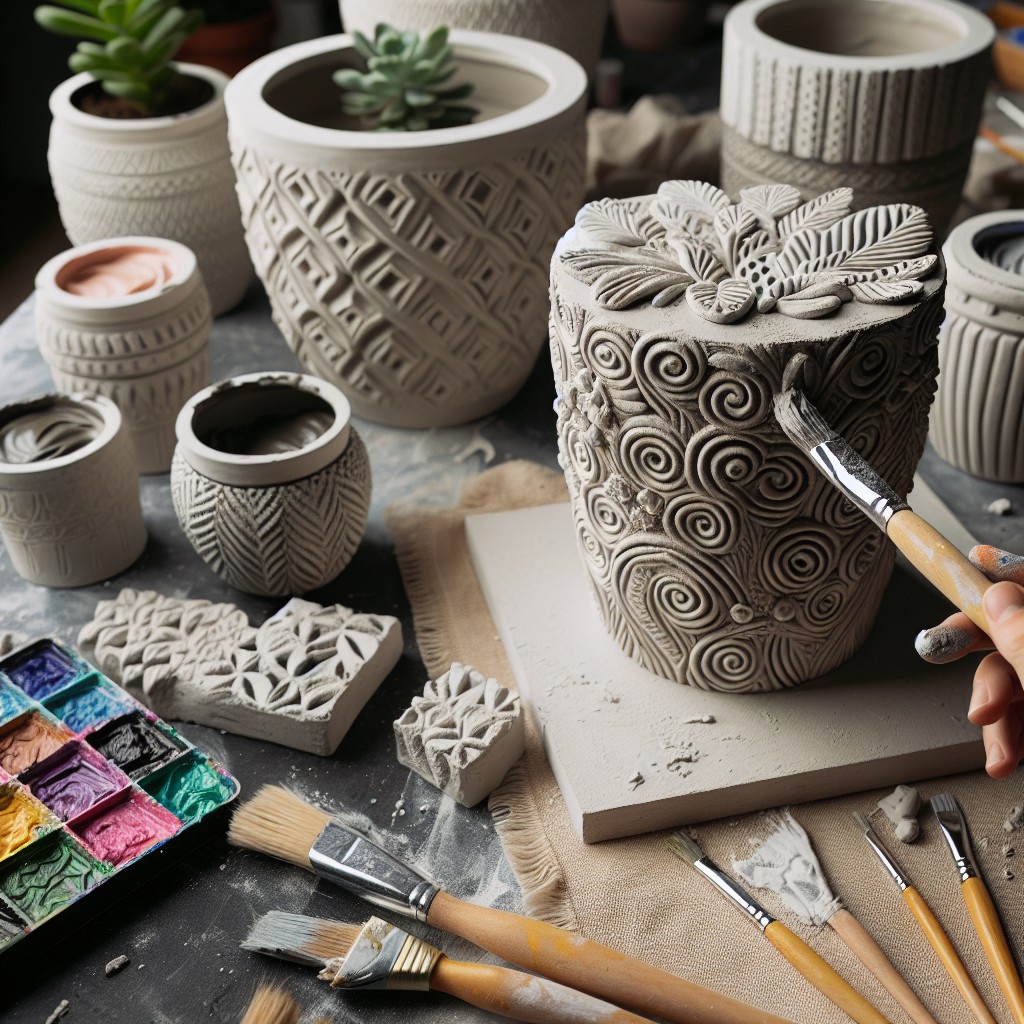
Ready to add some texture and character to your plain, old planters? It’s easy with a grout stick. Let’s get started.
1. Gather Your Materials: You will need a grout stick, a piece of sponge, water, and your chosen planter.
2. Clean Your Planter: Ensure the area you will be working on is clean and dry.
3. Apply the Grout: Dab your grout stick into water, then smoothly glide it onto your planter. Add texture by varying your pressure and direction.
4. Let it Dry: Give the grout ample time to dry before moving it or planting.
Remember, it’s all about being creative and making it your own. You decide the texture and pattern. Happy decorating!
How to Use Grout Sticks to Remodel Your Fireplace
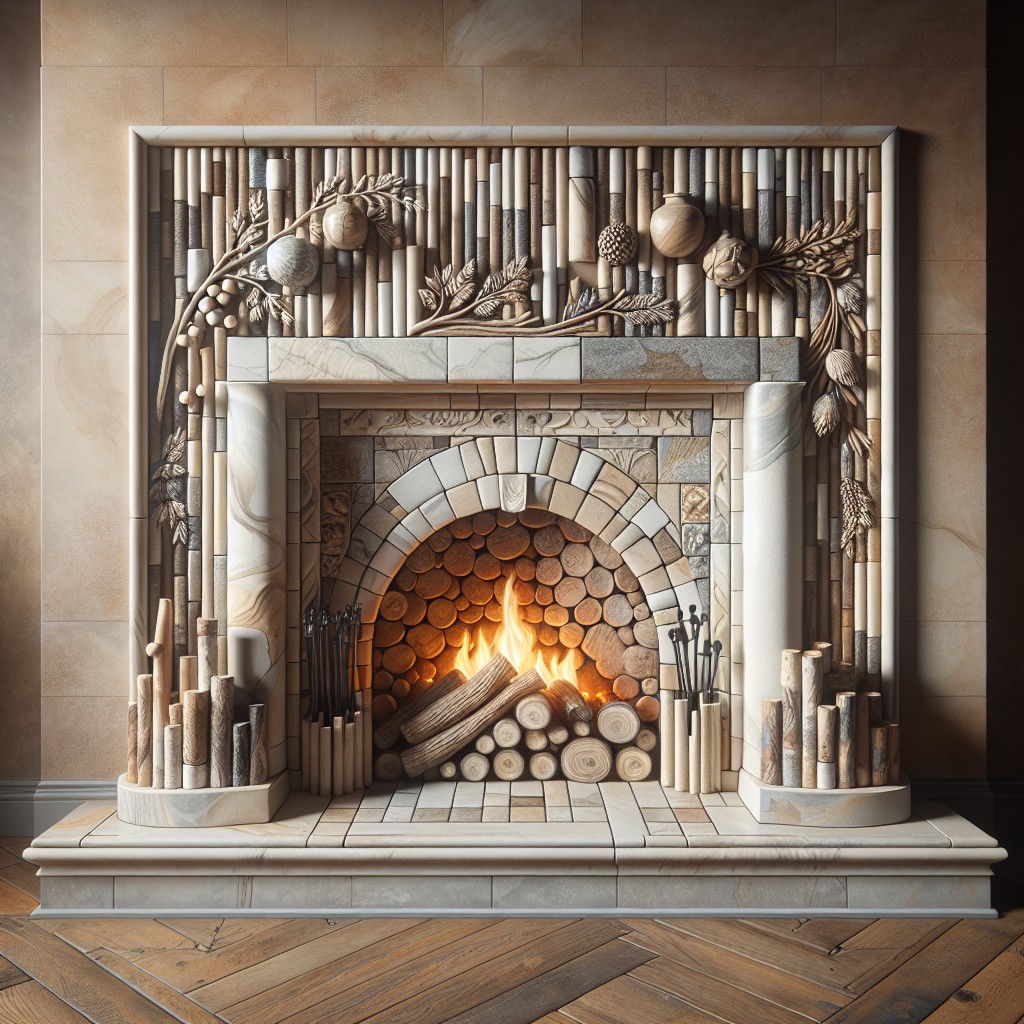
To initiate a fireplace makeover, start by cleaning the existing surface thoroughly. Removing dirt or loose mortar will provide a more secure hold for your grout sticks. Make sure the surface is fully dry before proceeding to the next step.
Select grout sticks that match your preferred design and color. A mix of different shades might provide a rich, visually appealing mosaic effect.
Apply a layer of grout over the current surface. Work in a small area initially, extending out as you gain confidence.
Press grout sticks into the wet grout. Maintain uniform spacing between the sticks, ensuring all materials stand at the same height.
Continue this method across the surface of your fireplace – creating a visually appealing pattern as you go.
Remember, patience is a virtue, particularly when working with grout sticks in complex patterns. Also, don’t forget to let everything dry thoroughly before lighting your newly refurbished fireplace.
Investing time and effort in this DIY project allows you to blend creativity with practical skills, and the result is a rejuvenated, stylish fireplace that serves as a focal point in your room.
Assorted Ways to Freshen Up Your Steps With Grout Sticks
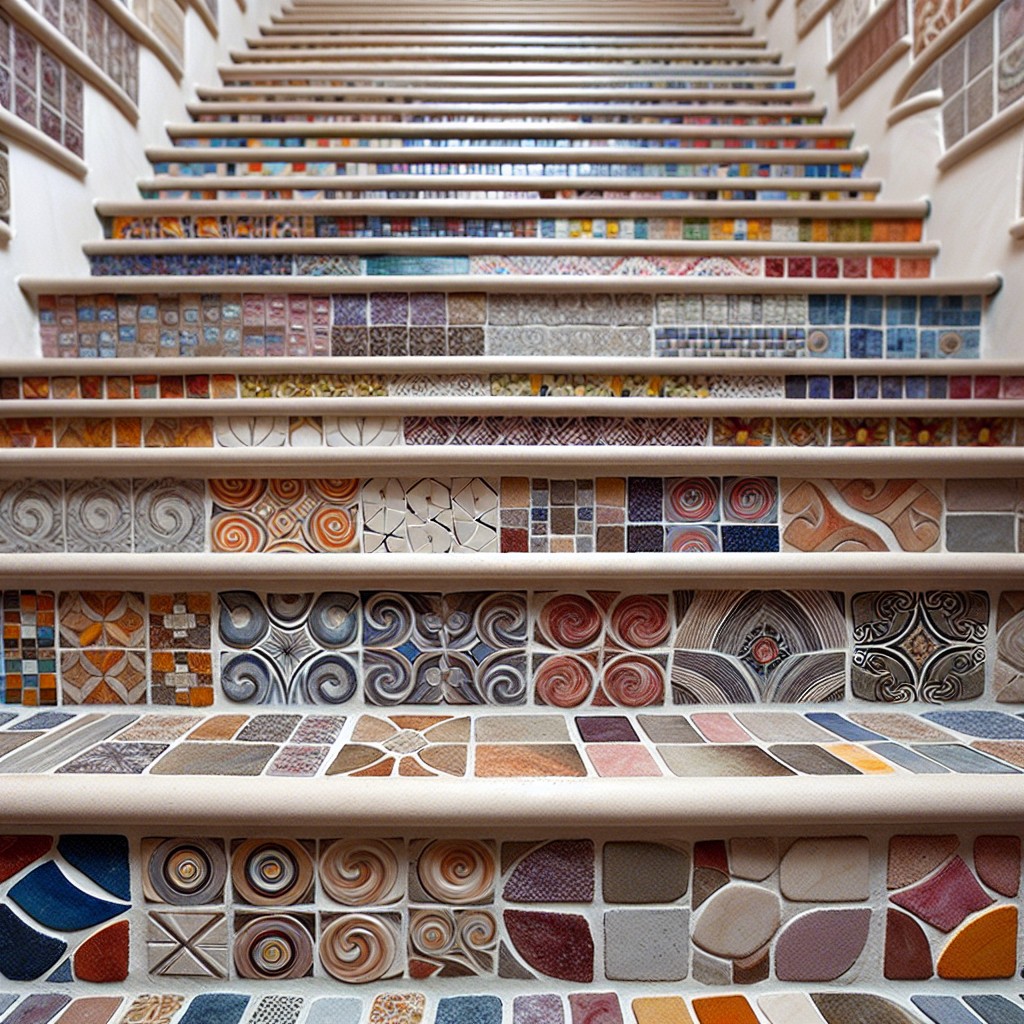
To get started, assess the condition of your steps. Ensure they’re complete, stable, and free from loose or broken parts. Then, measure the steps to gauge the exact amount of grout sticks you will need. Be aware that grout sticks come in different color options too, and your choice can significantly determine the entire look of your steps.
Begin the transformation by cleaning the steps thoroughly, this will allow the grout sticks to adhere properly. You can use a wire brush to eliminate stubborn dirt. Follow this up by applying a thin layer of mortar or adhesive to a small section of the step.
When placing your grout sticks, start from the corner and follow your steps’ natural lines as a guide. Apply one at a time in your preferred pattern. Make sure they’re arranged tightly to avoid gaps. After you’ve covered the necessary surface with grout sticks, let it dry overnight.
Finally, apply a layer of grout over the surface of the grout sticks, ensuring every crevice is filled. Wipe away any excess with a damp sponge. This will create a uniform, solid, and visually appealing surface.
Remember, patience is key when working with grout sticks. If done right, your steps will not only look revitalized but will also be more durable and slip-resistant, making it safe for everyone!
Tips to Create Wall Accents Using Grout Sticks
For a cost-effective yet visually appealing wall accent, grout sticks have proven to be quite the unexpected touch. Now, let’s dive into some practical steps to achieve this.
1. Identify the Preferred Pattern: Before anything else, picture the layout you wish to create. This aids in determining how many grout sticks you’ll require.
2. Prep Your Canvas: Ensure the wall is clean and in good shape. Paint the surface if necessary for a uniform backdrop that makes your grout stick design stand out.
3. Mark Out Your Design: Using a pencil, lightly sketch out your desired pattern onto your wall. This could range from geometric shapes to more complex murals.
4. Adhere Grout Sticks: Apply adhesive on the back of each grout stick and firmly place following your marked design.
5. Let It Dry: Allow the adhesive to dry thoroughly. Refrain from touching or disturbing your newly embellished wall until it’s completely set.
Remember to have a load of creative fun with your design, the beauty of grout stick wall accents lies in their ability to be as simplistic or sophisticated as you desire. Ready for the next wall? Let’s keep moving!
Using Grout Sticks to Reinvent Your Old Coffee Tables
Kickstart this table transformation by thoroughly cleaning the surface. Eliminate dust, grease, or any old coatings for better adhesiveness. Once cleaned, it’s time to map out your design. Whether you prefer geometric patterns, abstract art, or a simple uniform look, sketching out the layout will guide your application.
Next, choose grout stick shades aligning with your existing decor. Don’t shy away from experimenting with contrasting colors to create a pop. Grout sticks are easy to apply – simply run the stick over the area and press gently. Remember to keep a clean, damp cloth close by to wipe off excess residue.
Allow the grout to dry completely for 24 hours before sealing. A sealant protects the grout and ensures it lasts for years to come. Lastly, for continuous shine, regularly wipe the table with a damp cloth and dry it thoroughly. This inventive usage of grout sticks breathes new life into old coffee tables, transforming them into a statement piece.
Refresh Your Bedroom With a DIY Grout Stick Headboard

Choosing the ideal grout stick to refresh your bedroom headboard requires a careful selection of colors and designs to match your overall décor. Make sure to select the grout stick of correct size to earn that finished, professional look.
Here are a few points worth noting down.
- Consider the color scheme of your bedroom. The grout stick should be either of a similar tone or contrasting to accentuate the headboard.
- Opt for patterns and motifs that would enhance the region and make your bed the focal point of the room. You could go with rustic, geometric, or floral designs.
- Make sure to measure the headboard dimensions accurately before applying the grout stick. Agreeably, it’s better to have some extra than fall short.
- A useful tip: use grout of a contrasting color to the stick. This allows the design of the stick to truly pop out, and creates distinct lines and pattern visibility.
- Gradually work your way while applying the grout stick. It gives you control and ensures a neat, clean application.
- Let it dry completely to allow the grout to set in and provide a sturdy finish.
Remember, this is a fun project, experiment with patterns and designs until you find the one that resonates with your style. Happy Decorating!
Things You Can Do to Personalize Your Home Workspace With Grout Sticks
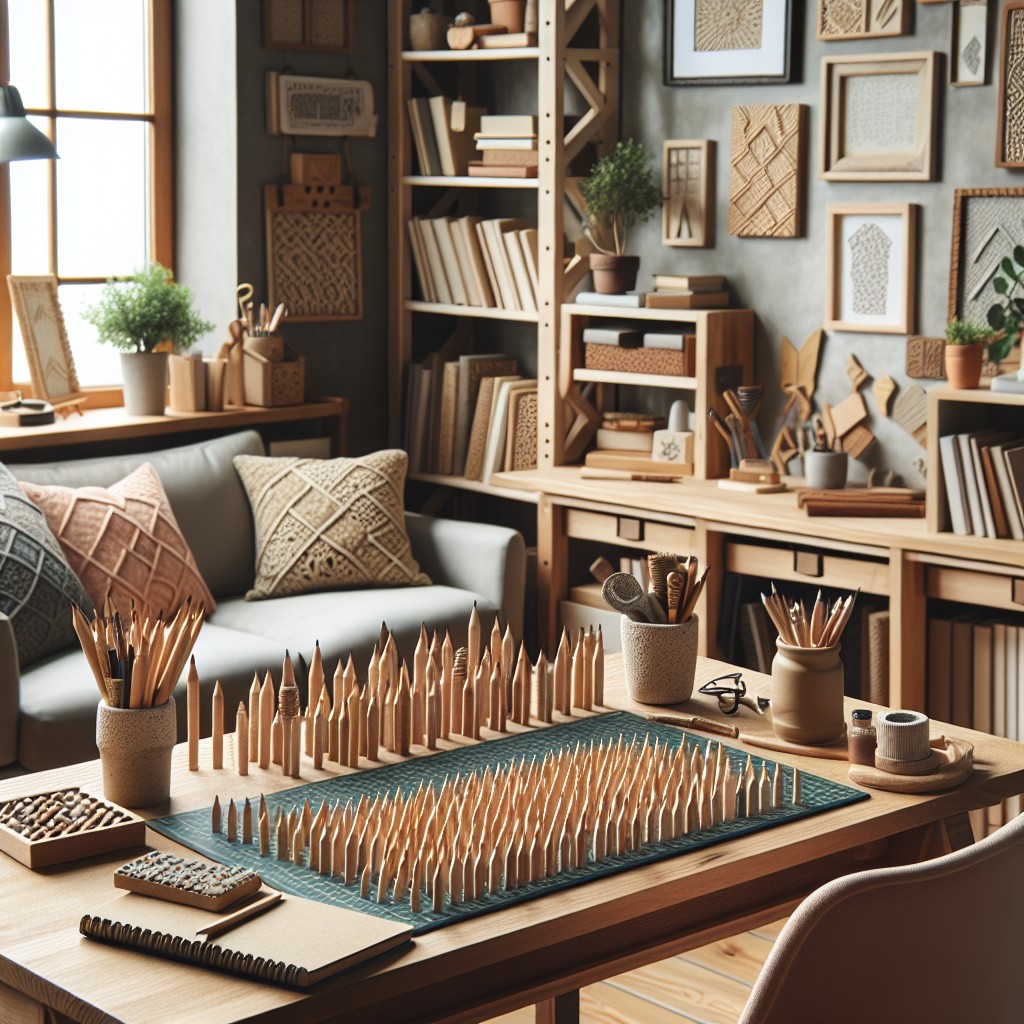
Start by choosing the right colors for your workspace. The color of grout sticks can add a dramatic touch to your office space. You might opt for neutral colors to maintain professionalism, or perhaps you’ll go for bold colors to stimulate creativity and energy.
Next, consider creating unique patterns using grout sticks on your desk or bookshelves. This could add a speckled effect, making your desk even more eye-catching and personalized. Yet another way of using grout stick is by creating a DIY grout stick corkboard. It’s a fun and easy project that results in a stylish platform for your reminders, pictures, or inspirational quotes.
Moreover, grout stick can also be used to conceal unsightly cables in your workspace. By sticking them alongside or behind your desk, you’ll have a cable management solution that seamlessly blends with your decor.
Lastly, why not use grout sticks to upgrade your office lighting? Wrap around grout sticks on your table or floor lamp to add texture and make your workspace more homely and inviting.
Remember, there’s no end to creativity with grout sticks in your decor hack arsenal. The ideas are endless and the results can be extraordinarily appealing!
Grout Stick As a Stylish Solution to Repair Tile and Wall Damage in Your Home
A wonderfully versatile tool in the home improver’s arsenal, grout sticks are perfect in lending a hand when it’s time to address those stubborn tile and wall damages. Now let’s explore some key points to consider:
1. Identify Damage: Really, it all starts with assessing the level of damage to be solved. Stains, cracks, or chipped off parts? The grout stick is ready for action.
2. Skill Level: You don’t have to be a professional to use grout sticks. Some basic DIY skills and the ability to follow product instructions are all you need.
3. Color Matching: Grout sticks come in a range of colors. Choose the one that best matches your existing grout to keep the repair as imperceptible as possible.
4. Preparation: Clean the damaged spots well before applying the grout from your stick, allowing a seamless and secured bond.
5. Application: Apply evenly along the cracks or stains, then wipe away any excess for a clean, finished look.
6. Drying Time: Most grout sticks dry relatively quickly. Let the treated areas dry fully before any water exposure.
Using a grout stick is ultimately an affordable yet stylish way to breathe new life into your ceramic tile surfaces and walls. Be sure to keep these points in mind while applying to ensure an efficient and satisfying repair process.
Ways to Upgrade Your Balcony With Grout Stick

Grout sticks are an affordable method for introducing a refreshing change to your balcony. Performing both a practical and aesthetic role, here are a few innovative ways to utilize grout sticks.
1. Covering Flaws: If your balcony floor has chips or cracks, a grout stick can be used to effectively conceal these flaws, giving a clean, new look.
2. Creating Patterns: You can design patterns on the floor or walls using different shaded grout sticks. These create unique, artistic effects, turning your balcony into a conversation piece.
3. Enhancing Safety: Grout sticks provide excellent slip-resistance. This feature is beneficial, especially during rainy or winter seasons, enhancing safety for you and your guests.
4. Easy Maintenance: Grout sticks, being highly durable and water-resistant, require less care compared to traditional methods. So, you’re saving both time and effort in maintaining your balcony.
Transform Your Basement Flooring With Grout Sticks
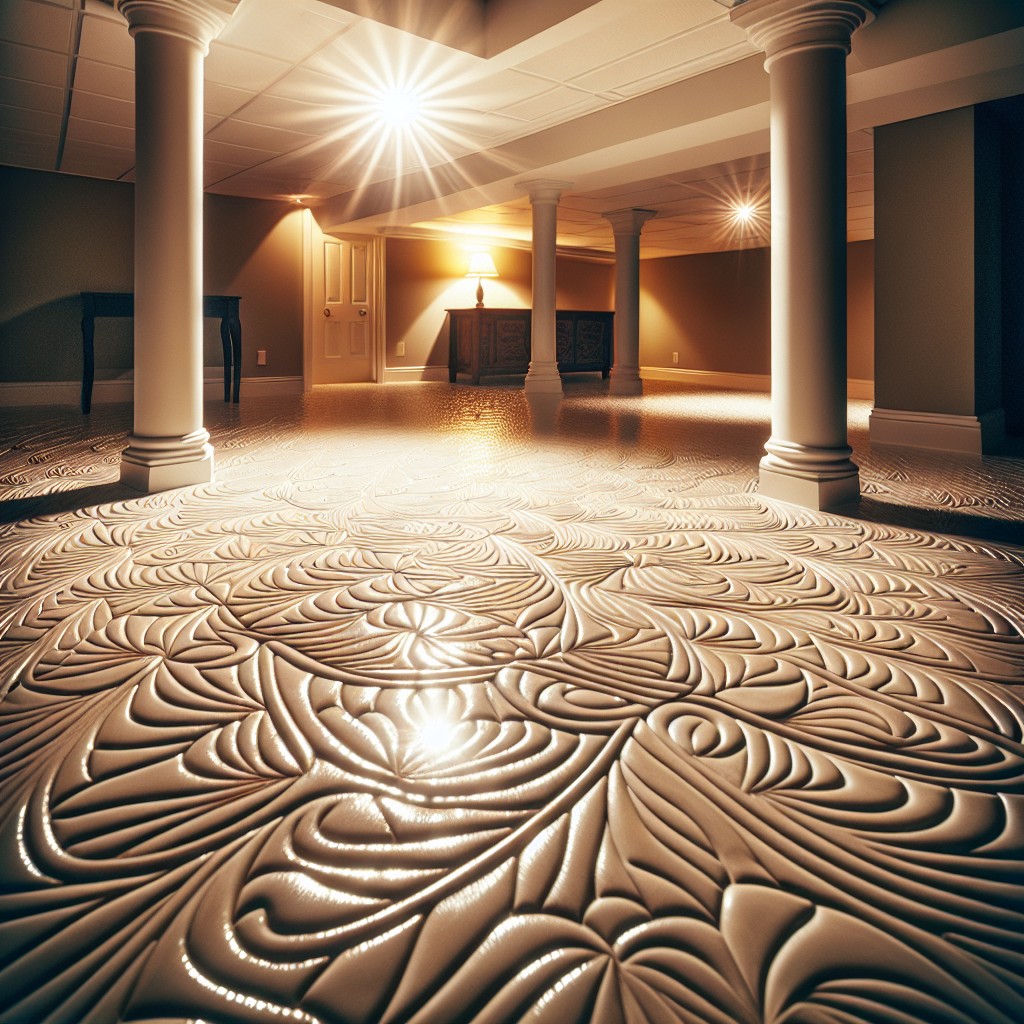
To get started, ensure your basement floor is clean, dry, and ready for application. Apply grout stick, working it into the existing grout lines if they are present. If you’re working on a concrete floor, use a straight edge to create faux grout lines for a tiled effect.
Some points to consider:
- 1. Pattern: You can opt for a traditional grid pattern or get creative with lines for a herringbone or chevron design.
- 2. Cure Times: Patience is crucial; allow the grout to entirely dry before walking on it or setting furniture. Usually, it takes about 24-48 hours.
- 3. Maintenance: Sealing is essential to preserve the grout stick application. A matte or satin sealant will keep the grout protected and make cleaning easier.
- 4. Refresh: After years, if the grout lines seem dull, a light application of grout stick can refresh the look.
Remember, transforming your basement with grout sticks is not only cost-effective but also gives you the freedom to personalize the space according to your taste. Happy decorating!
Ideas Elsewhere
- https://www.frugalfamilytimes.com/2012/07/how-to-install-peel-and-stick-vinyl/
- https://biggerthanthethreeofus.com/peel-and-stick-tile/
- https://www.thedecorformula.com/home/2018/4/15/ideas-for-covering-up-tile-floors-without-removing-it
- https://grout-experts.com/2020/11/grout-is-recyclable-heres-how-to-make-the-most-out-of-your-grout-projects/
- https://thefarmhouselife.com/grouting-your-peel-and-stick-tile-in-30-minutes/


