Last updated on
Learn how to troubleshoot and fix a dripping Moen kitchen faucet with practical, step-by-step guidance.
Key takeaways:
- Dripping faucets often result from worn-out internal components.
- The common causes of dripping Moen kitchen faucets are worn-out O-rings, faulty cartridges, and worn rubber washers.
- Addressing the issue typically involves either replacing or cleaning the cartridge.
- Follow a step-by-step process to repair the leaking faucet.
- Moen offers a program called Cartridges for Life, providing free replacements for faucet cartridges.
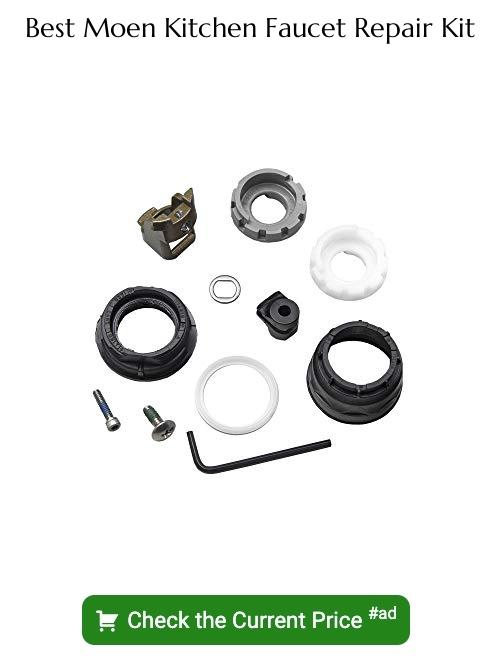
What's Inside
Typical Cause

Dripping faucets often stem from worn-out internal components. Regular usage can lead to deterioration of the faucet’s O-ring, a small disc attached to the stem screw, which helps hold the handle in place. Water’s erosive properties can eventually eat away at the O-ring, leading to leaks near the handle.
Another common issue is a faulty cartridge. The cartridge regulates the flow of water; when it malfunctions, it may cause a persistent drip. Hard water, with its high mineral content, can also contribute to cartridge decay by depositing limescale that hampers the seal integrity, causing water to seep through.
Rubber washers are also prone to wear and tear. Each time you use the faucet, the washer is pressed against the valve seat, and this constant friction can cause it to wear out. Over time, this can lead to a slow leak or a steady drip as water sneaks past the degraded washer.
In environments with fluctuating water pressure, the pressure variations can strain the faucet’s structure, sometimes resulting in leaks or drips.
Identifying the specific culprit in your faucet’s drip saga is the first step to a targeted repair. Pinpointing the cause lays the groundwork for the steps that follow – be it replacing the O-ring, installing a new cartridge, or addressing water pressure inconsistencies.
Solution
Addressing a drip in your Moen kitchen faucet typically involves either replacing the cartridge or cleaning it to remove mineral deposits. A cartridge is the heart of any faucet and is responsible for controlling water flow and temperature. Over time, the seals can wear out or debris can cause the cartridge to malfunction, leading to that annoying drip.
With the right tools—a set of pliers or a wrench, and possibly a Moen cartridge puller—you can tackle this repair on your own. Keep in mind that Moen offers a lifetime warranty on their cartridges, so you can usually get a replacement free of charge.
Here’s what you need to do: First, turn off the water supply to your faucet. This is crucial to avoid any messy surprises. Next, remove the faucet’s handle to expose the cartridge. Depending on your model, the cartridge is either threaded or held in place by a clip. Carefully remove it with the appropriate method, being mindful not to damage the faucet.
Once the cartridge is out, inspect it. If it’s simply clogged with debris, cleaning it may suffice. However, if the seals look worn, you’ll need to replace the cartridge. Insert the new or cleaned cartridge, reassemble the handle, and restore the water supply. Turn on the faucet to make sure the drip is gone.
The beauty of this fix is that you’ll extend the life of your faucet, save water, and avoid the cost of a new installation. Plus, the satisfaction of a well-executed DIY repair is a delightful bonus.
Step-by-Step: How to Repair Your Leaking Moen Faucet
Embarking on a repair journey for a dripping Moen kitchen faucet requires a bit of preparation and the right set of tools. First, gather an adjustable wrench, pliers, a Philips head screwdriver, and possibly a Moen replacement cartridge. It’s also wise to have some plumber’s tape on hand just in case.
Now, follow these steps:
- Turn Off Water Supply: Locate the valves under the sink and turn them clockwise to shut off the water. It’s a simple yet crucial step to prevent an unintended water show.
- Remove Handle Cover: Pinpoint the cap located on the handle, which typically conceals a screw. Gently pry it off; a flathead screwdriver can be your ally here.
- Unscrew to Detach the Handle: Using the Philips head screwdriver, remove the screw you’ve just exposed. This will free up the handle, allowing you to lift it off and set aside.
- Loosen the Cartridge Nut: A notable feature of the Moen faucet is the cartridge system; find the nut that secures it. Using pliers or a wrench, turn the nut counterclockwise and remove it.
- Pull Out the Cartridge: Grip the cartridge stem with pliers and gently pull it out. If it proves stubborn, employ a Moen cartridge puller for an easier extraction.
- Insert the New Cartridge: Slide in the new cartridge, ensuring that it aligns precisely as the old one did. The tabs should match the notches in the faucet.
- Reassemble the Faucet: This is merely retracing your steps. Replace the nut, secure the handle back in place, and pop the cap on.
- Test Your Success: Turn the water valves back on and run the faucet. No more drips? Congratulations, you’ve successfully restored your Moen kitchen faucet to its former glory.
Remember that each Moen model might have unique quirks, so keeping the manual at arm’s reach is a good safety net. If any point along the way feels overly complex or beyond your comfort zone, calling in a professional plumber is a sound decision. Repairing your faucet can indeed be a gratifying DIY project, but peace of mind comes first.
If Your Moen Faucet Is Leaking From the Spout…
A leak from the spout often indicates a worn O-ring seal or a failing cartridge. With time and usage, these components can degrade, causing water to escape even when the faucet is turned off.
1. O-Ring Seal Woes: The O-ring is responsible for creating a watertight seal around the spout. Age or hard water can lead to cracks or buildup, compromising its efficiency.
2. Cartridge Conundrum: The cartridge controls water flow and temperature mixing. A malfunction can result from mineral deposits or gasket deterioration. This is a common issue that, fortunately, can be resolved with a replacement part.
3. Easy Identification: You can usually determine if the O-ring or cartridge is at fault by observing the type of leak. A steady drip usually suggests a cartridge issue, while a persistent seep around the base points to the O-ring.
Armed with this knowledge, you’re empowered to troubleshoot and decide whether to replace the O-ring, the cartridge, or sometimes, both to restore your faucet’s performance. Remember, Moen often provides replacement cartridges free of charge, making this repair not only manageable but also cost-effective.
Cartridges for Life
Moen has built a customer-friendly program known as Cartridges for Life. Under this program, if you own a Moen faucet, you’re entitled to free replacement cartridges whenever you encounter a drip or leak. Here’s why this is a game-changer:
- No extra cost: Say goodbye to out-of-pocket expenses for new cartridges every time your faucet acts up.
- Long-term savings: Over the lifespan of your faucet, this perk can save a significant amount of money.
- Hassle-free process: Moen streamlines the replacement process, ensuring you get the right part with minimal fuss.
- Commitment to quality: This program reflects Moen’s confidence in their products and commitment to customer satisfaction.
- Ease of maintenance: Free cartridges encourage regular maintenance, keeping your faucet in optimal condition.
It’s essential to note, you’ll need to provide the model of your faucet to receive the accurate cartridge, and while the cartridge may be free, if you aren’t DIY-savvy, you’ll still need to factor in the cost of hiring a professional for installation.


