Last updated on
Explore practical tips and innovative ideas on how to revamp your kitchen countertops without the need for a complete replacement, transforming them into stunning focal points of your home.
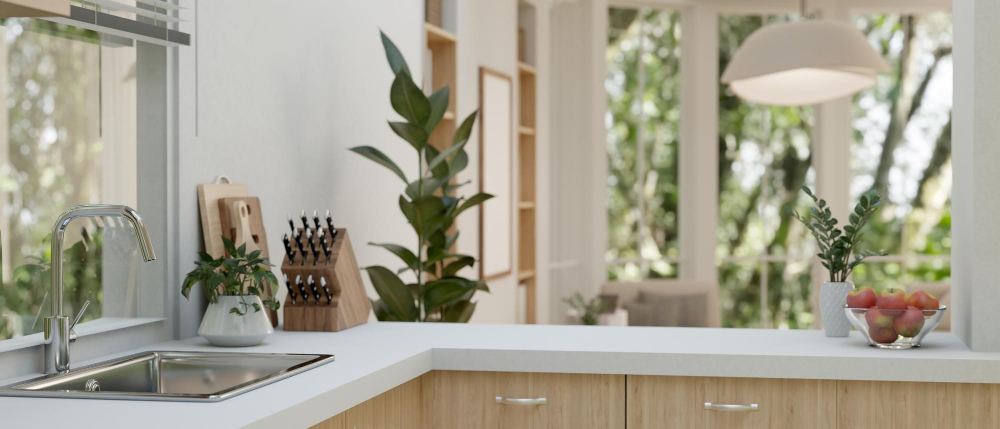
Are you tired of the outdated look of your kitchen countertops but don’t want to go through the hassle and expense of a complete replacement? Well, you’re in luck! In this article, we’ll show you how to give your kitchen a fresh new look without having to replace the entire countertop. With a few simple and cost-effective techniques, you can transform your kitchen into a stylish and modern space that reflects your personal taste.
So let’s dive right in and discover how to change kitchen countertops without replacing them!
What's Inside
Understanding the Basics of Kitchen Countertops
Before diving into the exciting world of transforming your kitchen countertops, it’s essential to understand the basics. Kitchen countertops come in a variety of materials, each with its own unique characteristics and maintenance requirements.
By familiarizing yourself with these options, you can make an informed decision on how to best update your current countertop.
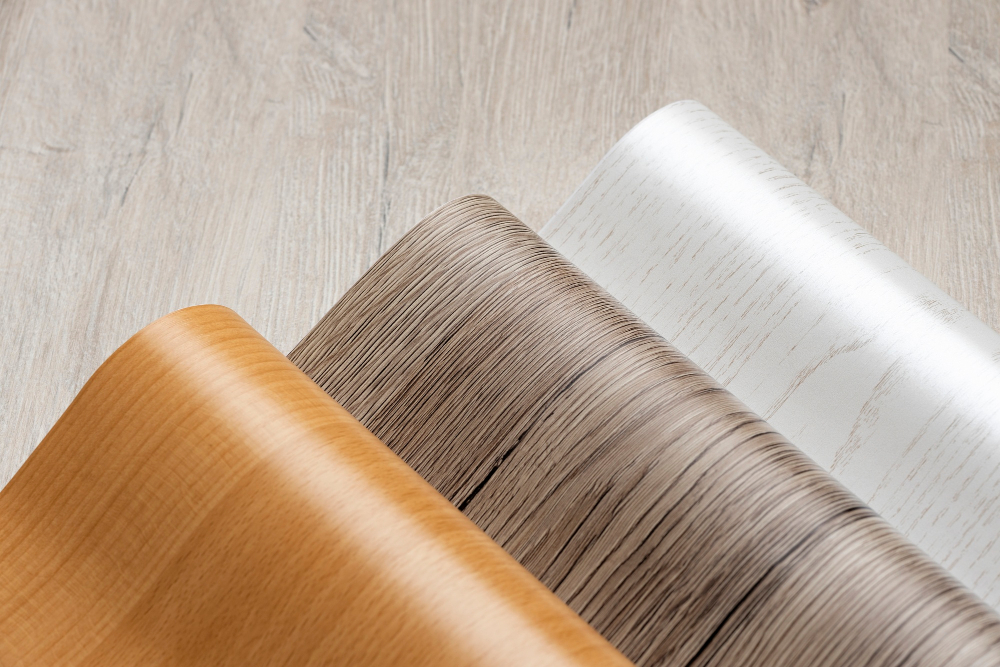
From classic granite and marble to trendy quartz and concrete, there is a wide range of materials available for kitchen countertops. Each material has its pros and cons in terms of durability, heat resistance, stain resistance, cost-effectiveness, and aesthetic appeal.
Understanding the material of your existing countertop is crucial as it will determine which techniques are suitable for updating or enhancing its appearance without replacing it entirely. For example:
- Laminate Countertops: These affordable surfaces are made from layers bonded together under high pressure. While they offer various colors and patterns at a budget-friendly price point,
- they may not be as durable or resistant to heat compared to other options.
- Solid Surface Countertops: Made from synthetic materials like acrylic or polyester resins mixed with minerals,
- solid surface countertops provide seamless designs that are easy
- to clean but may require more care when dealing with hot pans.
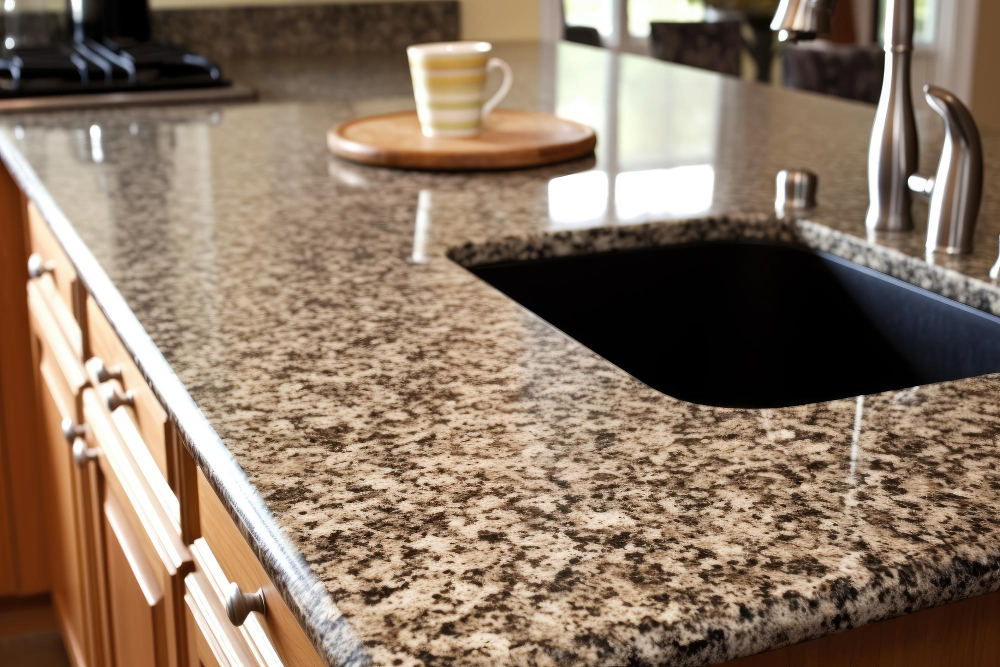
– Natural Stone Countertops: Granite, marble, and soapstone bring elegance and natural beauty into any kitchen. However, they require regular sealing to maintain their luster and protect them against stains.
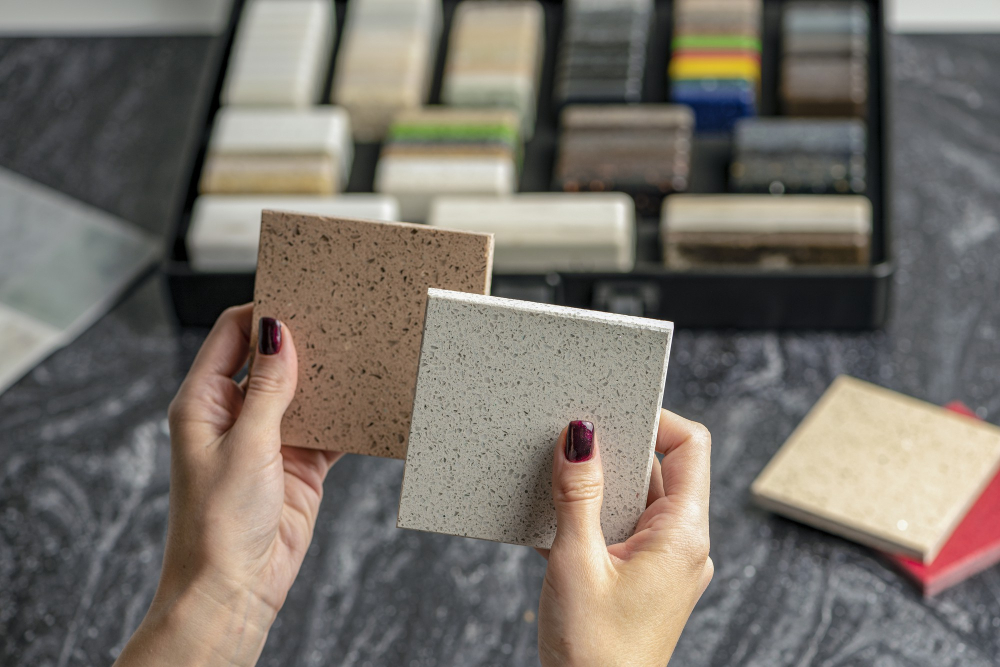
Identifying the Material of Your Existing Countertop
This step is essential as different materials require specific techniques and products for refinishing.
To determine the material of your current countertop, take a close look at its appearance and texture. Is it smooth or textured? Does it have a glossy or matte finish? These visual cues can provide valuable insights into the type of material used.
You can try conducting a simple test by placing a drop of water on an inconspicuous area of the countertop. If the water beads up and doesn’t absorb quickly, chances are you have a non-porous surface like quartz or solid surface.
On the other hand, if the water absorbs relatively quickly into small pores or stains appear after some time has passed, then you likely have porous materials such as granite or marble.
If visual inspection and water tests don’t yield conclusive results, consider reaching out to professionals who specialize in countertops for assistance in identifying its composition accurately.
Evaluating Current Countertop Condition
This step will help you determine whether your existing countertops are suitable for the transformation techniques we’ll be discussing.
Take a close look at your countertops and assess any visible signs of wear and tear. Are there deep scratches, chips, or cracks? Is the surface uneven or damaged in any way? Evaluating these factors will give you an idea of what needs to be addressed before proceeding with any changes.
Consider the material of your current countertop. Different materials require different approaches when it comes to refinishing or covering them up.
For example, laminate surfaces may need special attention compared to granite or quartz.
By thoroughly evaluating the condition and material of your existing countertop, you can make informed decisions about which technique is best suited for transforming them without replacing them entirely.
Necessary Tools and Materials

These items will help you achieve professional-looking results while keeping the process efficient and hassle-free.
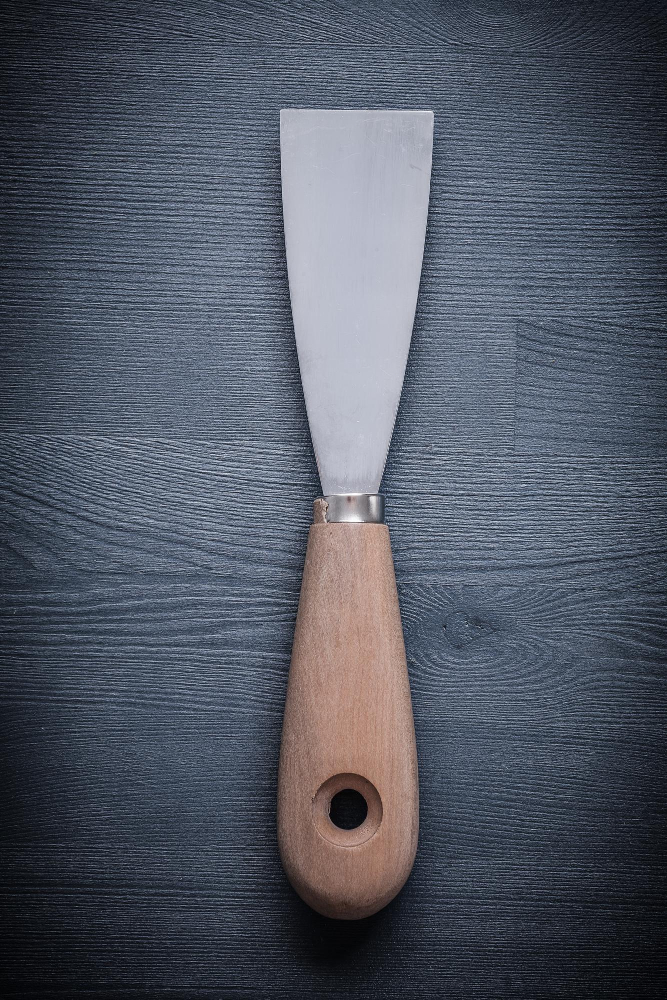
Firstly, gather some basic tools such as sandpaper or a sanding block to smooth out any imperfections on the surface of your existing countertop. Have a putty knife or scraper handy for removing old sealant or adhesive residue.
Next, consider investing in high-quality primer and paint specifically designed for use on countertops. Look for products that offer durability and resistance to moisture, heat, and stains.
Depending on the material of your current countertop (which we discussed earlier), choose an appropriate paint type that adheres well to its surface.
In addition to primer and paint, you may also require specific materials based on the technique you choose for transforming your countertops. For example:
- If opting for concrete overlay: Purchase concrete mix suitable for countertop applications along with any necessary additives like color pigments.
- If considering tiling over: Acquire tile adhesive suitable for kitchen surfaces along with tiles of your choice.
- If using countertop film: Select self-adhesive film designed explicitly for this purpose in patterns or colors that complement your kitchen decor.
Remember always to prioritize safety during any home improvement project; thus having protective gear like gloves, goggles/safety glasses is crucial when working with certain chemicals or power tools.
Precautions Before Starting

By following these simple steps, you can avoid any potential mishaps and make the most out of your countertop makeover.
Firstly, it’s crucial to assess whether you have the necessary skills and experience for the specific technique you plan on using. Some methods may require more expertise than others, so be honest with yourself about what you feel comfortable tackling.
If needed, consider consulting with professionals or seeking guidance from experienced DIY enthusiasts.
Next, gather all the tools and materials required for your chosen countertop transformation method. This includes items such as sandpaper or sanding blocks (with appropriate grits), cleaning solutions suitable for removing stains or sealers if necessary, primers specifically designed for countertops in your chosen material (e.g., laminate primer), paint brushes or rollers depending on painting techniques selected – just to name a few examples.
Make sure that you have adequate ventilation in your workspace before starting any projects involving chemicals like solvents or paints. Open windows if possible or use fans to circulate fresh air throughout the area where work will be done.
Lastly but importantly: protect surrounding surfaces! Cover cabinets below countertops with drop cloths or plastic sheets; this will prevent accidental spills from damaging them during preparation stages like sanding down old finishes off existing surfaces prior applying new ones later on when refinishing processes begin anew!
Cleaning and Preparing The Old Countertops
This step is crucial as it ensures proper adhesion of any new materials or finishes you’ll be applying.
Start by removing all items from the countertop, including appliances, utensils, and decorative objects. Clearing the space will allow for easier access and prevent any accidental damage during cleaning.
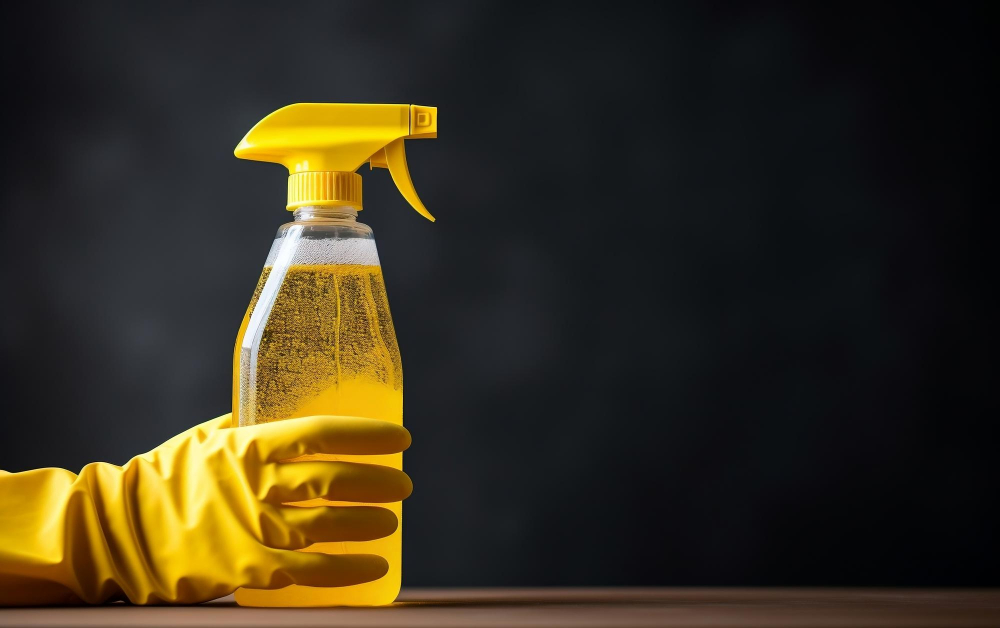
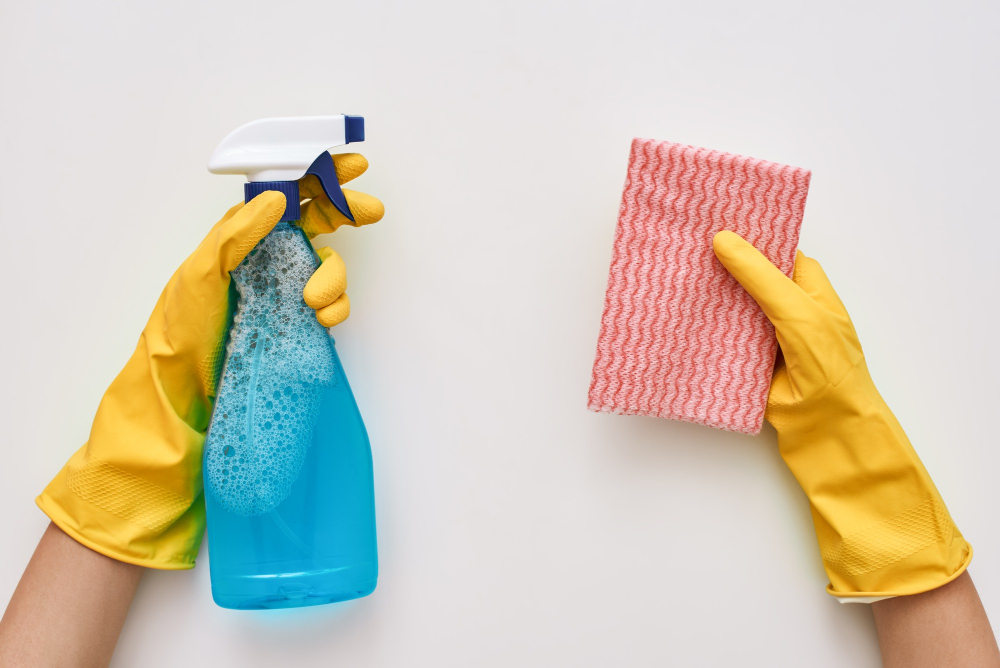
Next, give your countertops a good scrub using a mild detergent or cleaner suitable for your specific countertop material. Be sure to follow manufacturer guidelines to avoid damaging the surface.
Use a non-abrasive sponge or cloth to gently remove dirt, grease, stains, and residue that may have accumulated over time.
For stubborn stains or grime buildup in hard-to-reach areas such as corners or seams between tiles/grout lines (if applicable), consider using an appropriate cleaning solution recommended by professionals in that field.
Once cleaned thoroughly with soap/detergent solution(s), rinse off all traces of cleaner with warm water until no residue remains on the surface. Dry completely using a soft towel before proceeding further.
After cleaning comes another important step: sanding down the old countertop’s surface lightly. This process helps create better adhesion for subsequent layers of paint/primer/overlay/film/tiles/etc., ensuring they bond securely without peeling off easily over time.
Remember always to wear protective gear like gloves/mask/goggles when working with chemicals/sanding tools!
Removing Old Sealer and Stains
Removing these imperfections is crucial for achieving a smooth and flawless surface before applying any new finishes.
To begin, gather the necessary tools such as a gentle cleaner or degreaser, scrub brush or sponge, and protective gloves. Start by thoroughly cleaning the countertop with warm water and mild soap to remove any dirt or grime buildup.
Next, focus on removing old sealer if applicable. This step is essential if your countertops were previously sealed with a protective coating that has worn off over time.
Use an appropriate sealer remover recommended for your specific countertop material (such as granite or concrete) following the manufacturer’s instructions carefully.
For tackling stubborn stains like wine spills or grease marks, consider using specialized stain removers designed specifically for your countertop material. Apply them according to their instructions while wearing gloves to protect your hands from harsh chemicals.
Remember that different types of countertops require different cleaning methods; always refer to manufacturer guidelines when dealing with specific materials like marble or quartzite.
Ways to Repair Damaged Areas
Don’t worry! There are several ways to repair these problem spots and restore the beauty of your countertops.
One common issue is chipped or cracked surfaces. To fix this, you can use a two-part epoxy resin filler specifically designed for countertop repairs.
Simply mix the components according to the instructions and apply it to the damaged area using a putty knife or spatula. Smooth it out evenly and let it dry completely before moving on.
For deeper scratches or gouges, consider using a color-matched laminate repair paste. These pastes come in various shades to match different countertop colors and patterns.
Apply a small amount of paste onto the scratch, then use a plastic scraper or putty knife to level it with the surrounding surface.
If your countertop has burn marks from hot pans or pots, there’s still hope for restoration! You can try sanding down these marks gently with fine-grit sandpaper until they become less noticeable. Be careful not to over-sand as this could damage other parts of your countertop.
In cases where there are stubborn stains that won’t go away even after thorough cleaning, consider using specialized stain removers made specifically for different types of countertops such as granite, quartzite, marble etc. Follow their instructions carefully while applying them on affected areas.
Sanding and Buffing the Surface
This crucial process helps to create a smooth and even base for any further treatments or finishes you plan to apply.
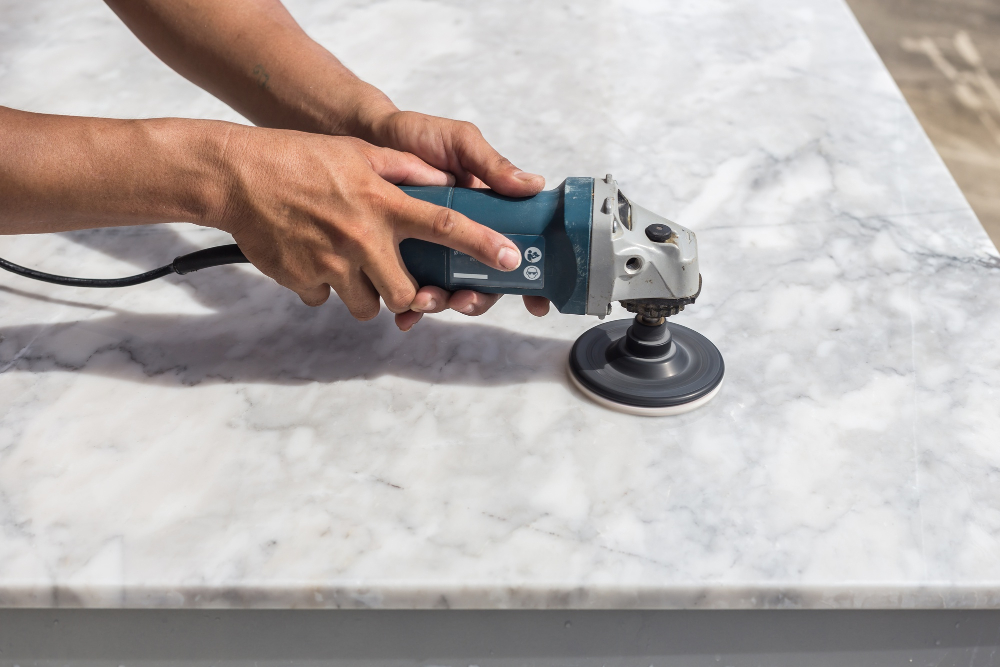
Using a fine-grit sandpaper or an electric sander, gently sand the entire surface of your countertop. This will help remove any rough patches, scratches, or imperfections that may be present.
Be sure to pay extra attention to areas that receive heavy use such as around sinks or stovetops.
After sanding, it’s important to thoroughly clean away any dust particles before moving on. Use a damp cloth followed by a dry one to ensure all debris is removed from the countertop surface.
Next comes buffing – this step helps achieve an even smoother finish while also enhancing shine if desired. You can use either an electric buffer machine with appropriate pads or simply opt for hand-buffing using a soft cloth.
Gently move the buffer across the entire countertop in circular motions until you achieve your desired level of smoothness and shine. Take care not to apply too much pressure as this could damage delicate surfaces like laminate countertops.
Application of a Primer
The primer serves as a crucial foundation for the paint or other materials that will be applied later.
Before applying the primer, make sure to choose one that is specifically designed for your countertop material. For example, if you have laminate countertops, look for a primer formulated specifically for laminate surfaces.
This ensures optimal adhesion and durability of the final finish.
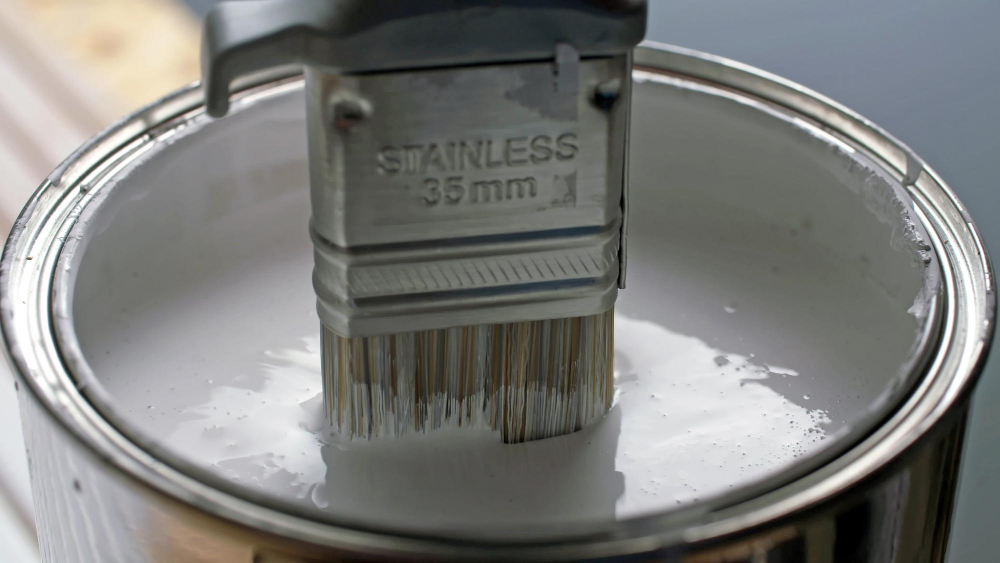
To begin with, carefully read and follow the manufacturer’s instructions on how to apply the primer. Typically, it involves using a brush or roller to evenly coat the entire surface of your countertop.
Take care not to leave any streaks or uneven patches.
Allow sufficient drying time as recommended by the manufacturer before proceeding with further steps in your countertop transformation process. This may vary depending on factors such as humidity levels and temperature conditions in your area.
By applying a high-quality primer suited for your specific countertop material, you create an ideal base that promotes better adherence of subsequent layers while enhancing their longevity and resistance against wear-and-tear.
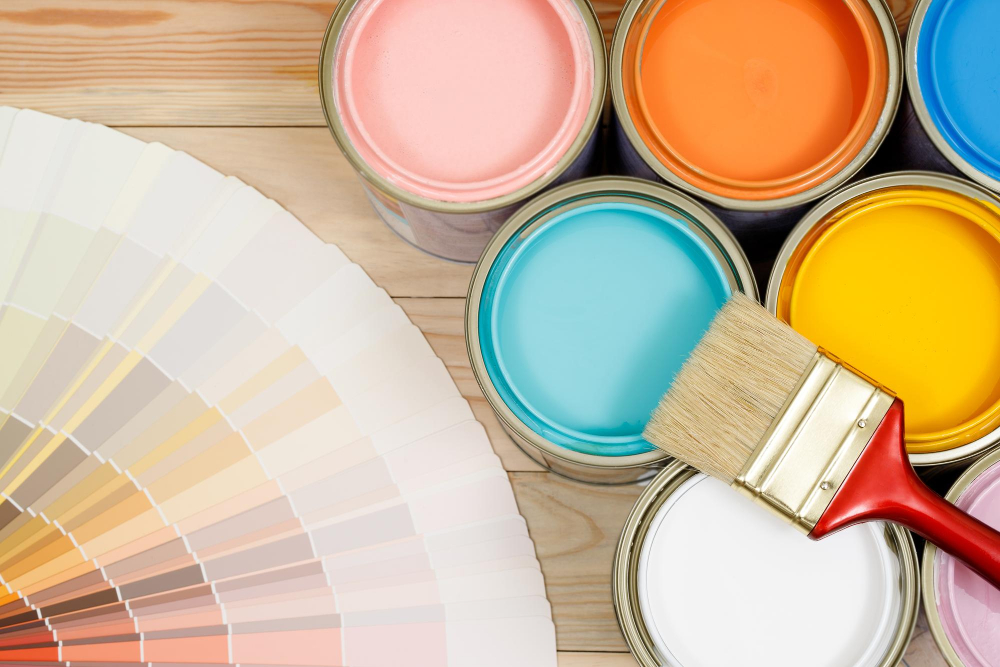
Choosing the Right Paint for Countertops
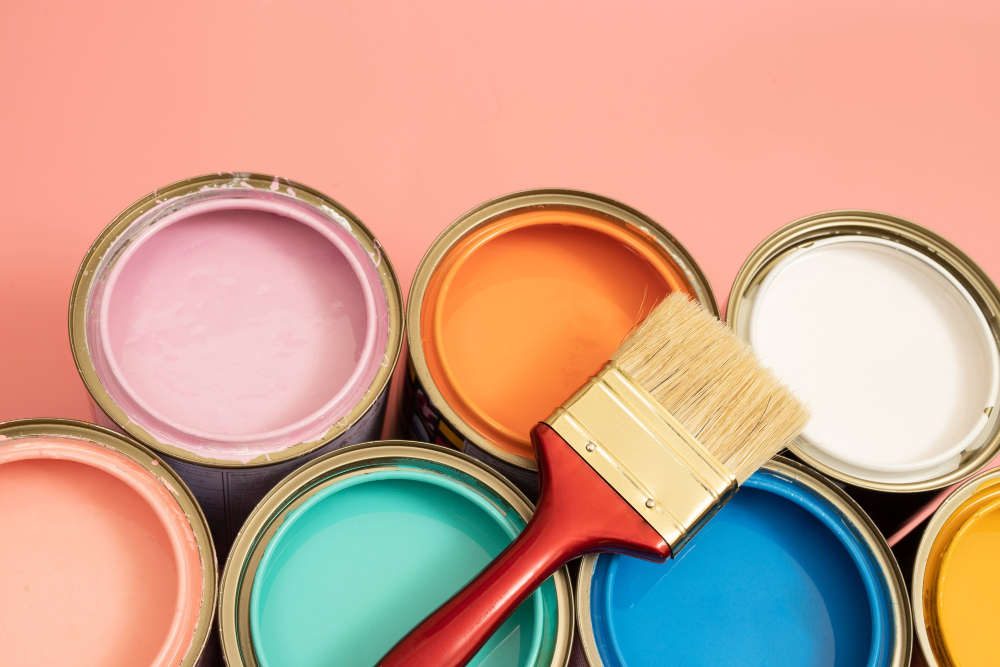
The type of paint you select will determine not only the durability and longevity of your new countertop surface but also its overall appearance.
Before diving into the world of countertop paints, consider factors such as the material of your existing countertops, desired finish (matte or glossy), and color scheme that complements your kitchen decor.
For laminate or Formica countertops, look for a high-quality acrylic latex paint specifically designed for this purpose. These paints are formulated to adhere well to smooth surfaces like laminate and provide excellent durability against daily wear and tear.
If you have natural stone or granite countertops that require a fresh look, opt for an epoxy-based paint specially made for these materials. Epoxy paints offer superior adhesion on porous surfaces like stone while providing resistance against stains and heat.
For wooden butcher block or solid wood counters in need of rejuvenation, choose a food-safe sealant with built-in pigments that can enhance both protection and aesthetics simultaneously.
Remember to always read product labels carefully before making any purchase decisions. Look out for features such as stain resistance, heat tolerance levels (especially near stovetops), ease-of-application instructions (spray-on vs brush-on), drying time requirements,and recommended topcoats if applicable.
The Process of Countertop Painting
This technique allows you to completely change the look and feel of your kitchen without breaking the bank.
Firstly, make sure to choose a high-quality paint specifically designed for countertops. These paints are durable and formulated to withstand daily wear and tear in a busy kitchen environment.
Before applying any paint, thoroughly clean the surface with a mild detergent or degreaser. Remove any dirt, grease, or residue that may interfere with adhesion.
Once cleaned, dry the countertop completely before moving forward.
Next comes priming – an essential step for achieving long-lasting results. Apply a primer that is compatible with both your chosen paint type and existing countertop material.
The primer will create an even base coat that helps improve adhesion while ensuring better color coverage.
After allowing sufficient drying time as per manufacturer instructions (usually 24 hours), it’s time for painting! Use smooth brush strokes or foam rollers for an even application of paint on your countertops’ surface area. Depending on personal preference and desired effect, apply multiple coats of paint until you achieve full coverage over the existing color or pattern.
Once all coats are applied evenly across every inch of space on your counters let them dry according to manufacturer guidelines before proceeding further. To protect this newly painted surface from scratches or stains caused by everyday use in kitchens consider adding one more layer: sealant! A clear polyurethane sealer can be used as topcoat providing added protection against moisture damage while enhancing durability overall appearance longevity too!
Techniques to Cover Old Countertops
There are several techniques available that allow you to achieve stunning results without the need for a full replacement.
One popular technique is applying countertop film or adhesive vinyl. This self-adhesive material comes in various patterns and colors, allowing you to create a fresh and modern aesthetic.
Simply measure your existing countertop surface, cut the film accordingly, and carefully apply it over the old surface.
Another technique involves using concrete overlay products. With this method, you can give your countertops an industrial-chic look by applying thin layers of concrete directly onto the existing surface.
The result is not only visually appealing but also durable and long-lasting.
For those who prefer a more traditional approach, tiling over your current countertops can be an excellent choice. By selecting tiles that complement your kitchen’s style and color scheme, you can create a beautiful mosaic-like effect on top of your old surfaces.
Applying Concrete Overlay On Existing Countertop

This technique allows you to achieve the look of real concrete without the need for expensive demolition or replacement.
To begin this process, make sure that your current countertop is clean and free from any debris. Next, apply a bonding agent that will help the concrete overlay adhere properly to the surface.
Once this is done, mix up your chosen concrete overlay material according to the manufacturer’s instructions.
Using a trowel or putty knife, carefully spread an even layer of the concrete mixture onto your countertop. Make sure to smooth out any bumps or imperfections as you go along.
You can also add texture by using various tools such as sponges or brushes before allowing it to dry.
Once dried and cured according to instructions (usually around 24-48 hours), seal it with an appropriate sealer designed specifically for countertops. This will protect against stains and ensure longevity.
Applying a concrete overlay on existing countertops not only gives them a fresh new appearance but also adds durability and versatility in terms of design options available – from sleek modern finishes to rustic industrial vibes.
Tiling Over Your Current Countertop
By adding tiles, you can create a stunning and customized look that suits your style preferences.
Before diving into the tiling process, it’s crucial to ensure that your existing countertop is in good condition. Check for any cracks or uneven areas that may need repair before proceeding.
Once you’ve addressed any necessary repairs, gather the tools and materials needed for this project.
Start by selecting the type of tile that best complements your kitchen decor. Ceramic or porcelain tiles are popular choices due to their durability and wide range of design options available.
Measure the dimensions of your countertop accurately so you can purchase enough tiles without wasting material.
Next comes preparing the surface for tiling by thoroughly cleaning it with a mild detergent or degreaser to remove any dirt or residue. Ensure all grease stains are eliminated as they can hinder proper adhesion between the tile adhesive and countertop surface.
Once cleaned, apply a layer of thin-set mortar onto the countertop using a notched trowel according to manufacturer instructions. This mortar acts as an adhesive agent between each tile and ensures they stay securely in place over time.
Carefully lay each tile onto the mortar bed while ensuring even spacing between them using spacers if desired (this will depend on personal preference). Press down firmly on each tile to ensure proper adhesion with no air pockets beneath them.
After allowing sufficient time for drying (referencing product instructions), apply grout into all spaces between tiles using a grout float at 45-degree angles until completely filled in every crevice—wipe off excess grout from surfaces immediately after application before it dries out completely. Once everything has dried thoroughly according to manufacturer recommendations—typically around 24 hours—it’s essentialto seal boththe tiledsurfaceandgroutedareaswitha high-qualitysealer.Thiswillprotectthetilesfromstainsandmoisture,extendingtheirlifespan.
Tiling over your current countertop is a fantastic way to achieve a fresh and modern look without the need for an expensive replacement.
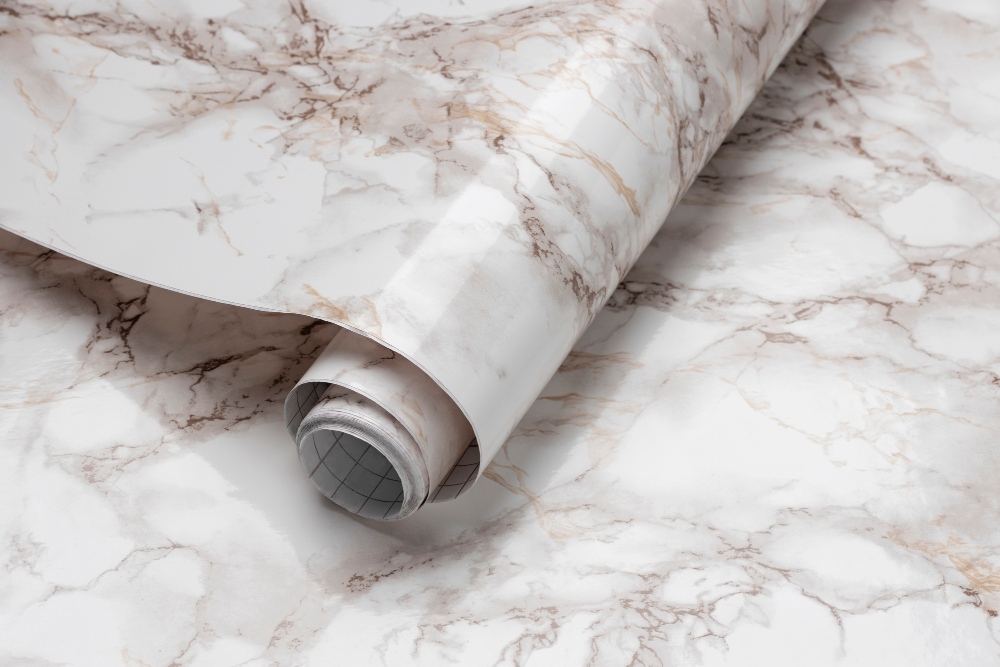
Applying Countertop Film
This innovative solution allows you to completely transform the look of your existing countertops without the need for any major construction or replacement.
Countertop film, also known as adhesive vinyl or contact paper, comes in a wide variety of colors, patterns, and textures. Whether you prefer a sleek marble finish or a rustic wood grain design, there’s sure to be an option that suits your style.
To apply countertop film effectively:
1. Clean and prepare the surface: Thoroughly clean your existing countertops with soap and water to remove any dirt or grease.
Ensure they are completely dry before proceeding.
2. Measure accurately: Carefully measure the dimensions of each section of countertop that needs covering using a measuring tape.
Add some extra inches on all sides for trimming later.
3. Cut out the film: Using scissors or a utility knife (with caution), cut out pieces of countertop film according to your measurements from step 2.
- Apply adhesive vinyl carefully: Starting at one end of the counter section, peel off about an inch from one edge of the backing paper on top side only (to avoid sticking it prematurely). Align this exposed edge with one corner/edge area then slowly press down while peeling away more backing paper gradually until fully adhered across its length.
- Trim excess material : Use sharp scissors/utility knife along edges where necessary so it fits perfectly within boundaries without overlapping onto adjacent surfaces like walls/cabinets etc., ensuring smooth transitions between different materials if applicable
By following these steps diligently and paying attention to detail during installation process ,you can achieve professional-looking results easily. The best part? Countertop films are generally affordable compared to other options such as replacing entire counters, making them budget-friendly choice too!
With just some patience and creativity ,you can give new life to your kitchen countertops using countertop film. It’s a simple yet effective way to achieve a fresh and updated look without the hassle of major renovations.
Handling Drying and Curing Period
This crucial step ensures that your newly revamped countertops achieve their maximum durability and longevity.
After applying paint, sealant, or any other coating on your countertops, it is essential to allow sufficient time for them to dry and cure properly. The specific drying time will depend on the type of product used as well as environmental factors such as temperature and humidity.
During this period, it’s vital not to place any objects or apply pressure on the countertop surface. Doing so could result in smudges or damage that may require touch-ups later on.
It can be tempting to start using your newly transformed countertops right away but exercising patience during this phase will yield better results in terms of appearance and durability.
To ensure a smooth drying process:
- Follow manufacturer instructions: Different products have varying recommended drying times specified by their manufacturers. Always refer back to these guidelines for accurate information regarding curing periods.
- Provide adequate ventilation: Proper airflow helps facilitate faster evaporation of solvents from coatings like paints or sealants.
- Avoid excessive moisture exposure: Keep water away from freshly coated surfaces during the initial curing stage.
- Be cautious with cleaning: Wait until after the recommended curing time before cleaning your new countertop surfaces with mild soap and water.
By allowing ample time for proper drying and curing according to product specifications, you’ll be rewarded with beautifully transformed kitchen countertops that are ready for everyday use while maintaining their pristine appearance over an extended period.
Maintenance Tips for the New Surface
Here are some essential maintenance tips that will help you preserve the beauty and durability of your revamped countertops.
1. Clean Regularly: To prevent dirt, stains, and grime from building up on your new surface, make sure to clean it regularly using a mild soap or non-abrasive cleaner.
Avoid harsh chemicals or abrasive scrubbers that can damage the finish.
2. Use Cutting Boards: While many countertop materials are resistant to scratches and cuts, using cutting boards is still recommended as a precautionary measure.
This will help protect the surface from any potential damage caused by sharp knives or heavy objects.
3. Wipe Up Spills Immediately: Accidents happen in every kitchen! Whether it’s a spilled glass of red wine or a splash of tomato sauce, be sure to wipe up spills promptly with a soft cloth or sponge.
This will prevent staining and ensure that no liquids seep into any seams or cracks.
- Protect From Heat: Although most countertop materials can withstand moderate heat levels without getting damaged, placing hot pots directly on the surface is not advisable as extreme temperatures may cause discoloration over time.
- Use Trivets & Coasters:
- To avoid unsightly marks left by hot pans or wet glasses on your newly transformed countertops,
- always use trivets under hot cookware
- and coasters under beverages.
- This simple step goes
- a long way in preserving their pristine appearance.
By following these maintenance tips diligently, you’ll be able to enjoy your refreshed kitchen countertops for years without worrying about wear-and-tear. Remember, each material has its own specific care instructions, so consult manufacturer guidelines if needed.
Now that we’ve covered all aspects of transforming old kitchen counters into stunning focal points through various techniques while also providing valuable maintenance advice, you’re ready to embark on your own countertop makeover journey. With a little creativity and some elbow grease, you can achieve remarkable results without the need for a complete replacement.
Cost and Time Involved

One of the major advantages of opting for countertop makeover techniques is that they are generally more budget-friendly compared to a full replacement.
The cost will vary depending on factors such as the size of your countertops, materials chosen for refinishing or covering, and any additional supplies needed. For example, if you decide to paint your countertops, you’ll need to factor in costs like primer, paint brushes or rollers, sandpaper for preparation work, and a sealant.
Similarly with time considerations; while these methods can save you from weeks-long renovations associated with complete replacements – they still require some patience. The duration will depend on various factors including surface preparation requirements (such as cleaning or repairing), drying times between coats (for painting), curing periods (for overlays), or installation processes (like tiling).
It’s essential to plan accordingly by setting aside enough time for each step involved in changing your kitchen countertops. This way you can ensure smooth progress throughout the project without feeling rushed.
Inspirational Ideas for Countertop Transformation
With a little creativity and inspiration, you can completely revamp the look of your kitchen and make it truly unique. Here are some inspirational ideas to get those creative juices flowing:
1. Faux Marble Elegance: Achieve the luxurious look of marble without breaking the bank by using faux marble countertop kits or specialized paint techniques that mimic its veining patterns.
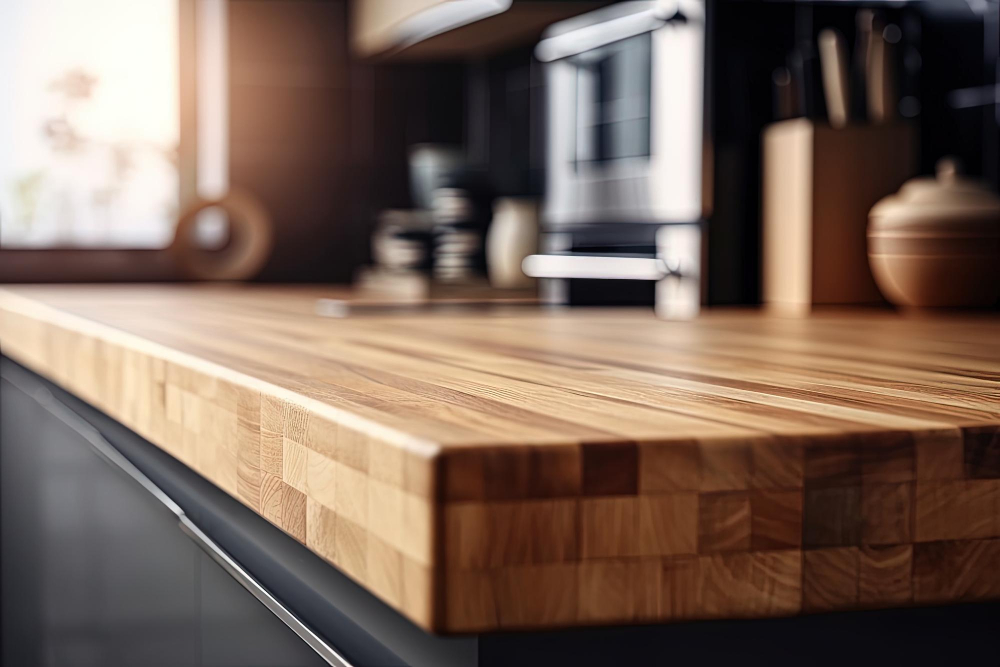
2. Rustic Charm with Butcher Block: Install a butcher block countertop for a warm and inviting farmhouse feel in your kitchen.
The natural wood grain adds character and can be easily maintained with regular oiling.
3. Industrial Chic Concrete: Embrace an industrial aesthetic by applying concrete overlay on your existing countertops.
This versatile material offers durability while adding an edgy, modern touch to any kitchen space.
4.Trendy Terrazzo Accents: Incorporate terrazzo accents into your countertops for a trendy yet timeless design statement in your kitchen area.
5.Colorful Tile Mosaic Magic: Transform plain surfaces into vibrant works of art by tiling over existing countertops with colorful mosaic tiles or creating intricate patterns using subway tiles in various shades.
6. Sleek Stainless Steel Sophistication: Add sleekness and sophistication to any culinary space with stainless steel sheeting applied directly onto existing counters—a perfect choice for contemporary kitchens seeking an ultra-modern vibe. Remember, these ideas serve as starting points; don’t be afraid to mix different materials or combine styles that reflect both functionality and personal taste! Let these inspirations guide you towards creating stunning transformations that will leave everyone impressed when they step foot into your newly revamped kitchen.
FAQ
What is an inexpensive way to change kitchen countertops?
An inexpensive way to change kitchen countertops is to use ceramic or porcelain tile, which are cost-effective, come in a variety of designs, including those mimicking granite and other stone, and are cheaper than natural stone tiles, slab granite, or marble.
How to update your laminate countertops without replacing them?
To update your laminate countertops without replacing them, you can simply tile over them, which is a relatively inexpensive alternative allowing for a wide variety of personalized looks.
Can you cover an existing countertop?
Yes, an existing countertop can be covered using a fairly easy process known as countertop resurfacing, which involves covering the existing surface with tile or sheet goods.
Can you replace kitchen worktops without damaging cabinets?
Yes, kitchen worktops can be replaced without damaging cabinets, however, it is recommended to hire a professional to ensure minimal to no damage to the cabinetry during the process.
What are the options for refinishing kitchen countertops instead of replacing them?
Options for refinishing kitchen countertops include laminate refinishing, epoxy coatings, tile reglazing, and applying a layer of concrete over the existing countertop.
How can you improve the look of old countertops with paint?
One can improve the look of old countertops with paint by applying a coat of appropriate primer followed by a few coats of acrylic paint in the desired color and pattern.
Is it possible to install a new countertop over an old one?
Yes, it is possible to install a new countertop over an old one.


