Last updated on
Discover the transformative steps to bring your 90s kitchen cabinets into the modern era with these simple and effective updating techniques.
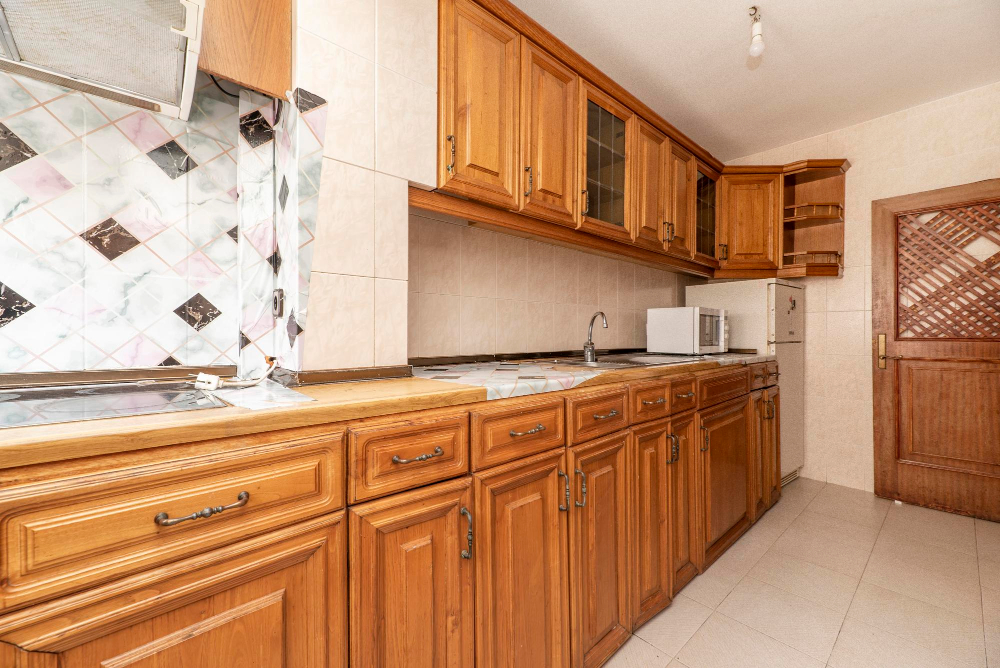
If you’re like most homeowners, you’ve probably inherited kitchen cabinets from the 90s that are outdated and in dire need of a refresh. The good news is that updating these cabinets doesn’t have to break the bank or require a complete overhaul.
With some creativity and a few simple tweaks, you can transform your old cabinets into modern masterpieces that will breathe new life into your kitchen. In this article, we’ll show you how to update 90s kitchen cabinets without spending a fortune or sacrificing style.
What's Inside
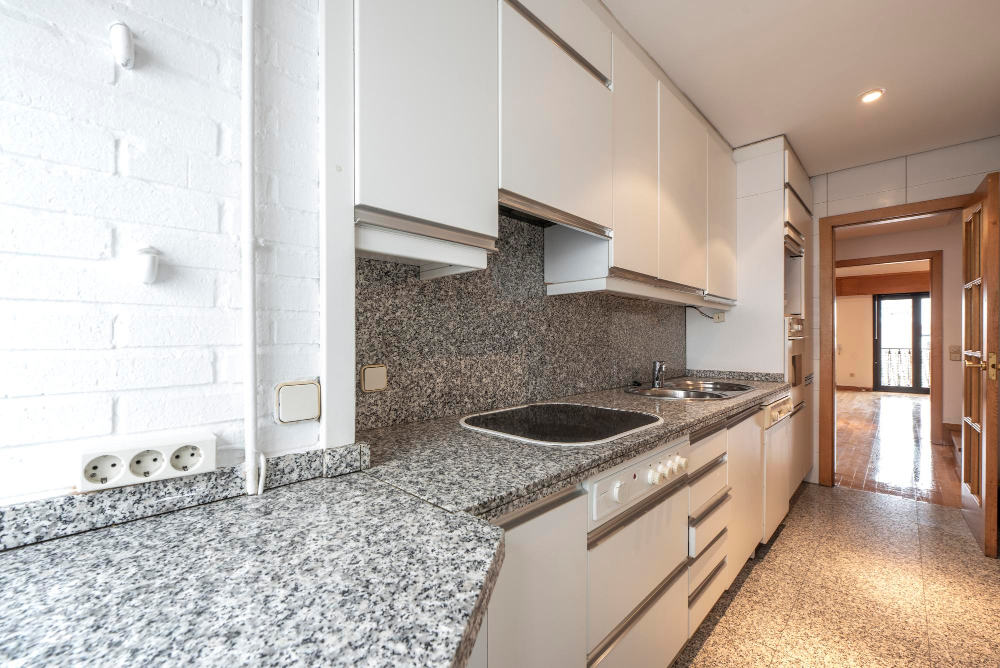
Assessing Your Current Cabinets
Take a close look at the cabinet doors, drawers, and frames to determine if they’re structurally sound or need repairs. Check for any water damage or warping that may have occurred over time.
Next, consider the style of your cabinets and how well they fit with the overall aesthetic of your kitchen. Are they outdated? Do you want a more modern look? If so, think about what changes can be made to achieve this goal.
Evaluate how much storage space is available in your current setup and whether it meets all of your needs. Consider adding additional shelving or incorporating pull-out organizers for better functionality.
Remove Cabinet Doors
This will give you easy access to the interior of the cabinets and make it easier for you to clean, paint or refinish them. Removing cabinet doors also allows you to assess whether any repairs are needed before proceeding with updates.
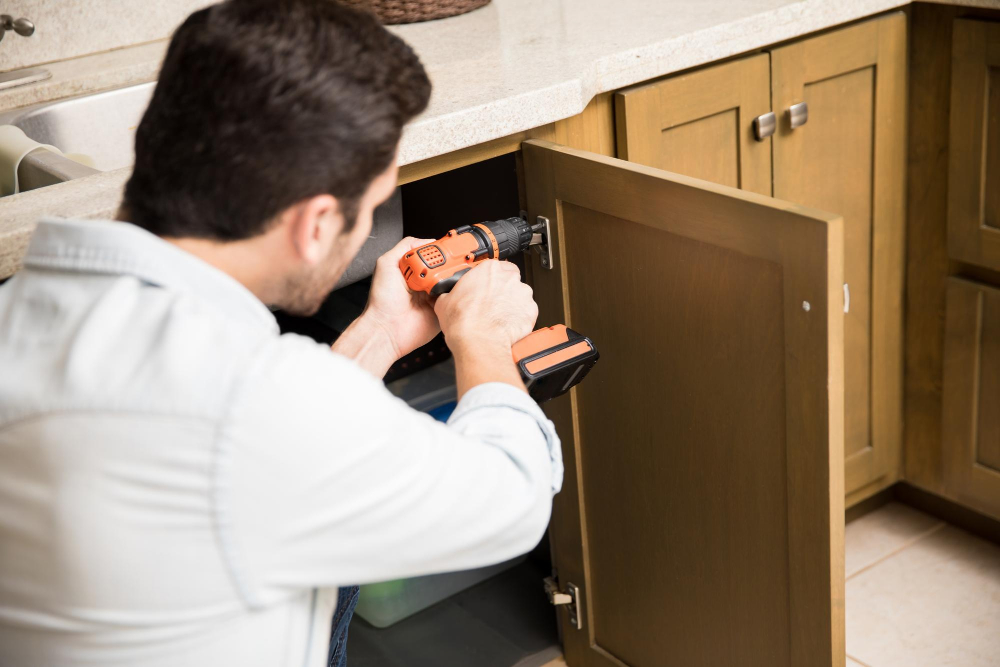
To remove cabinet doors, start by unscrewing all hinges that attach them to their frames using a screwdriver. Be sure not to strip screws while removing them as this can cause damage that may require additional repair work later on.
Once all screws have been removed from each hinge, gently lift off each door and set aside in a safe place where they won’t get damaged during cleaning or painting processes.
Clean Surfaces Thoroughly
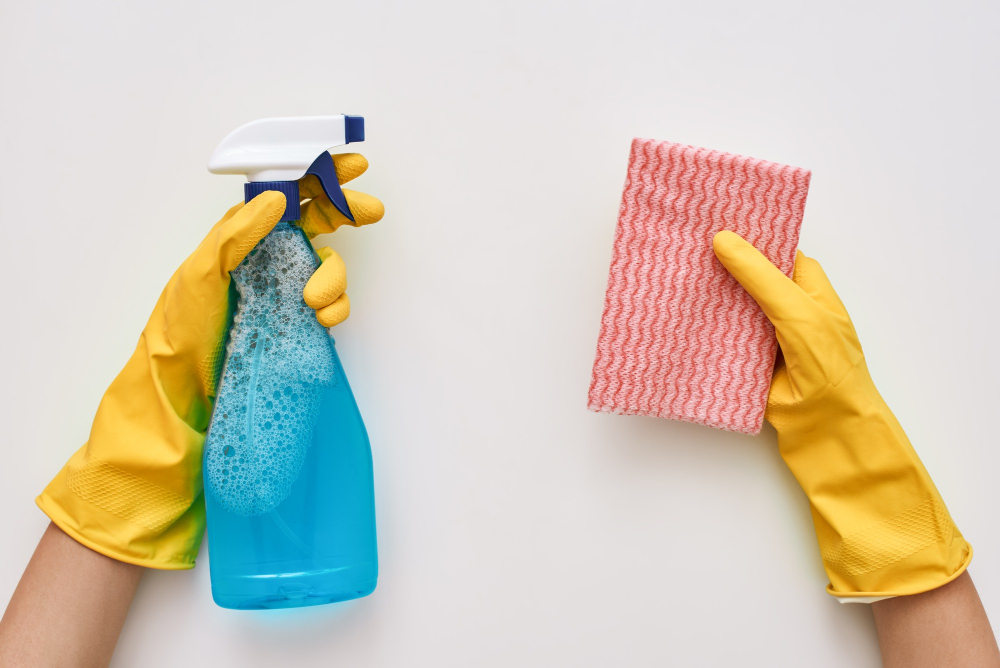
Over time, grease and grime can accumulate on cabinet doors and frames, making them look dull and dirty. Cleaning the surfaces will ensure that any paint or stain adheres correctly to the wood.
To begin cleaning your cabinets, remove all items from inside them. Then use a soft cloth or sponge with warm water mixed with mild dish soap to wipe down each surface of your cabinets carefully.
Be sure not to saturate any areas as excess moisture can cause damage over time.
For stubborn stains or buildup in crevices and corners of cabinet doors, use a toothbrush dipped in soapy water for extra scrubbing power.
Once you’ve finished cleaning every inch of your cabinetry thoroughly let it dry completely before moving onto painting or staining steps.
Choose a Color Scheme
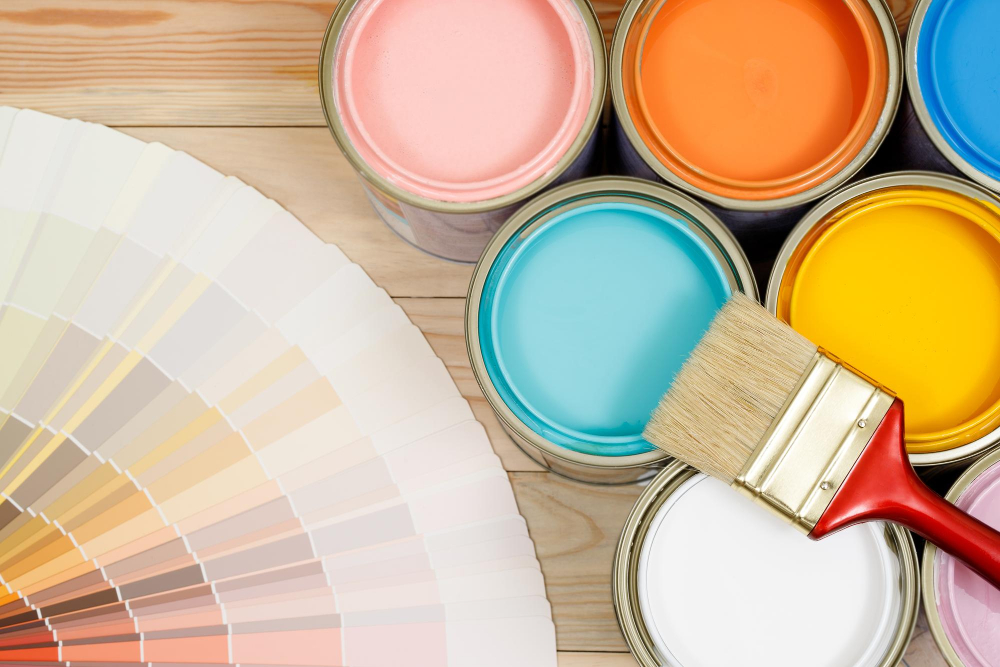
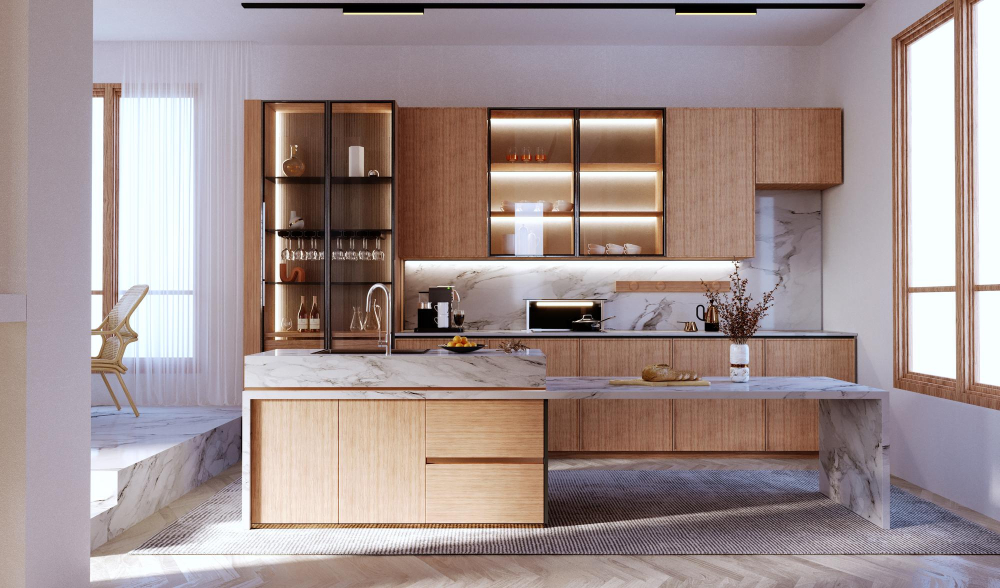
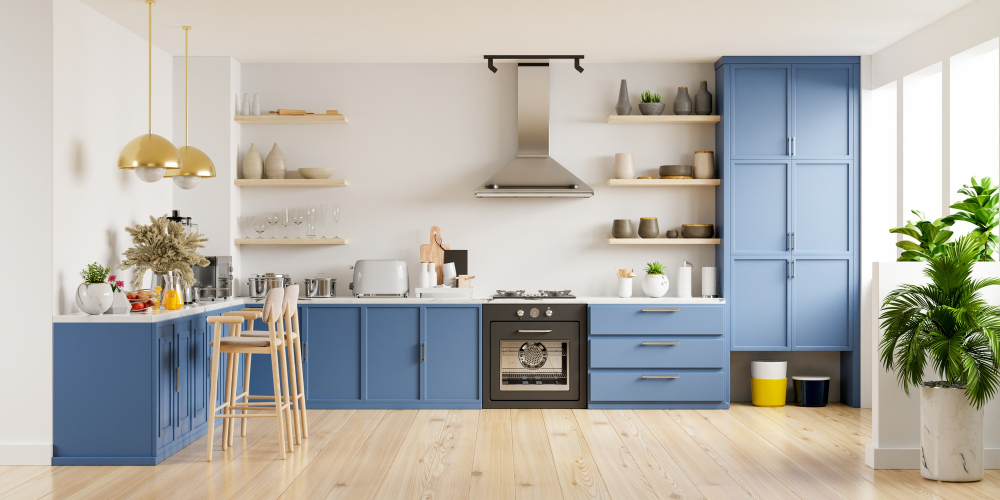
The right color can make all the difference in updating your 90s kitchen cabinets. Consider modern colors such as white, gray or black for an elegant look that will never go out of style.
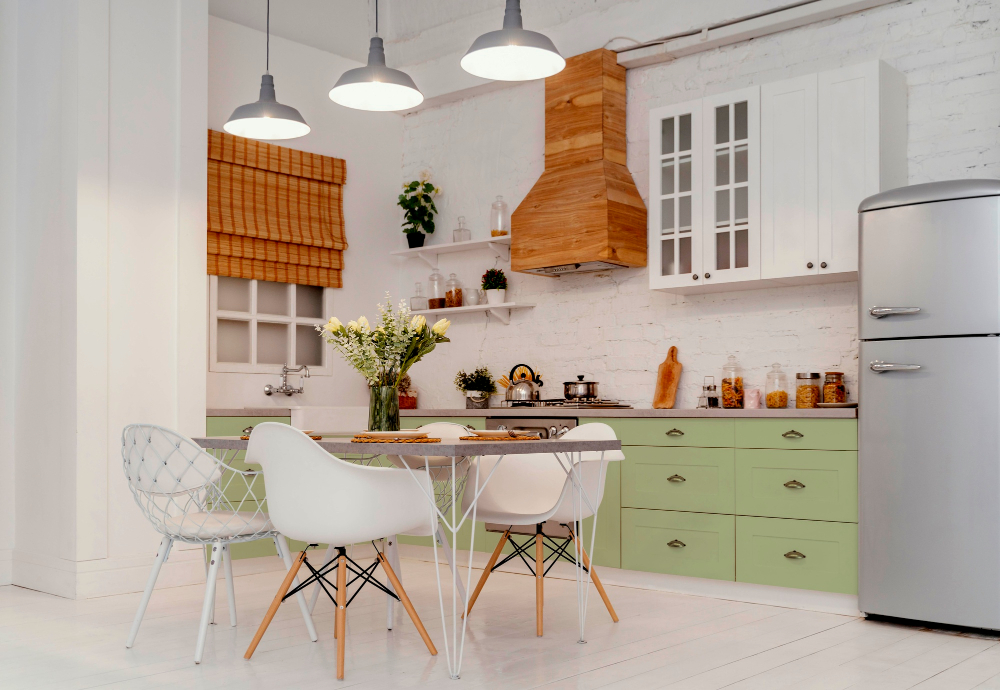
If you’re feeling bold, try adding some pops of bright colors like blue or green to add personality and interest to your space.
When choosing a color scheme for your updated kitchen cabinets, keep in mind the overall aesthetic of your home and what will complement it best. You want something that is cohesive with other elements in the room such as countertops, backsplash tiles or flooring.
Remember that lighter shades tend to make spaces feel larger while darker hues create depth and drama but may also make rooms appear smaller than they are. Take into account natural light sources when selecting paint colors; if there isn’t much natural light available then consider using brighter tones which reflect more light around the room.
Painting or Refacing Cabinets
This process involves removing the cabinet doors and drawers, sanding down any rough surfaces, and applying a fresh coat of paint or veneer. Painting your cabinets can be an affordable option that allows you to completely change the look and feel of your kitchen without breaking the bank.
Refacing is another popular option for updating old cabinets. This process involves covering existing cabinet boxes with new wood veneers while replacing all doors and drawer fronts with new ones that match perfectly in color, style, and finish.
Both options are great choices for homeowners who want a quick fix without having to replace their entire cabinetry system.
Sand Cabinet Surfaces
Sanding is an essential step in updating 90s kitchen cabinets as it helps remove any existing finish or paint from the surface of your cabinets. This process also creates a rough texture on the surface that allows primer and paint to adhere better.
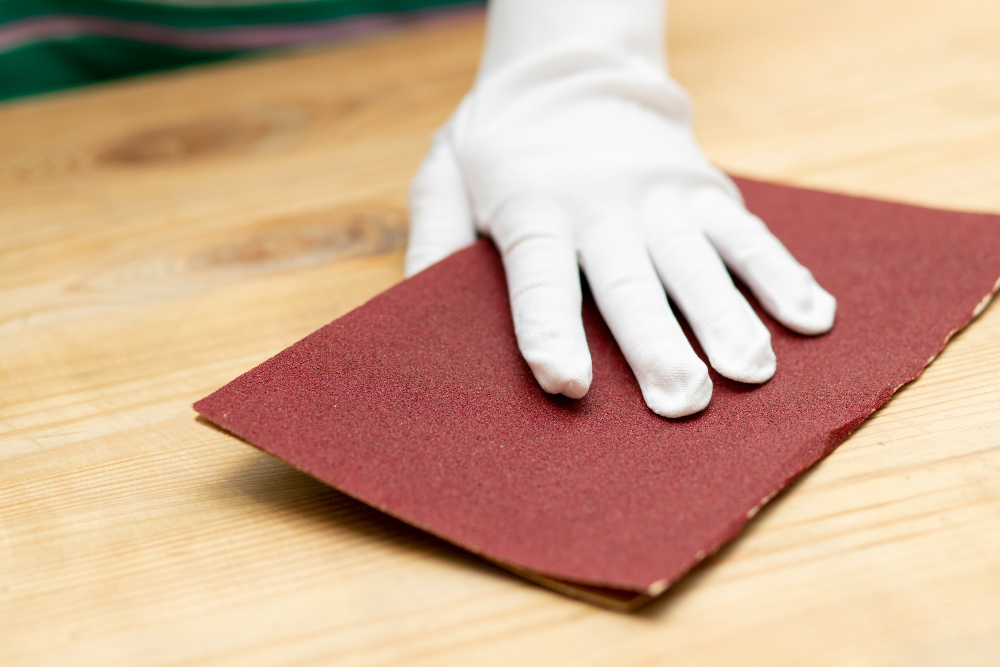
To begin, use a medium-grit sandpaper (around 120 grit) to lightly sand all surfaces of your cabinet boxes and doors. Be sure not to oversand or damage any wood fibers in this process.
Once you’ve finished with medium-grit paper, switch over to fine-grit paper (around 220 grit) for a smoother finish before wiping away dust particles with a clean cloth.
Sanding can be messy work so make sure you wear protective gear such as gloves, goggles, and masks while working on this project.
Apply Primer
Primer is essential for creating a smooth surface that will allow the paint or stain to adhere properly. It also helps cover up any imperfections in the wood and prevents stains from bleeding through.
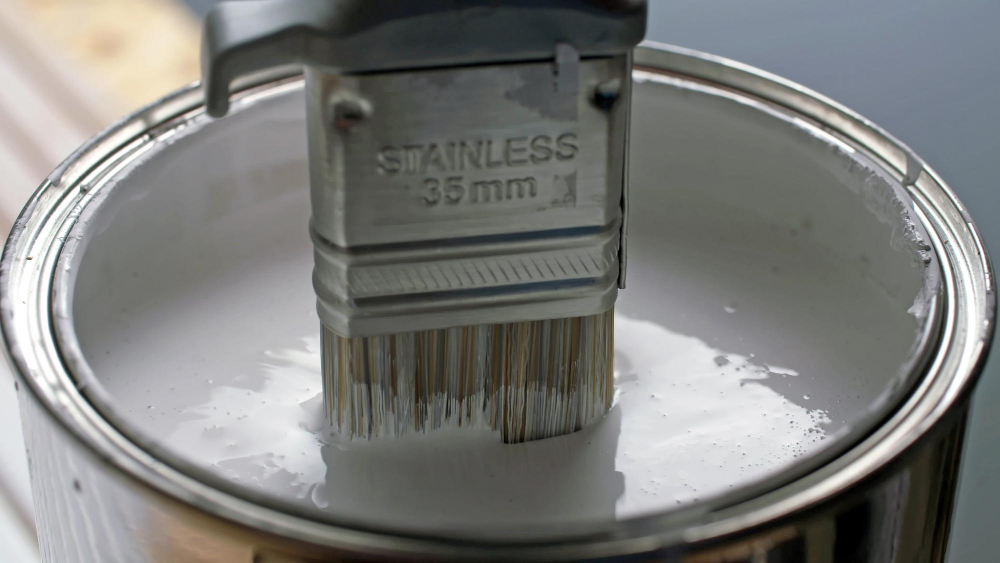
When choosing a primer, look for one that is specifically designed for use on kitchen cabinets. These primers are formulated to bond well with wood surfaces and provide excellent adhesion.
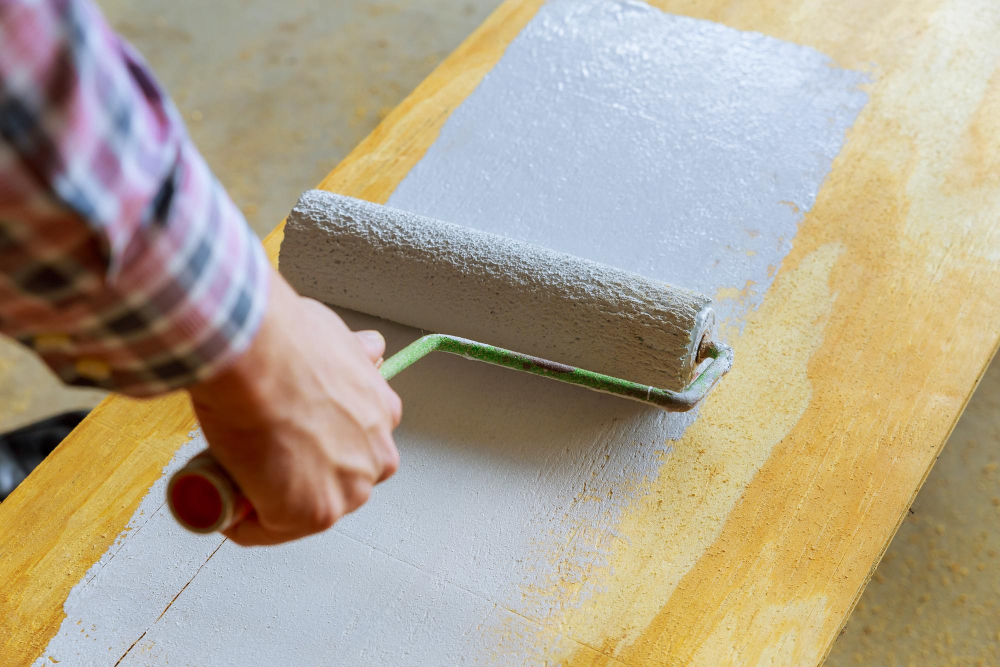
Before applying the primer, make sure your workspace is well-ventilated and free of dust or debris. Use a high-quality brush or roller to apply an even coat of primer over all surfaces of your cabinet doors and frames.
Allow the first coat of primer to dry completely before applying another coat if necessary. Depending on how dark your original cabinets were, you may need two coats of primer before moving onto painting/staining them.
Paint or Stain Cabinets
Painting is a great option if you’re looking for a complete transformation of your kitchen cabinets. You can choose from an endless array of colors and finishes that will give your space the modern look you desire.
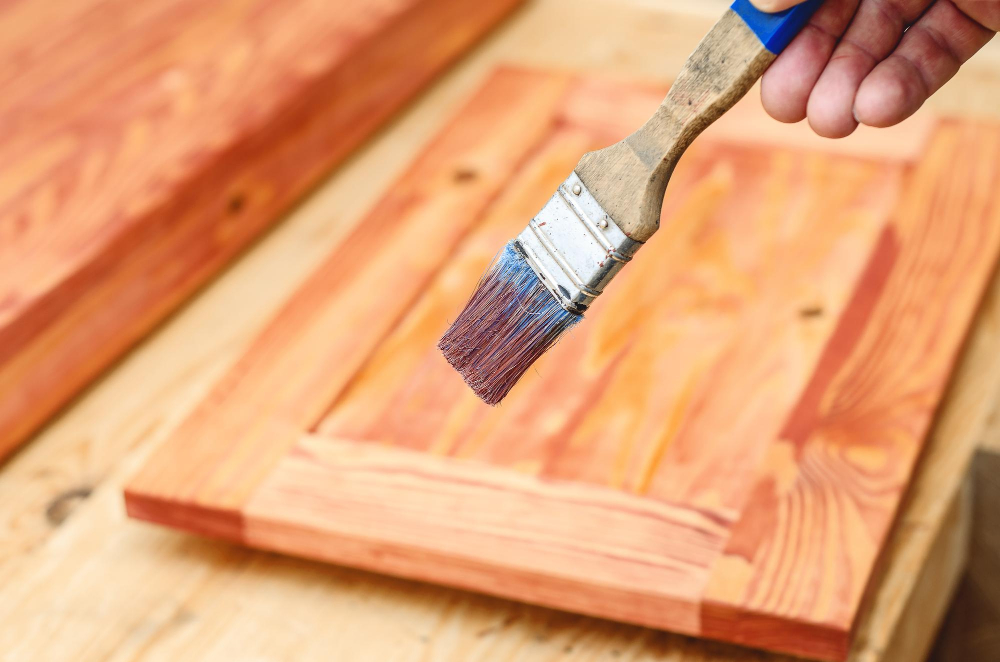
Staining, on the other hand, is perfect if you want to maintain the natural wood grain of your cabinets while still giving them an updated look. Stains come in various shades that can enhance or darken the existing color of wood.
Before painting or staining, make sure to sand down all surfaces evenly and apply primer for better adhesion. Then use high-quality paint or stain products designed specifically for cabinetry projects.
Replacing or Updating Hardware
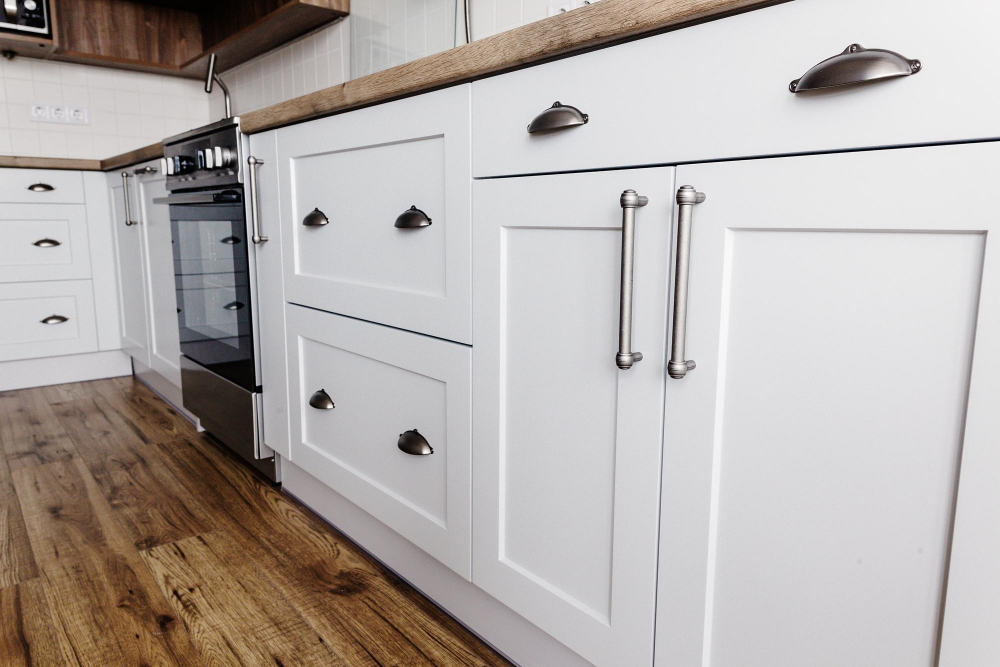
Cabinet handles, knobs, and hinges can quickly become outdated over time. By swapping out old hardware with modern options, you can give your cabinets a fresh new look without breaking the bank.
When choosing new cabinet hardware, consider finishes that complement your color scheme and overall design aesthetic. Popular finishes include brushed nickel, chrome, brass or matte black.
If you’re looking for an even more budget-friendly option than replacing all of your cabinet’s hardware entirely – try spray painting them! A coat of metallic paint on existing handles will give them a brand-new look at minimal expense.
Install New Handles and Knobs
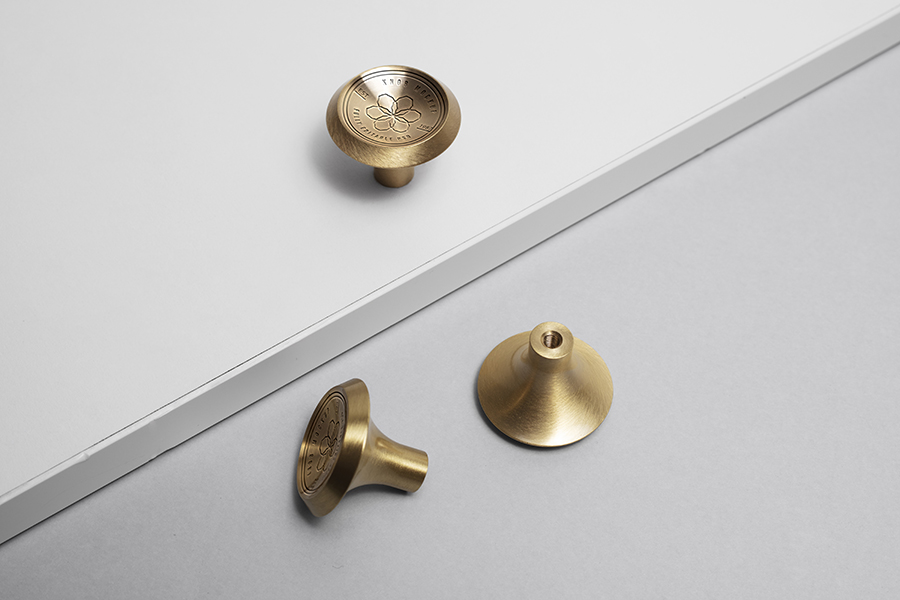
With a wide variety of styles, finishes, and materials available on the market today, you can easily find hardware that complements your kitchen’s overall design scheme.
When choosing new handles or knobs for your cabinets, consider their size in relation to the cabinet doors or drawers. You don’t want them to be too small or too large as it will affect both functionality and aesthetics.
Think about how they feel in hand; make sure they are comfortable when opening/closing cabinet doors.
Once you have selected your desired hardware pieces for each door/drawer face (make sure you measure correctly), remove old ones with a screwdriver if necessary before installing new ones using screws provided by manufacturer instructions.
Add Molding and Trim
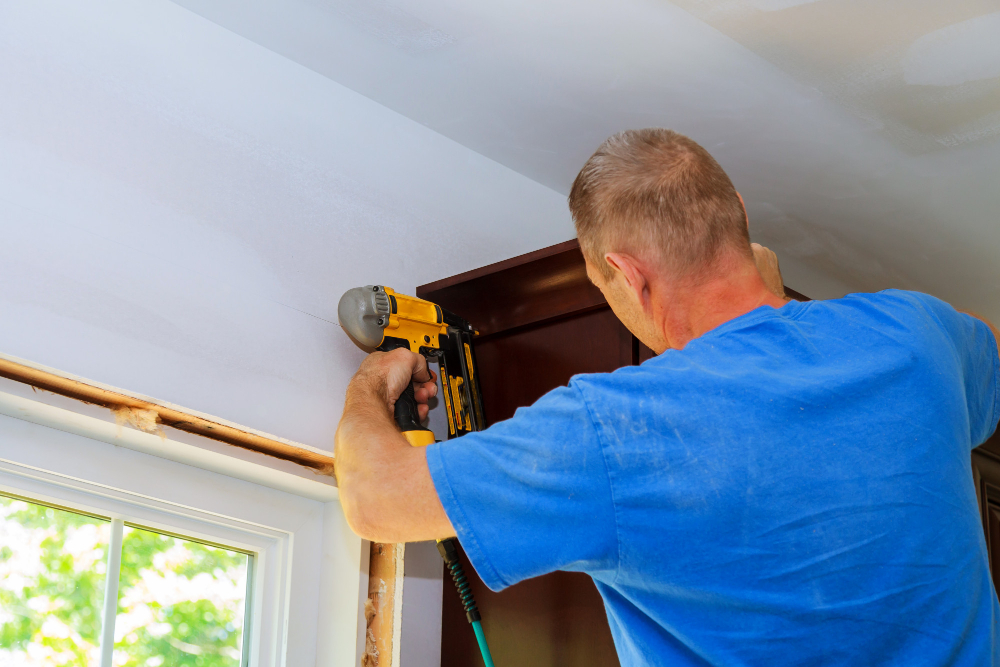
Molding and trim can add depth, texture, and character to your cabinets while also hiding any imperfections or gaps between the cabinet boxes. There are many different types of molding available that you can use for this project.
One popular option is crown molding which adds a decorative touch at the top of your cabinets. You could also consider adding baseboard or shoe moldings along the bottom edge of your cabinetry for added detail.
When selecting moldings or trims, it’s important to choose styles that complement both each other as well as the overall design aesthetic in your kitchen space. For example, if you have shaker-style cabinet doors with clean lines then simple flat stock trim would be ideal whereas ornate crown moulding may not fit well with this style.
Utilize Glass Inserts
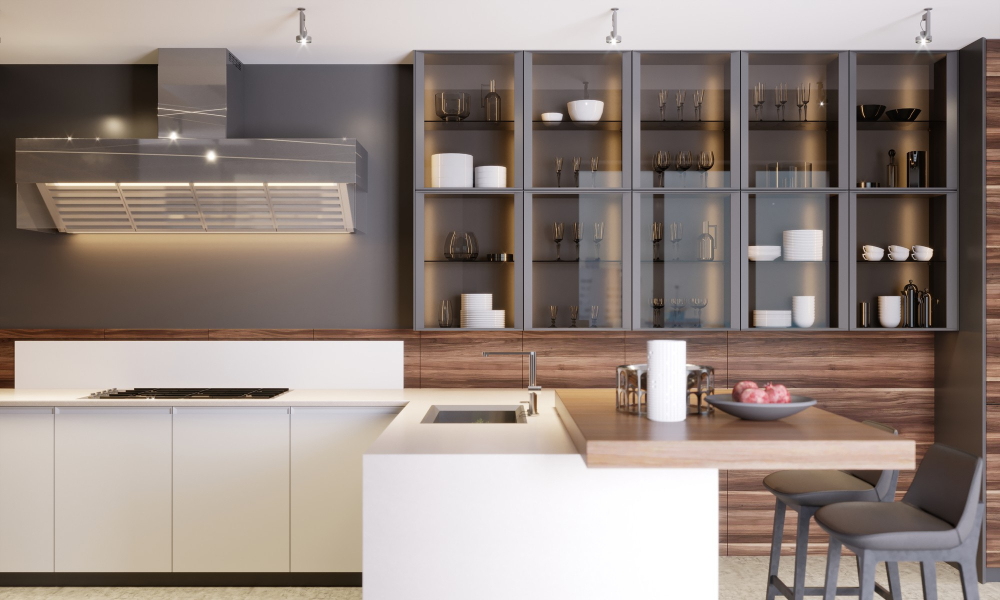
Glass inserts are an excellent way to showcase your favorite dishes or decorative items while adding visual interest and depth. They can also make small kitchens feel more spacious by reflecting light throughout the space.
To utilize glass inserts, first remove the cabinet doors from their hinges. Then measure each door panel accurately and order custom-sized glass panels that fit perfectly into each opening.
Once you have received the panels, carefully install them into place using clear silicone adhesive or glazing strips for a secure hold. You may want to consider frosting or etching the glass for added privacy if necessary.
Glass insert options range from clear tempered safety glasses with beveled edges that provide maximum transparency without distortion; frosted glasses which offer some degree of privacy while still allowing light through; textured glasses such as raindrop patterns which create interesting shadows when illuminated by natural sunlight during daytime hours but become opaque at nightfall due lack thereof illumination sources nearby like lamps etc.; stained-glass designs in various colors depending on personal preference among others.
Modernizing Cabinet Styles and Layout
One way to do this is by removing some of the cabinet doors altogether or replacing them with glass inserts. This will give your kitchen a more open feel while also allowing you to showcase any decorative items or dishes that you have.
Another option is adding molding and trim around the edges of your cabinets for a more polished look. You can also update the hardware on your cabinets by installing new handles and knobs in sleek, modern designs.
For those who want an even bigger change, consider rearranging or updating the layout of your current cabinetry. This could mean removing upper cabinets entirely in favor of open shelving for a trendy minimalist look, or reconfiguring lower drawers into pull-out shelves for easier access.
Consider Open Shelving
This will not only give your kitchen an updated look but also provide an opportunity to showcase decorative items or dishes that you love. Open shelves can make a small space feel larger by creating visual interest and depth in the room.
When considering open shelving, it’s important to keep in mind that this option requires more upkeep than traditional cabinets since everything on display needs regular cleaning. However, if done correctly, open shelves can be both functional and stylish while adding character to your kitchen.
To achieve this look successfully:
- Remove upper cabinet doors
- Clean thoroughly
- Paint or stain interior walls of cabinets
- Install floating shelves at appropriate heights
- Display attractive dishware or decor
Update Lighting Options
Consider replacing outdated fluorescent lights with modern LED options or installing pendant lights above the island or sink area to add some style and functionality. Under-cabinet lighting is another great option that can provide ample illumination for cooking tasks while also creating a warm ambiance in the room.
When choosing new light fixtures, keep in mind both form and function. Look for designs that complement your updated cabinets’ style while providing adequate task lighting where you need it most.
With so many options available on the market today, finding something that fits both criteria should be easy.
Enhancing Efficient Storage Solutions
One of the most significant ways to enhance efficiency in your kitchen is by improving storage solutions. Start by decluttering and organizing items within each cabinet, getting rid of anything that you no longer need or use.
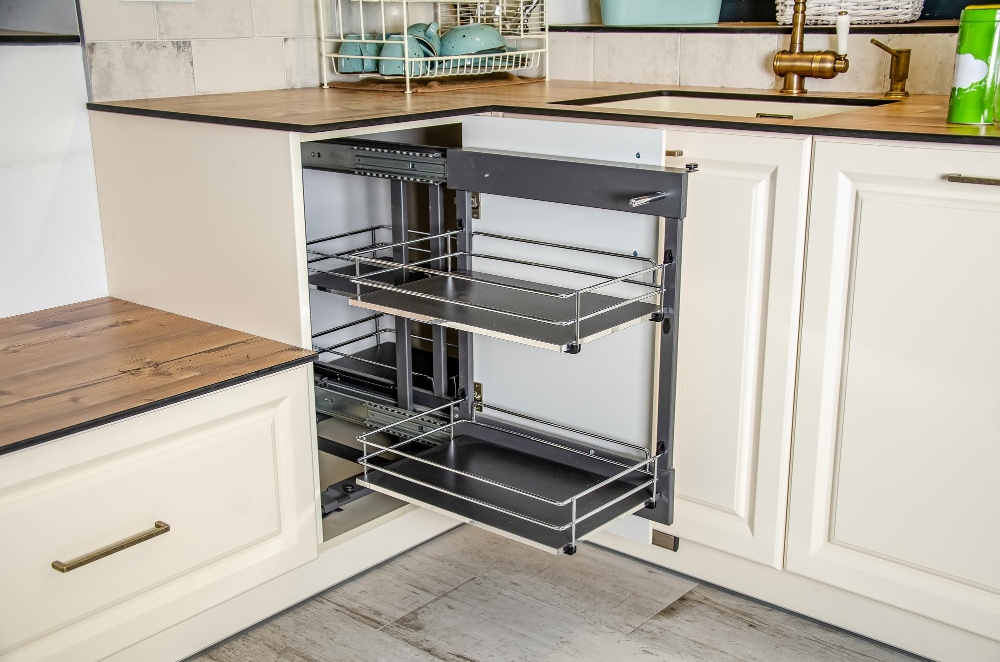
Consider installing pull-out shelves or drawers for easier access and better visibility of stored items.
Another great way to maximize space is by utilizing vertical storage options such as hanging pot racks or adding hooks on cabinet doors for utensils and other frequently used tools. You can also install a lazy Susan in corner cabinets for easy access to all stored items without having to reach deep into dark corners.
Consider investing in custom-built cabinetry designed specifically with efficient storage solutions in mind. With cleverly designed compartments and features like built-in spice racks, knife blocks, tray dividers, and more – these customized cabinets will help keep everything organized while maximizing every inch of available space.
Updating Countertops
If you have laminate or outdated countertops, consider replacing them with granite, quartz, or marble for a sleek and sophisticated finish. These materials are durable and easy to maintain while adding value to your home.
If you’re on a budget but still want an updated look, consider painting or resurfacing existing countertops with specialized paint kits that mimic the appearance of natural stone surfaces. This option can save you money while still giving your kitchen an updated feel.
Another popular trend in countertop updates is using concrete as the material of choice for its durability and versatility in design options. Concrete can be stained in various colors or even embedded with unique designs such as shells or stones.
When updating countertops, it’s important to choose materials that complement the overall style of your cabinets and backsplash for cohesive design flow throughout the space.
Install Modern Backsplash
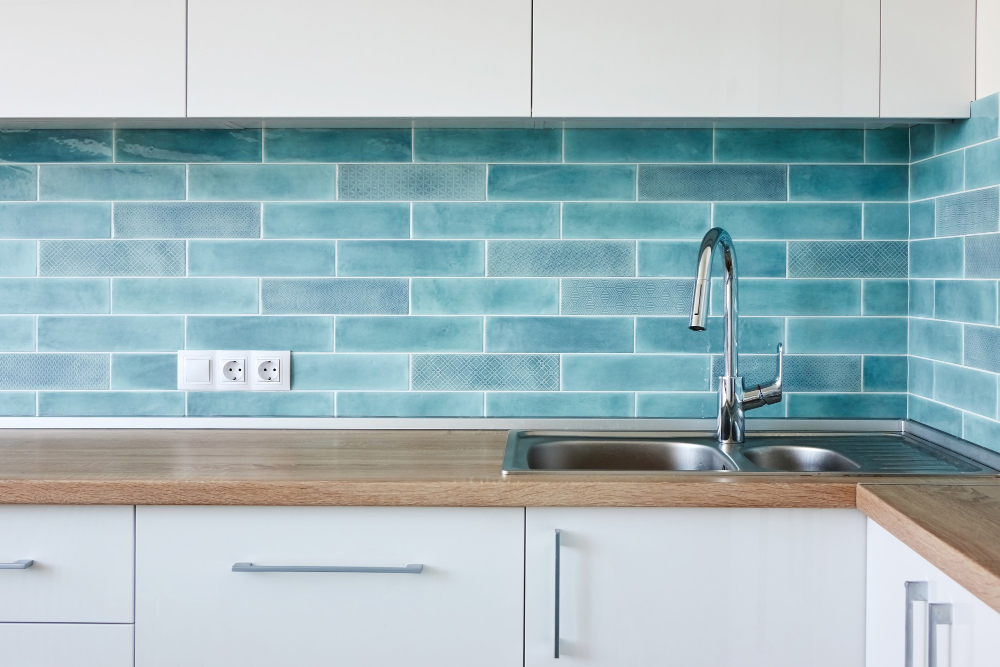
It not only adds an element of style but also protects the walls from spills and splatters. There are many options available when it comes to choosing a backsplash, including tiles, glass panels, metal sheets or even wallpaper.
When selecting a material for your new backsplash, consider the overall design scheme of your kitchen and choose something that complements it well. For example, if you have white cabinets with black countertops then you might want to go with a bold patterned tile in shades of gray or black.
Once you’ve chosen the perfect material for your new backsplash installation is relatively straightforward. You’ll need some basic tools like adhesive mortar and grout as well as measuring tape and tile spacers.
Start by measuring out where each piece will go on the wall before applying any adhesive mortar so that everything lines up perfectly once installed. Then apply enough adhesive to hold each piece securely in place while leaving room between them for grout later on.
Maintenance Tips for Updated Cabinets
Here are some maintenance tips that will help keep your newly updated cabinets in top condition:
1. Clean regularly: Wipe down the surfaces of your cabinets with a soft cloth and mild soap and water solution at least once a week.
2. Avoid harsh chemicals: Abrasive cleaners can damage the finish on your cabinets, so avoid using anything too harsh.
3. Handle with care: Be gentle when opening and closing cabinet doors or drawers as excessive force can cause damage over time.
4. Fix issues promptly: If you notice any chips or scratches on the surface of your cabinet, fix them right away before they become bigger problems.
5. Keep moisture levels low: High humidity levels can cause wood to warp or crack over time, so make sure there is adequate ventilation in your kitchen space.
By following these simple maintenance tips for updated 90s kitchen cabinets, you’ll be able to enjoy their fresh new look for many years ahead!
FAQ
How do you make 90s cabinets look modern?
To make 90s cabinets look modern, apply a cool, light neutral or white paint and incorporate complementary pops of color, ensuring the cabinets’ existing wood tones do not appear overly orange.
What are the best color schemes to refresh 90s kitchen cabinets for a contemporary look?
The best color schemes to refresh 90s kitchen cabinets for a contemporary look are white, gray, navy, or black with gold or silver hardware accents.
How can adding or changing hardware elevate the appearance of 90s kitchen cabinets?
Adding or changing hardware, such as updating knobs and pulls, can elevate the appearance of 90s kitchen cabinets by giving them a modern and refreshed look.
What affordable DIY techniques can be applied to transform the style of 90s kitchen cabinets?
Affordable DIY techniques to transform the style of 90s kitchen cabinets include painting them in new colors, adding new hardware, or applying contact paper for a refreshed appearance.


